HP 7 Plus 1302 Headphone Jack Replacement
Duration: 45 minutes
Steps: 15 Steps
If your device is having trouble sending out sound, it might be time to swap out that headphone jack! The trickiest part is the soldering process, so make sure you’ve got all the right tools at hand and keep your instructions close. And remember, if it feels overwhelming, no worries—just schedule a repair!
Step 1

Make sure to power down and unplug your device before diving into those replacement steps. Safety first, and let’s keep things chill!
– Grab your trusty T5 Torx Screwdriver and let’s get to work! Carefully unscrew the T5x3mm screws from all four corners. You’ve got this!
Tools Used

Step 2


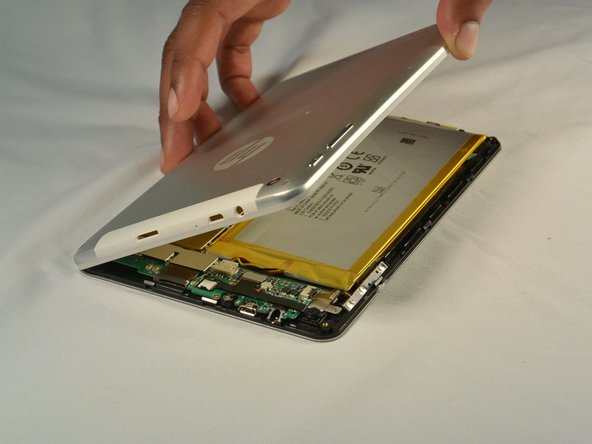
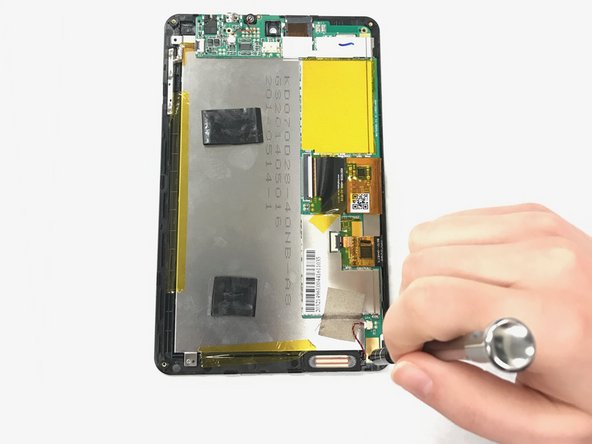
Take it easy when you’re popping off the back—getting too enthusiastic might just lead to a screen disaster. Gentle does it!
– Grab your trusty plastic opening tool and gently slide it between the front and back of the tablet. Think of it as giving your device a little nudge to get things started!
– Now, run that plastic opening tool all around the edges of the tablet like it’s a fun treasure hunt! This will help you pop the back cover off without a hitch.
Step 3

– Keep gliding that trusty plastic opening tool around your tablet until all four sides are happily separated. It’s like a dance—just keep moving!
– Now, gently lift off the back cover. You’re almost there!
Step 4
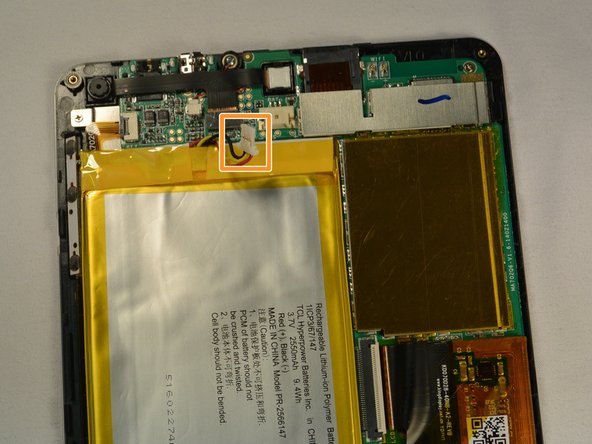

– Gently nudge that battery connector out using your trusty spudger.
– Swivel that battery connector away from the socket like a pro.
Tools Used

Step 5

– Time to get that battery outta there! Carefully lift the battery from the device.
Step 6
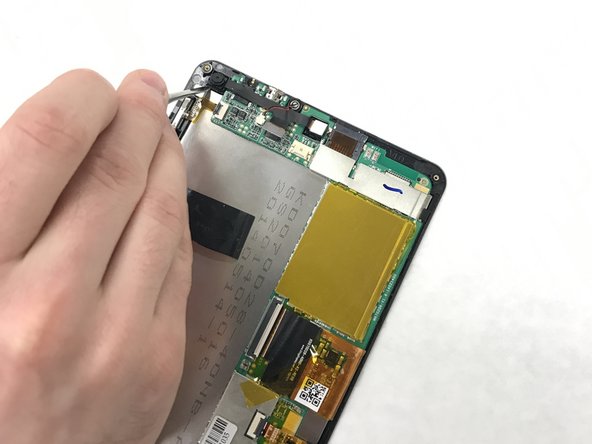

– Gently pry apart the connector linking the front and back camera using a metal spudger. You’ve got this!
Tools Used

Step 7

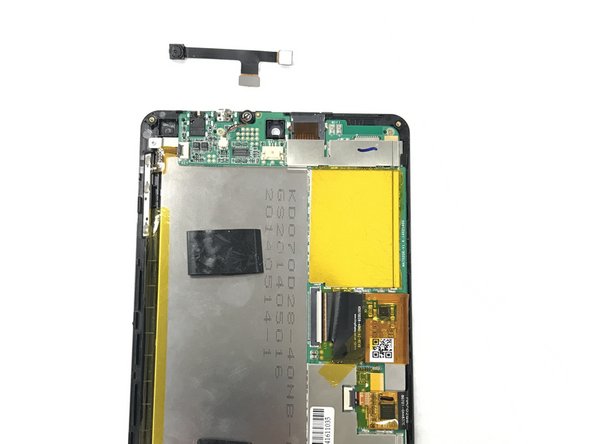
– Gently detach the camera from its connectors.
Step 8

– Spot those three T5x1mm screws and give them the ol’ heave-ho with your trusty Phillips #000 screwdriver!
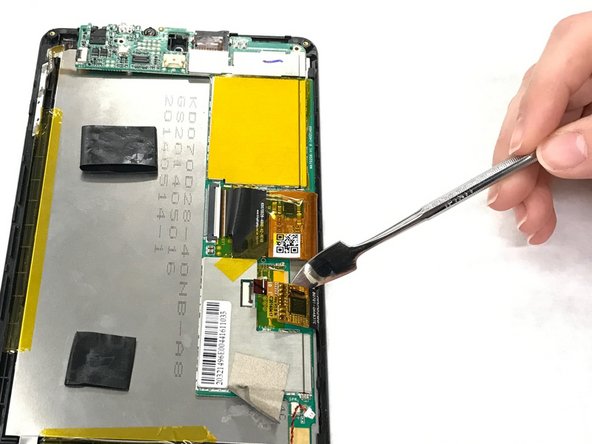
Step 9


– Carefully detach the connector using your tweezers like a pro!
– Peel off the tape with a smooth motion.
Step 10

– Time to get this repair started! Use your trusty metal spudger to flip that ZIF connector.
– Now, gently pull the ribbon connector out – you’re making great progress!
Tools Used
Step 11

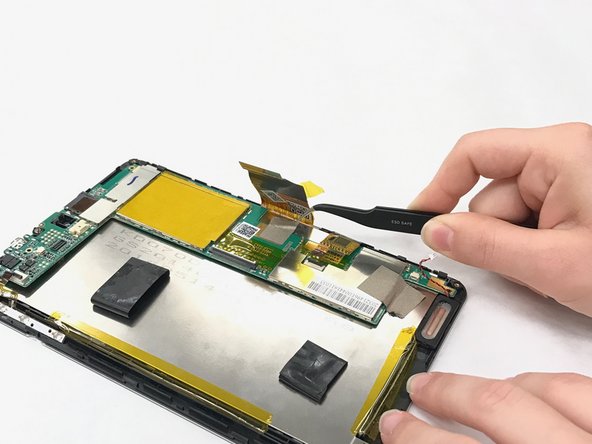
– Grab those tweezers and carefully tug on the orange tape—it’s time to set it free!
– Use the spudger to gently pop up the ZIF connector—easy does it.
– Take the tweezers again and smoothly pull out the ribbon connector—steady hands win the day!
Tools Used
Step 12

– Now it’s time to get rid of that gray tape covering the ribbon connector. Gently peel it off to reveal what’s underneath.
Step 13

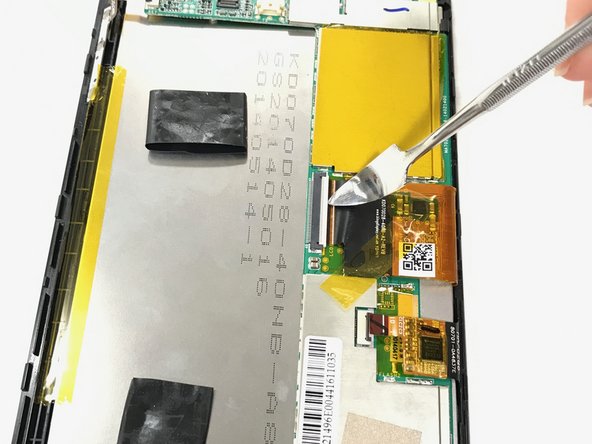
– Give that ZIF connector a little flip! You’re doing great!
– Carefully grab the ribbon connector with your tweezers and gently pull it out. You’re on a roll!
Step 14

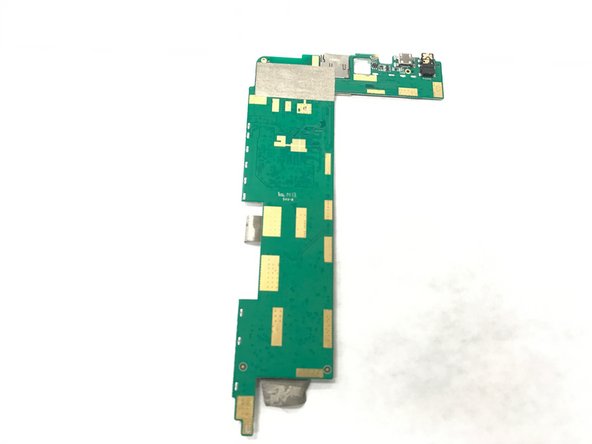
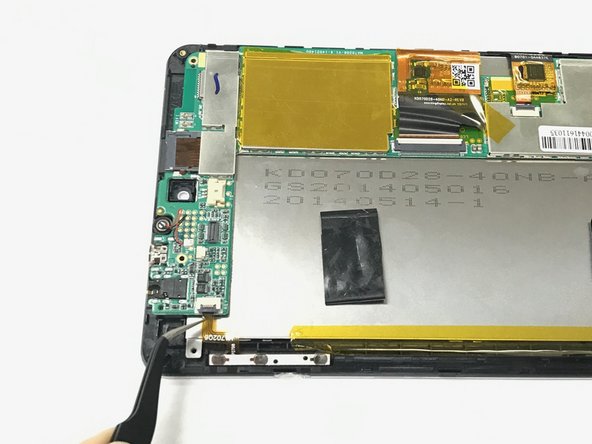
– Time to get that circuit board out! Gently pull it off to move forward with the repair.
Step 15

Watch out! The soldering iron is going to be super hot, so keep your fingers safe and sound.
Need a hand with using that Soldering iron? Click here for some extra guidance to get you back on track!
– Use your soldering iron to carefully remove the six solder points on the headphone jack—steady hands and a little patience are key here!
