Google Pixel Slate Rear-Facing Camera Replacement
Duration: 45 minutes
Steps: 5 Steps
Got a cracked, busted, or non-working rear-facing camera? No worries! This guide walks you through the steps to swap out that camera and get back to snapping pics with ease. The rear-facing camera is used to take photos from the back of your device, but sometimes, due to a defect or some other hiccup, it just stops working. Before diving into the replacement, try giving your device a reset and see if that clears things up. If not, you’re in the right place! Replacing the camera is a straightforward task—no special skills required. Each step of this guide comes with a short explanation and photos to show you exactly what needs to be done. If you get stuck, don’t hesitate to schedule a repair.
Step 1


– Flip that Google Pixel Slate over so the screen’s ready to shine up at you.
– Grab your trusty opening tool and gently pry the screen away from the main body like you’re separating two best friends.
– Now, use that suction cup magic to lift the screen off the device’s body. You’ve got this!
Tools Used

Step 2


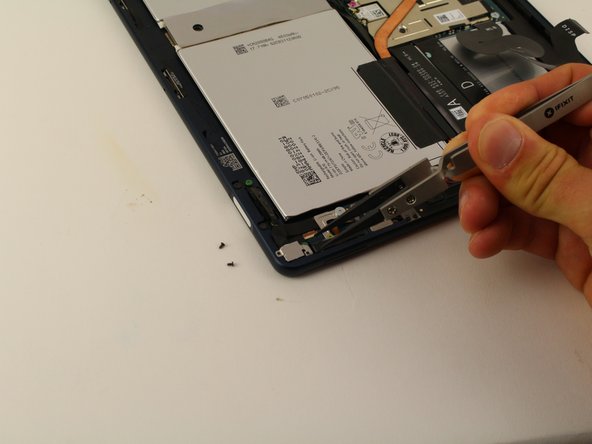
– Alright, take it slow and unplug those three flat-wires from the screen like a pro.
– Now, with a steady hand, lift and separate the screen from the device’s body. Take your time, you got this!
Step 3

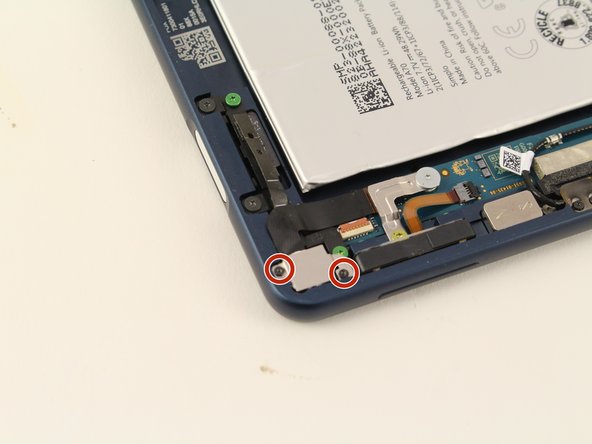
– Grab your trusty T2 Torx screwdriver and gently unscrew those two black 2mm screws that are keeping the square plate in place. You’re doing great!
– Now, take those Nylon Tipped Tweezers and carefully lift the metal plate. You’ve got this!
Tools Used


Step 4
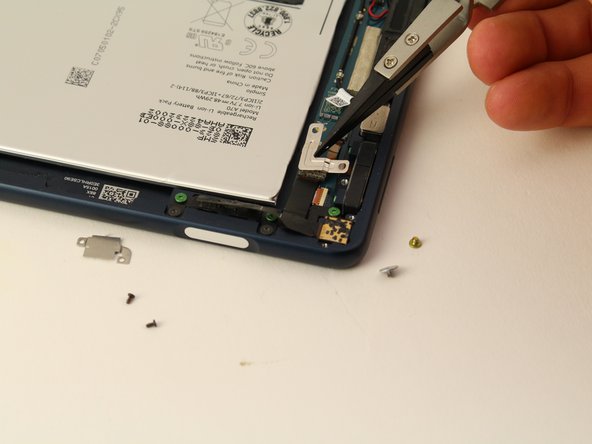

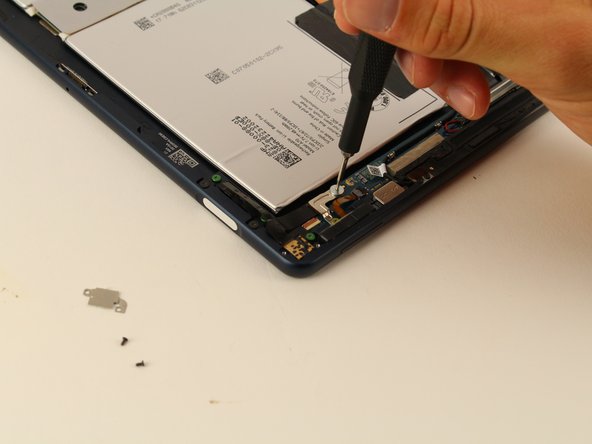
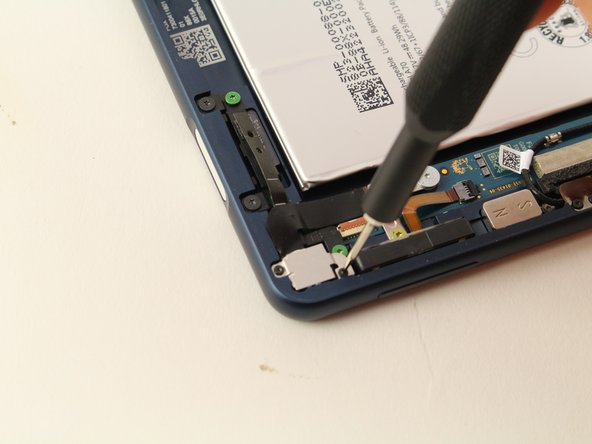
– Grab your trusty T3 Torx screwdriver and carefully remove the two yellow and grey 3mm screws holding the L-shaped plate in place.
– Now it’s time to get a little gentle – use your Nylon Tipped Tweezers to carefully lift the plate away from the device.
Tools Used

Step 5
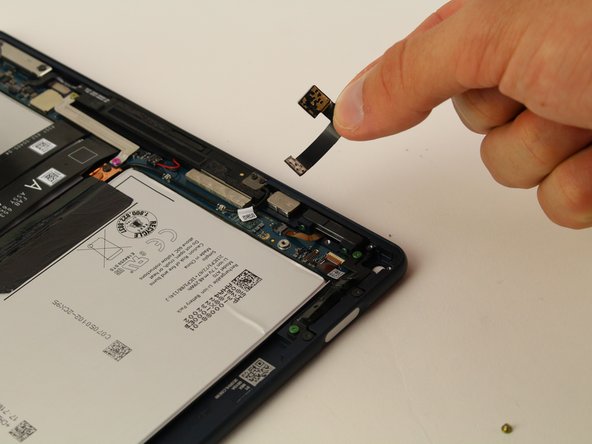

– Carefully lift the camera upwards to detach it.