Google Pixel Slate Motherboard Replacement
Duration: 45 minutes
Steps: 9 Steps
Ready to give your Google Pixel Slate’s motherboard a makeover? This guide is here to help you replace the brain of your device (Model #GA00347-US). The motherboard connects all the cool hardware to the processor and keeps everything running smoothly. It powers up your device and plays a key role in how memory modules, storage devices, and the graphics card work together. If your Slate is struggling to boot up, lagging like a snail, or getting hotter than a summer day, it might be time to check that motherboard. Before diving in, make sure your device is fully powered down and unplugged. Let’s get started!
Step 1


– Get started by flipping your Pixel Slate over so the screen is facing up – it’s time to get this repair party started!
– Use that handy opening tool to carefully pry the screen away from the main body. Take your time, it’s a delicate dance.
– Grab your trusty suction cup and gently lift the screen off the device. You’re making great progress, keep it up! If you need help, you can always schedule a repair
Tools Used

Step 2


– Pop off those three flat-wires from the screen—nice and easy now, like you’re taking out the recycling.
– Gently lift and remove the screen from the device body. Take it slow; you’re in the home stretch!
Step 3
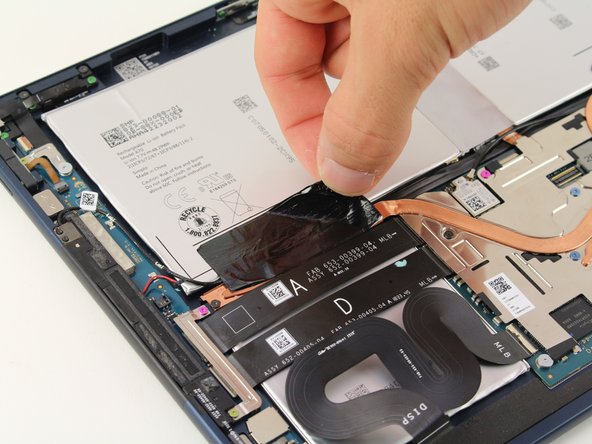

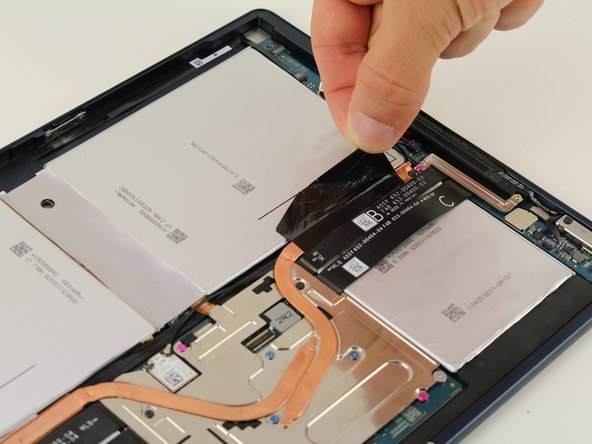
– After you’ve successfully peeled off the screen, go ahead and take out those two pesky black adhesive strips. You’ve got this!
Step 4

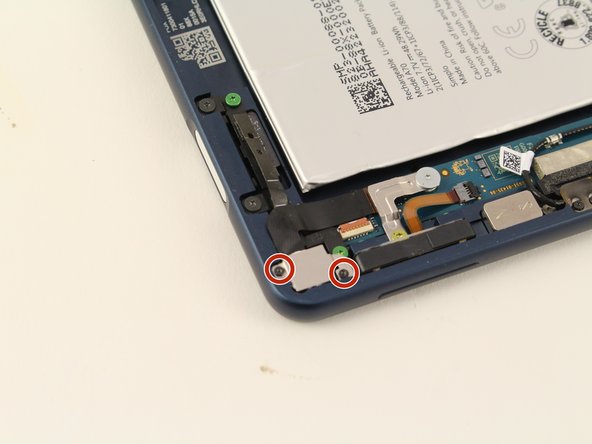
– Grab that T3 Torx screwdriver and unscrew the two black screws anchoring the copper strip. Let’s get that strip freed up!
Tools Used

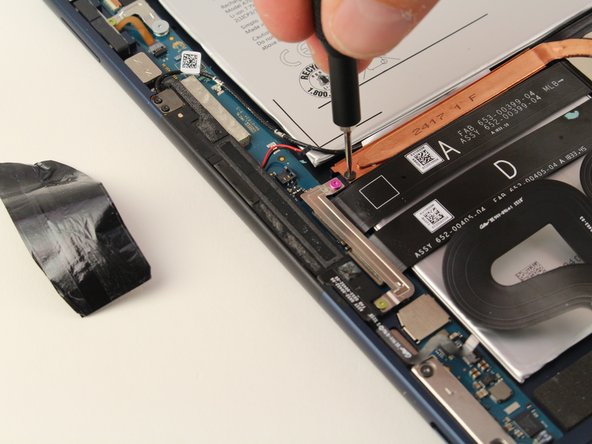
Step 5

You’ll find a total of four spunky blue 3mm screws, two cool black 3mm screws, one cheeky pink 3mm screw, and a lone pink 2mm screw keeping that plate in place. Let’s get those unscrewed and move on!
– Grab that trusty T3 Torx screwdriver and unscrew those seven 3mm bad boys—just keep track of them, they’re tiny!
– Switch gears to a T2 Torx screwdriver and take out the pink 2mm screw hanging out near the edge—it’s got to go!
Tools Used

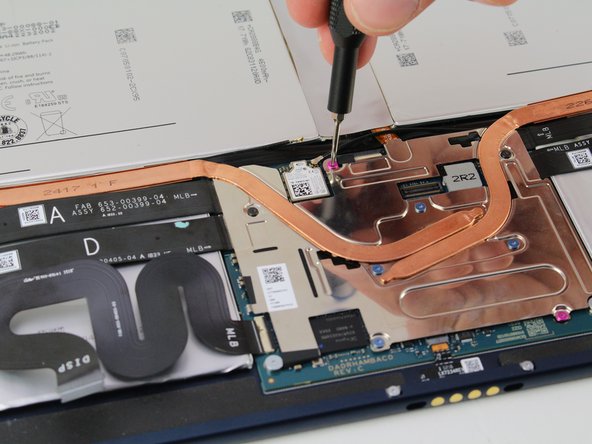
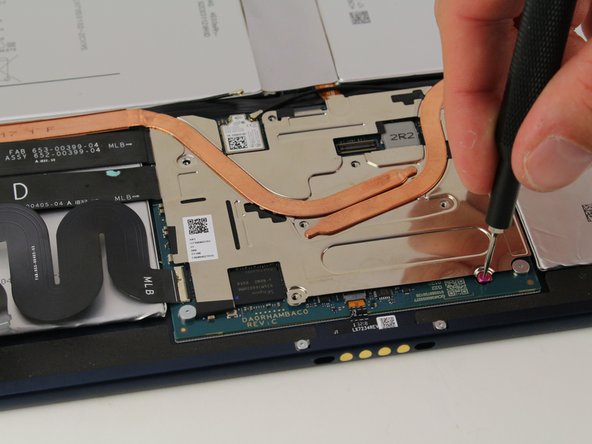
Step 6

– Carefully lift and remove the metal plate to get to the good stuff!
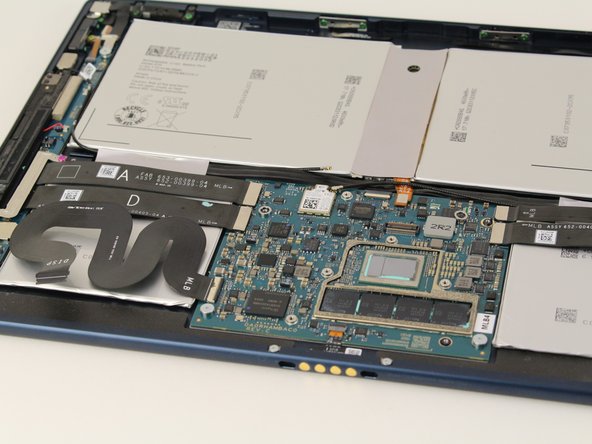
Step 7

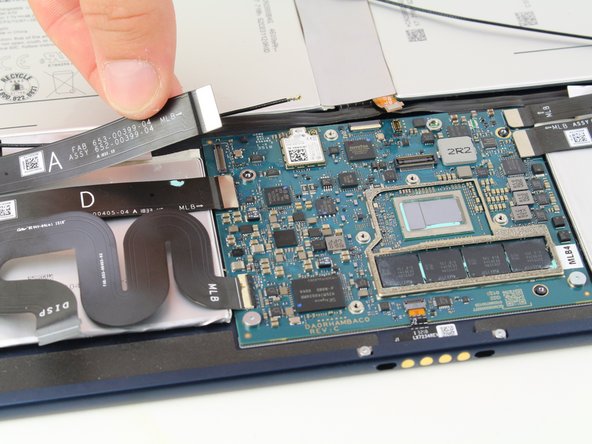
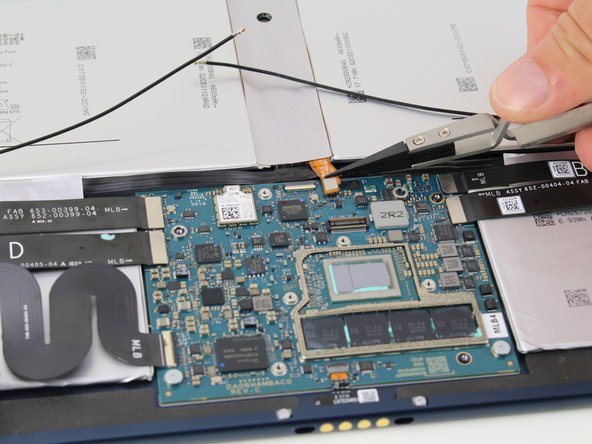
Grab those Nylon Tipped Tweezers—they’re perfect for carefully handling those wires with finesse.
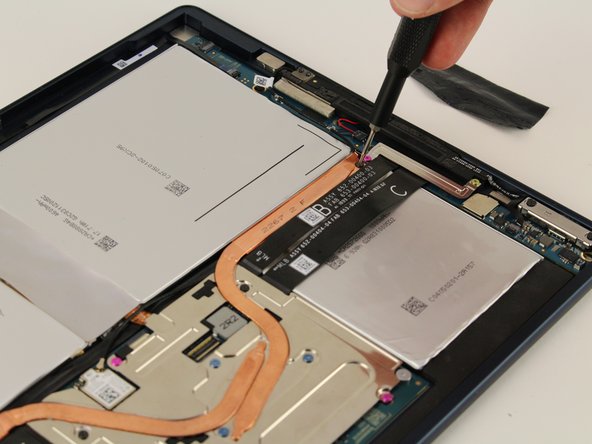
– Gently pop off those two speaker plugs, unhook the battery plug, and disconnect those four flat wires from the motherboard. You’ve got this!
Step 8

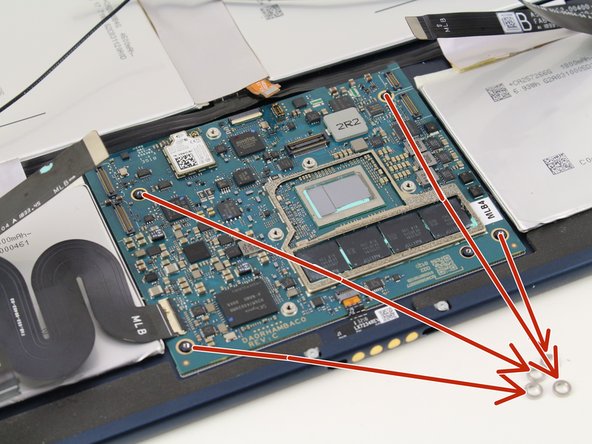
Carefully pluck off the 4 visible washers from the motherboard and stash them safely to the side.
– Grab your T3 Torx screwdriver and unscrew those two shiny silver screws like a pro!
Tools Used
Step 9
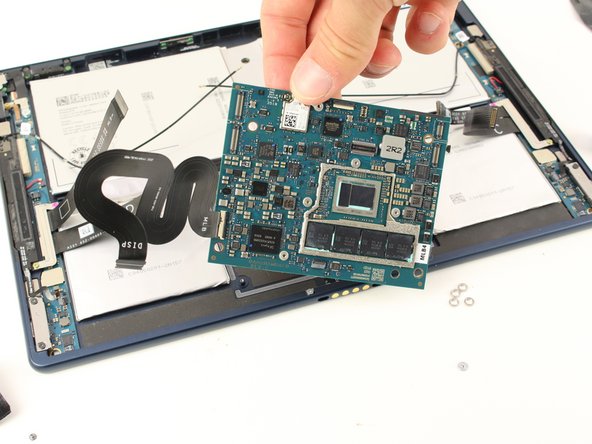
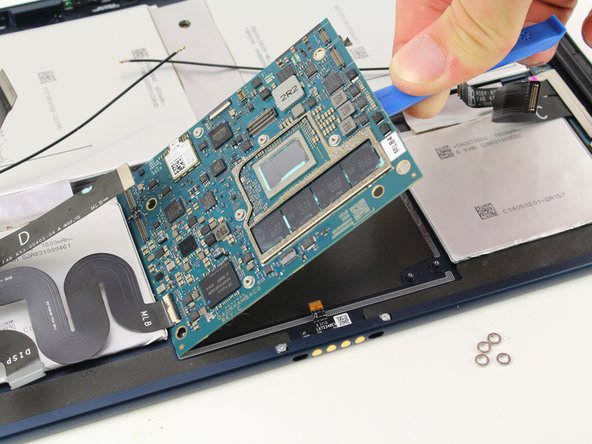

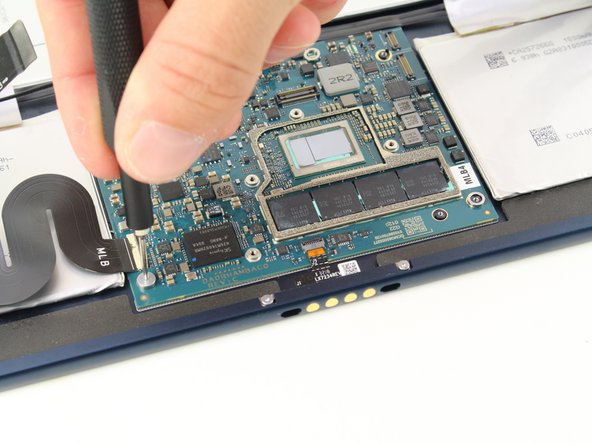
– Grab your trusty iFixit opening tool and gently pry the motherboard away from the device. You’ve got this!