DOPO 10.1 Tablet Screen Replacement
Duration: 45 minutes
Steps: 10 Steps
Step 1


– Let’s get started by removing the back case of your tablet. Take your trusty spudger tool and use it to carefully lift the back plate. This is the first step in getting your device up and running again.
Step 2


– Carefully unplug the speakers from the back case of the tablet—nice and easy does it!
Step 3

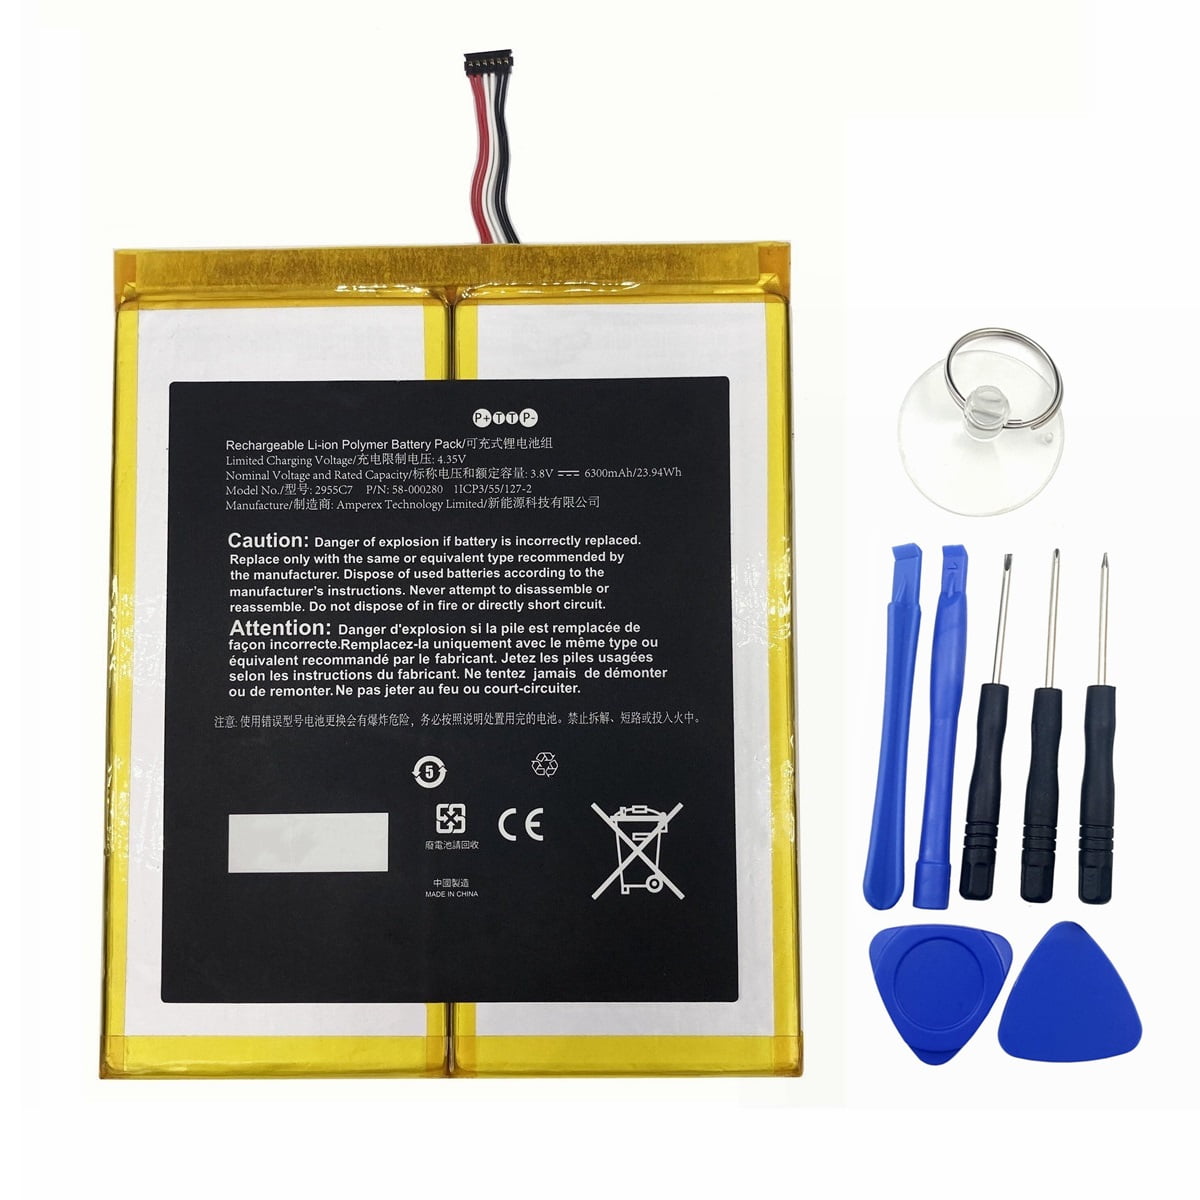
– First, remove the battery. Give it a little nudge, applying just the right amount of pressure to pop it free from the back.
– Once it’s loose, carefully set it aside. Just make sure not to tug on any cables connected to the motherboard—you don’t want to mess with those!
Step 4

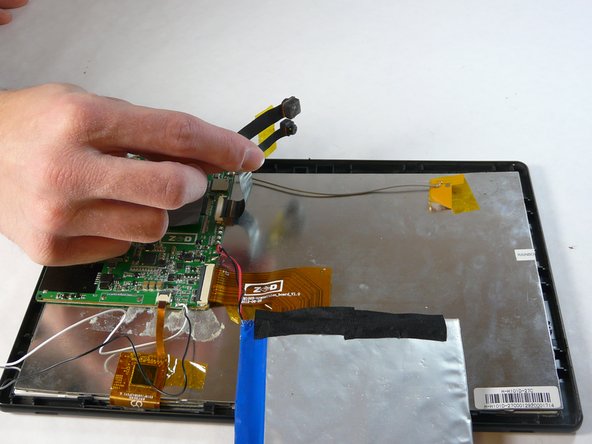
– Find where the cameras are snugly connected to the motherboard—don’t be shy, get in there!
– Gently unclip and remove them from the motherboard—you’ve got this!
– Set the camera aside safely, away from the action.
Step 5

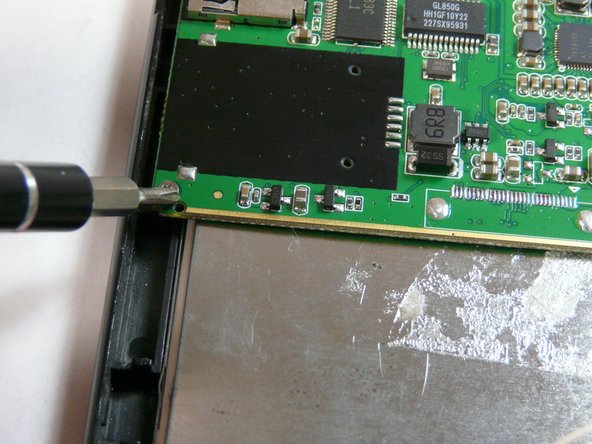
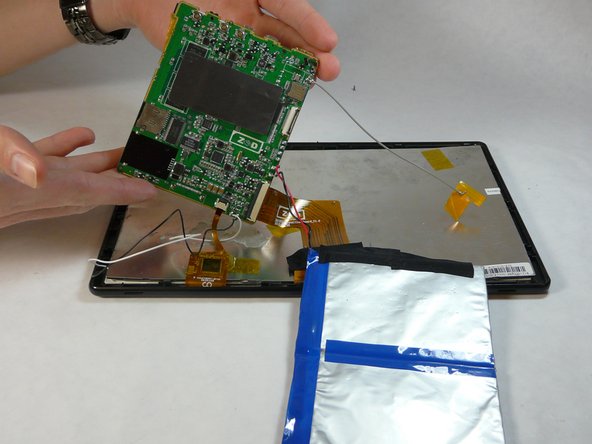
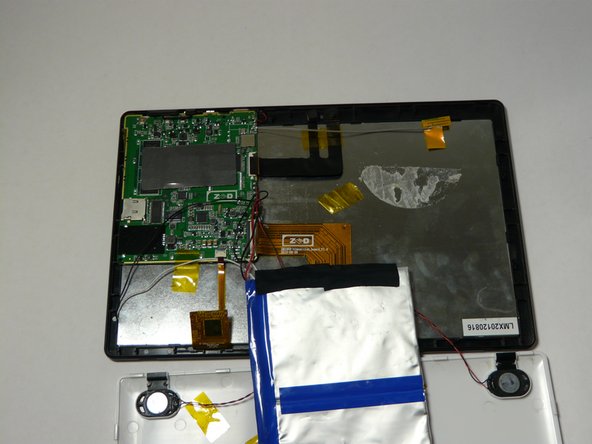
– Take out the motherboard like a pro! You’ll need to unscrew a total of 5 .25in Phillips head screws to get it free.
Step 6
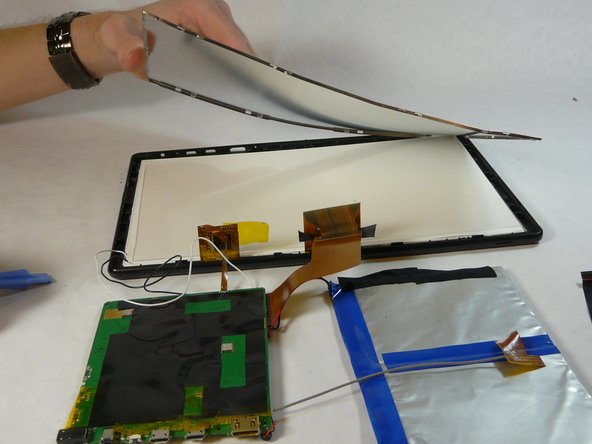

– First, let’s get that back metal piece off.
– Grab your trusty plastic pry tool and gently work your way around the edges – it’s like a little puzzle, and with a bit of patience, it’ll pop right off.
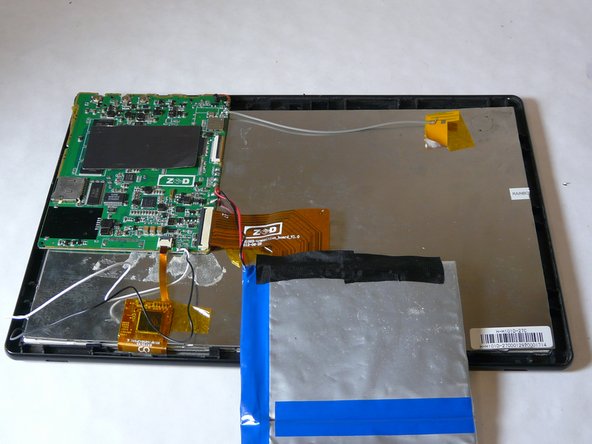
Step 7

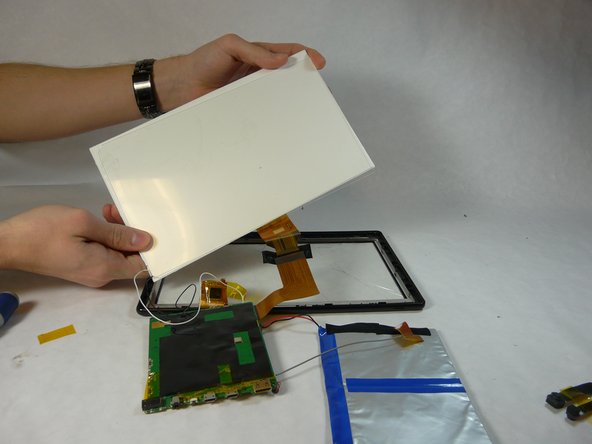
– Grab your trusty plastic opening tool and gently pry off those back screen pieces. It’s like a little scavenger hunt for your device’s secrets!
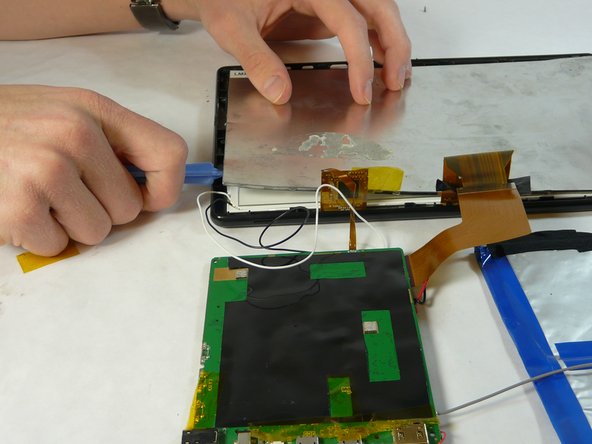
Step 8


– Grab that trusty plastic pry tool and gently coax the metal frame off. You’ve got this!
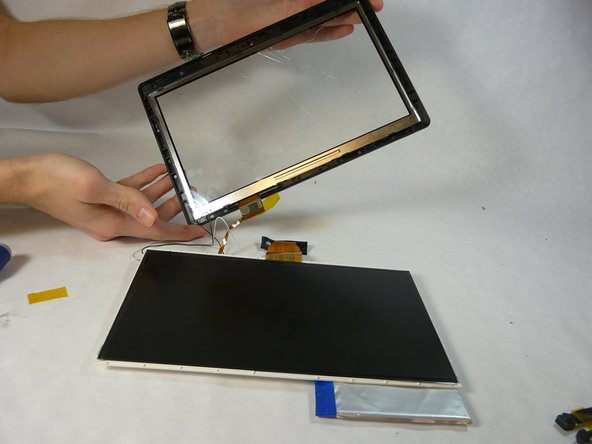
Step 9

– Grab your trusty iOpener and pop it onto that glue like a pro.
– This little move will loosen up the glass so it can separate from the plastic frame—smooth and easy!
Tools Used

Step 10

– Ready to bring your device back to life? Just follow these steps in reverse, and you’re golden!
–