DOPO 10.1 Tablet Dual .3 mega pixel Camera Replacement
Duration: 45 minutes
Steps: 4 Steps
Ready to dive into a little tech adventure? This guide will walk you through the process of swapping out a dual .3 Mega pixel camera in your tablet. To tackle this task, it’s helpful to have a basic grasp of how a motherboard functions and a bit of comfort working on one. Let’s get started!
Step 1


– Alright, time to get that back off! Grab your trusty plastic opening tool, slide it into the side of your tablet, and give it a gentle twist. This should pop the side off without a hitch.
– Now, slowly and carefully, start lifting the cover off. Take your time, and before you know it, it’ll be completely free.
Step 2


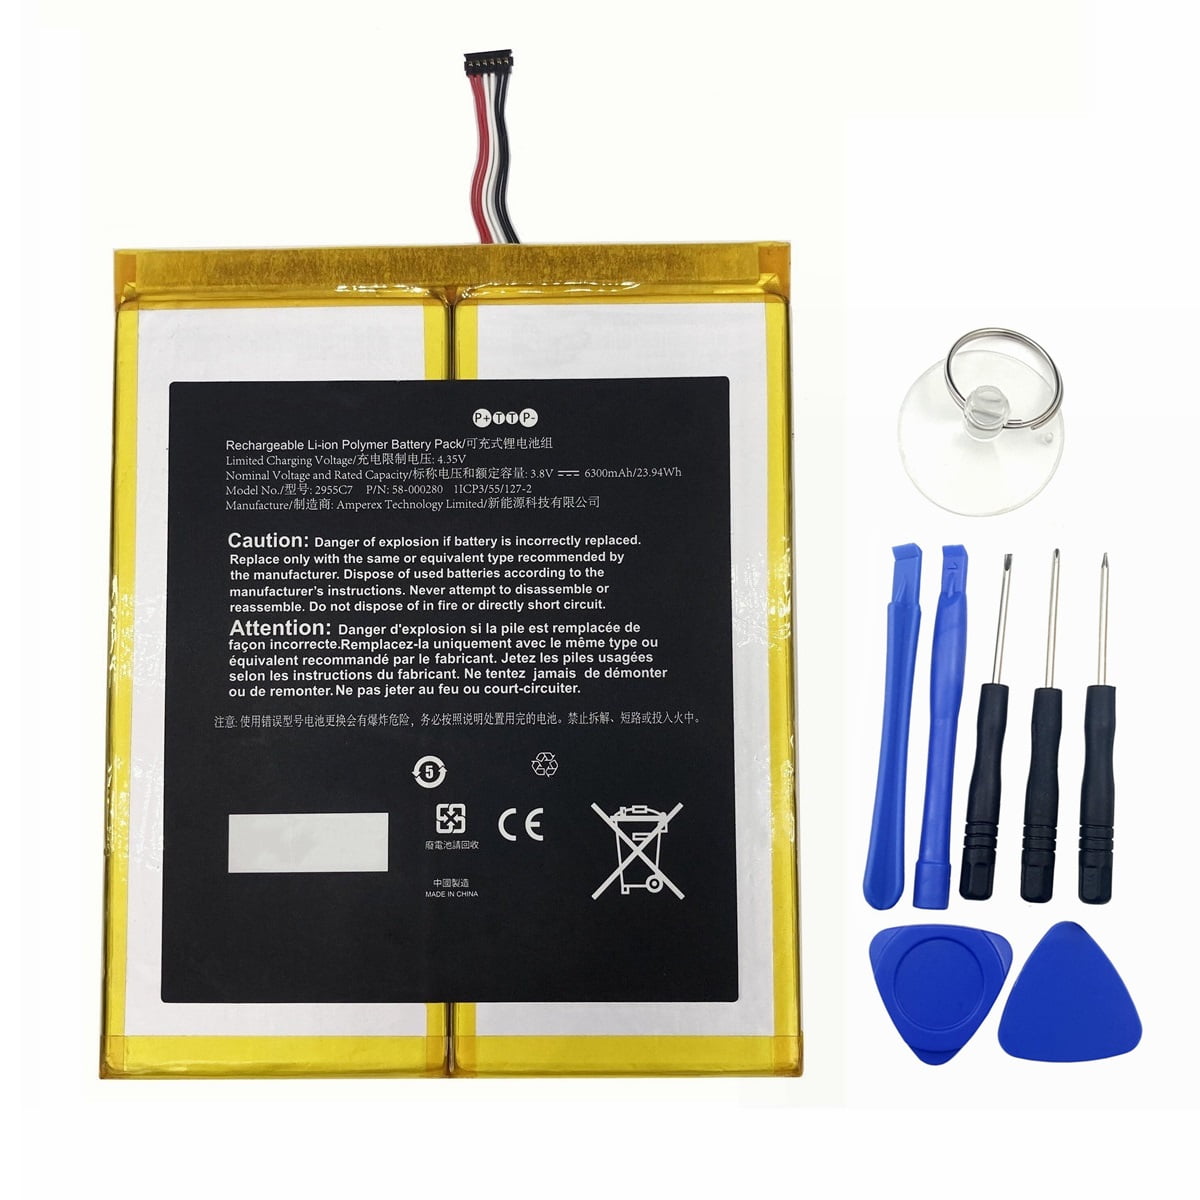
– If the battery is in your way, no big deal! Just gently lift it with a bit of consistent pressure, and it should easily pop off the adhesive.
– Once you’ve got it free, carefully set it aside, giving it some space.
– After removing the battery, you’ll spot a gray wire. Simply lift it up lightly and move it out of the way to keep things tidy.
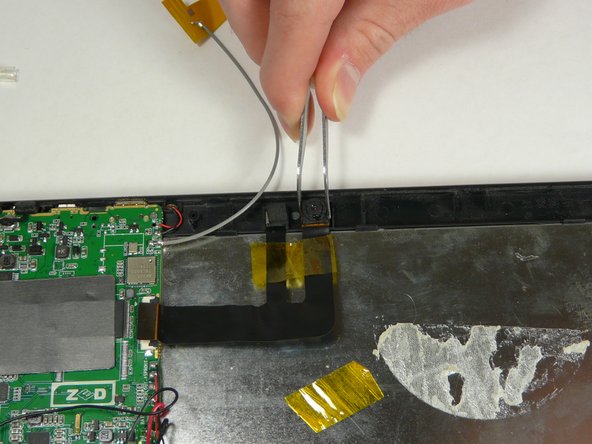
Step 3

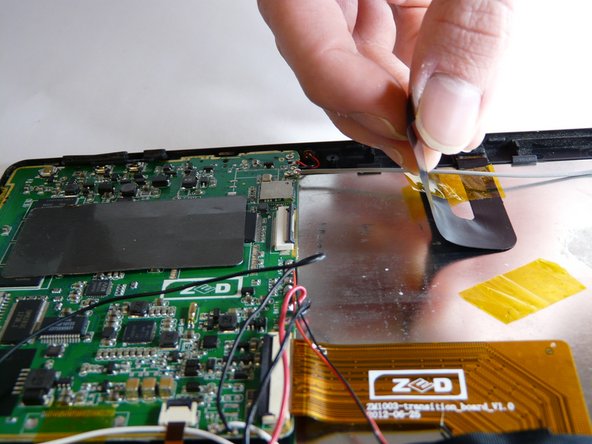
– First up, find that camera connection on the motherboard! It’s hanging out on the left side, just a smidge above the center.
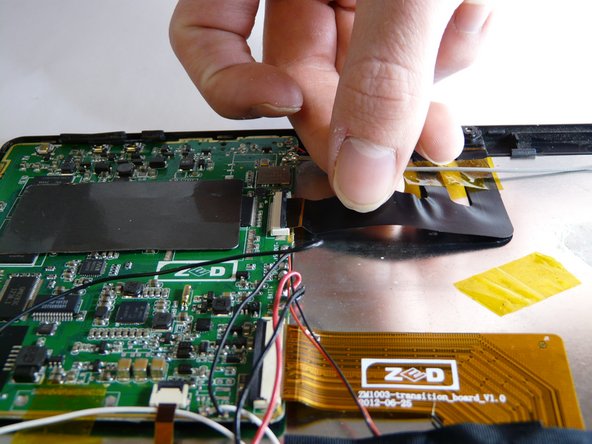
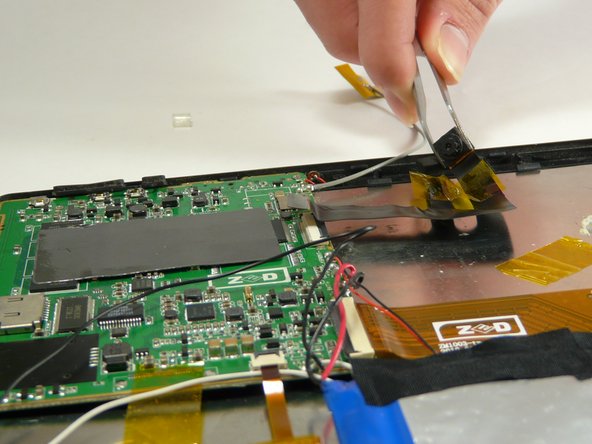
– Once you’ve found it, give that black lever on the right side a gentle lift. This little move will set your camera free!
– With the lever lifted, now you can carefully pull out the camera by giving the connector tape a light tug. Easy peasy!
Step 4

– You made it! To put everything back together, just reverse the steps you followed to get here.
– Need more help or have questions? Check out our resources at https://www.salvationrepair.com/ or if you’re really stuck, you can always schedule a repair
–