ViewSonic VG2438Sm Teardown
Duration: 45 minutes
Steps: 8 Steps
Take a quick peek inside the ViewSonic VG2438Sm Model No: VS15964. It’s always good to see what makes your device tick! Ready to dive into the inner workings of this model? Let’s get started and check out what’s under the hood. If you run into trouble along the way, you can always schedule a repair.
Step 1

– Model No. VS15964
Step 2
– Detach the stand by unscrewing those four Philips screws holding it at the Vesa mount. You’ve got this!
Step 3

After loosening the two edges, just a heads-up: the panel and logic board are only held in place by the case, so keep an eye out as you move forward.
It’s totally normal to nick the case a little during this step, so don’t sweat it!
– Start by gently prying open the case along the edge with a suitable tool. I used an opening pick to get a nice gap, which made it easier to slide in a flat screwdriver.
– Once you’ve slipped the screwdriver or jimmy in, carefully bend the handle back toward the monitor’s backside. This helps lift the front bezel off its hooks and frees it up.
Step 4
Watch out for the USB hub wire—it’s just the right length to flip the case and set it down without any stress.
– Gently flip the back of the case to the right, just like you’re turning a page in your favorite book.
Step 5
– Alright, let’s get into it! This guide covers a Samsung LTM240CL04 panel, a display that’s 1920 (RGB) x 1200 resolution, also known as WUXGA. With 94 pixels per inch (PPI), it’s a solid choice for sharp visuals.
– The active area for this panel is 518.4 mm wide by 324 mm high. That’s the sweet spot where all the magic happens on the screen—so treat it with care while working on it.
Step 6
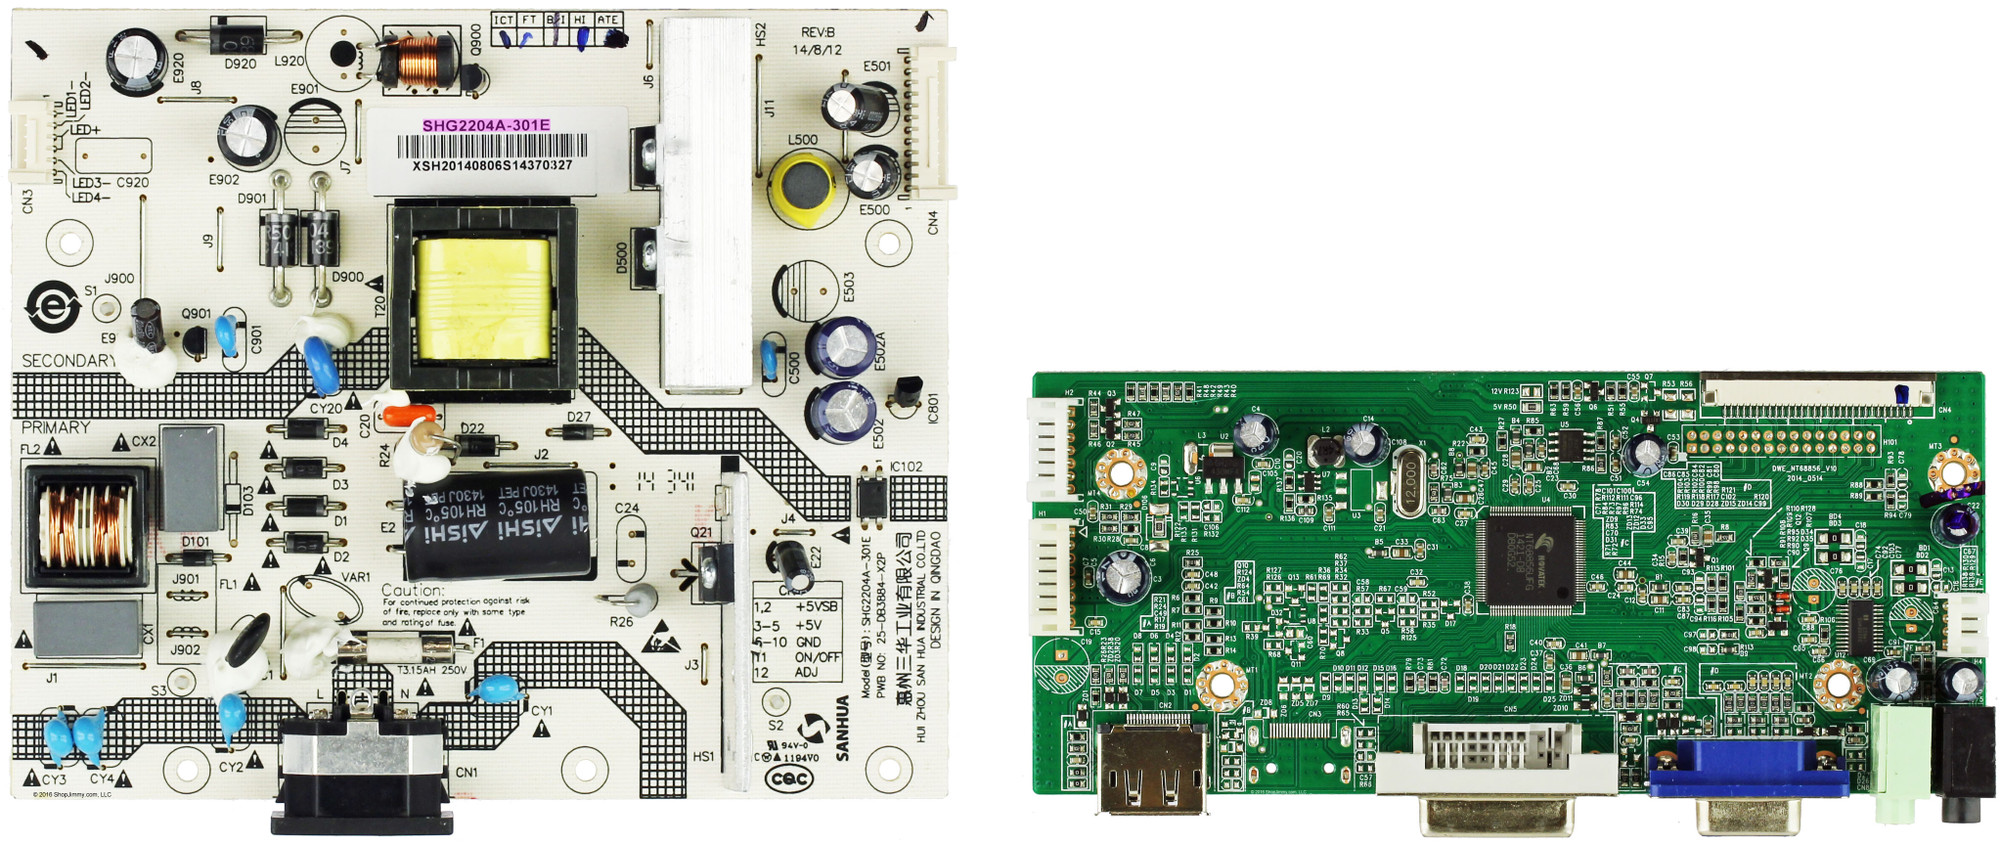
– Here’s the PSU and the logic board hanging out together. Keep in mind, it’s just resting on the panel and isn’t secured down. It’s only held in place by the back of the case, so handle with care. If you need a hand, you can always schedule a repair.
Step 7
– The USB Hub functions as its own little sidekick.
Step 8
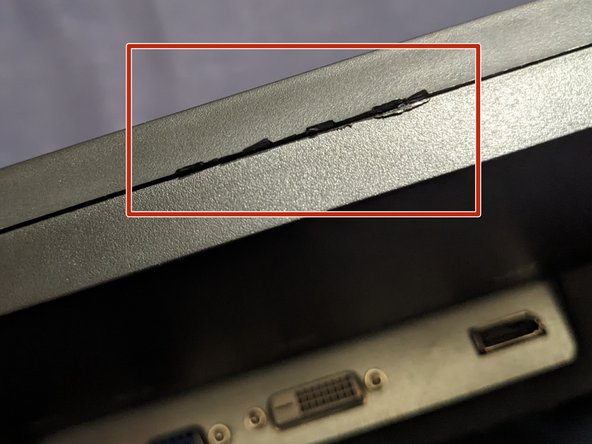
– After your monitor arrives, you might notice a pesky little noise when you move it around—don’t worry, it’s probably just something loose!
– To be safe, let’s peek inside before you power it up, just in case that sound could be a bit too adventurous. Good news: it’s likely just some plastic bits that decided to take a little vacation!
– These little troublemakers probably loosened from the back cover, where they help keep the logic board snug as a bug in a rug.