Digital2 7″ Tablet D2-713G GN Screen Replacement
Duration: 45 minutes
Steps: 5 Steps
This guide will be helpful to those with a “Digital2 7″ Tablet D2-713G GN”, that requires a screen replacement. The task difficulty is moderate, and does not require any special skills. You will need the following tools: 1 iFixit Opening Tool 1 Spudger 1 Pair of Tweezers 1 Phillips #0 Screwdriver
Step 1


– Grab your trusty tools because it’s time to hunt down that charging port!
– Once you’ve spotted your charging port, slide your prying tool into the tiny gap between the case and the display border to the right.
– Now, keep that prying party going all the way around the case.
– After you’ve made the rounds and pried everywhere, you’ll be able to pop off the back cover, exposing all the inner workings of your device.
Step 2


– Now that you’ve successfully opened the case, take a look inside – you should see the speaker staring back at you!
– Hold the device firmly in place with one hand, and use your other hand to gently lift the speaker out of its spot.
Step 3
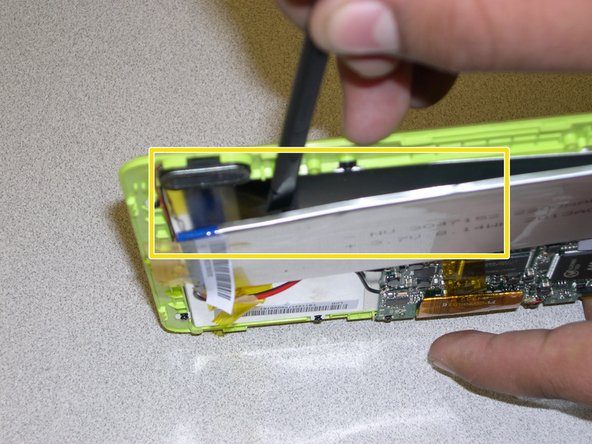
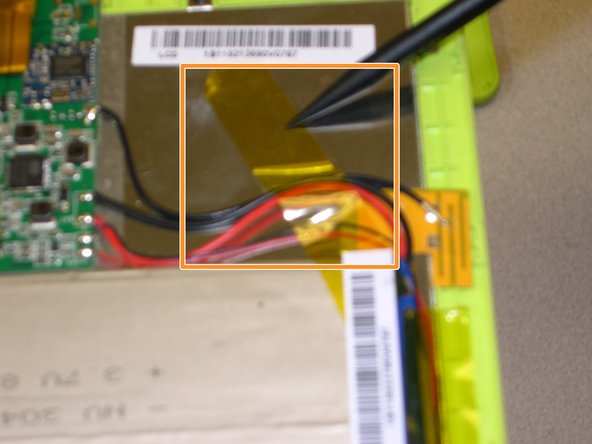

Keep that tape right where it is—attached to either the circuit board or the battery itself. No need to play tug-of-war with it!
– Grab your tweezers and gently lift those cameras out of their cozy little home! They’re attached by a ribbon cable, so just be a bit gentle to avoid any mishaps with that delicate ribbon.
– You might spot some sneaky yellow tape holding everything down. Peel it back just enough to free the battery from its sticky situation.
– Now, take your trusty spudger and slide it underneath the battery. Give it a gentle nudge to pop it away from the back of the display. You’re doing great!


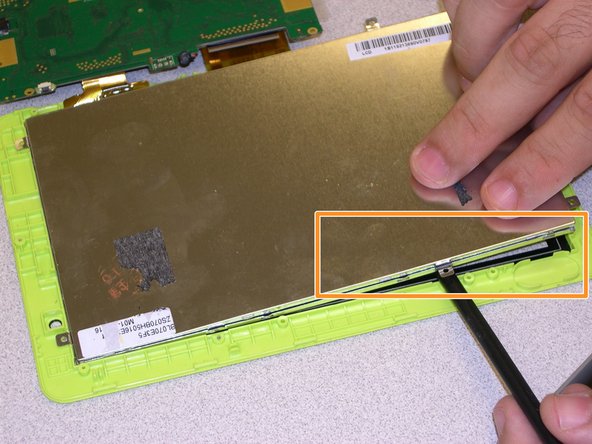
Step 4
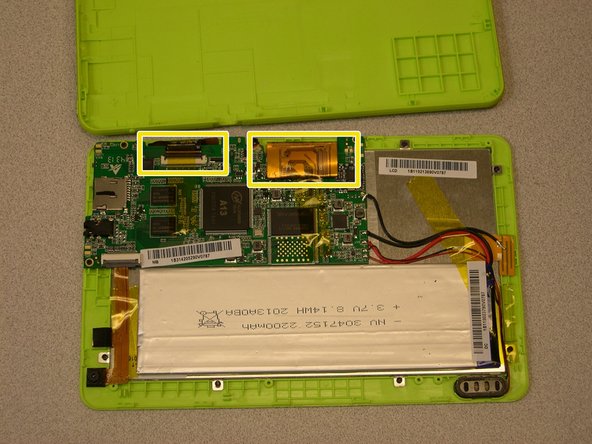

– First things first, once you’ve popped off those other components from the back of your display, it’s time to tackle those 11 screws that are keeping the circuit board and display in place. Let’s get them out!
– Now that you’ve got those screws sorted, go ahead and gently move the circuit board, speaker, cameras, and battery aside. You’ll now have a clear view of the back of the display (that shiny screen!).
– Next up, disconnect those 2 ribbon cables that link the display to the circuit board. You’re almost there!
Step 5
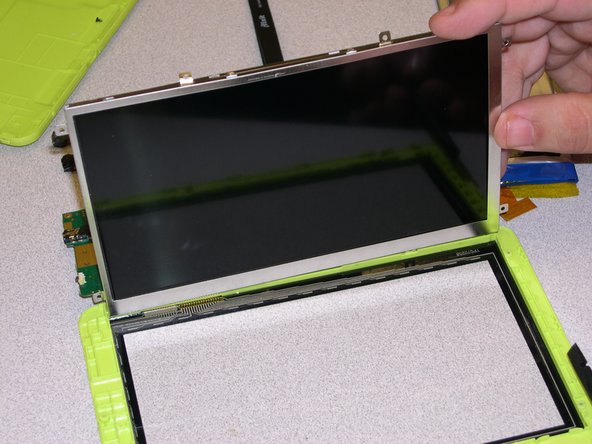

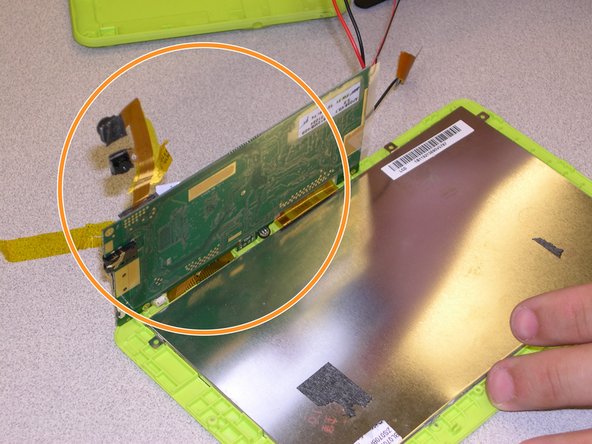
Once you’ve made your way all around the device, you’ll be able to carefully lift the display out and swap it with the brand new one.
– To successfully reattach the components of your device, simply survey these instructions in reverse order to ensure an entirely seamless and powerful reassembly process.
–
