Digital2 7″ Tablet D2-713G GN Battery Replacement
Duration: 45 minutes
Steps: 4 Steps
Is your Digital2 tablet’s battery running out of juice faster than it used to? Or maybe it’s getting too hot or affecting the overall performance? Sounds like it might be time for a new battery! This guide will walk you through all the steps to swap it out. Just a heads-up, you’ll need to do some soldering along the way. If you’re not sure about soldering, check out this guide for a quick crash course.
Step 1


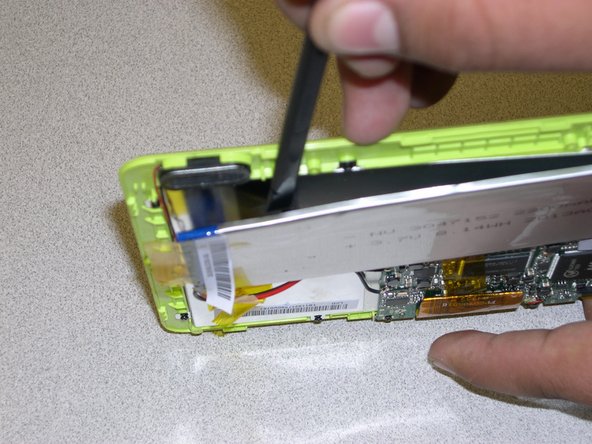
– Slide your trusty prying tool into the little gap between the case and the display border, right next to the charging port. You’ve got this!
– Keep prying your way around the case like a pro.
– Once you’ve worked your magic all around the device, gently lift the back cover away from the display. You’re almost there!
Step 2


Keep the tape in place—there’s no need to go all out and remove it completely!
– Gently lift the yellow tape above the battery to free those cables. No more sticky situations here!
Step 3

– Use the spudger to gently lift from beneath the battery—like a pro excavator unearthing treasure—and pop it out with a smooth move.
Tools Used

Step 4

– Grab your trusty soldering iron and carefully detach the cables from the circuit board. Think of it like an electronic breakup—clean and precise!
– Now, it’s time to make some new connections! Solder the fresh battery cables onto the circuit board, ensuring a strong and lasting bond. Like a perfect handshake, but for circuits!
