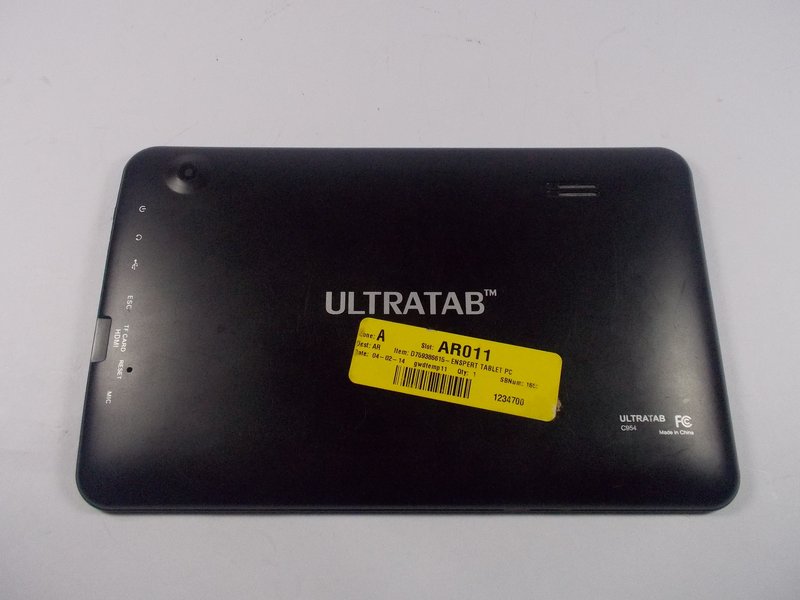
Jazz Ultratab C954 Digitizer Replacement
Duration: 45 minutes
Steps: 8 Steps
Alright, let’s get rolling! These instructions assume you’ve already given your tablet a little makeover by removing its back cover. If your tablet is still sporting its back cover, check out our guide on cover removal and attachment (steps 1-3) before diving in. If that cover is already off, you’re all set to jump into step 4!
Step 1


– Swing by the top of your tablet, where you’ll spot two tiny screws—each measuring around 1cm—holding the back cover snugly in place. Grab your trusty Phillips head #0 screwdriver and remove those screws like a pro!
Step 2

Heads up! The buttons on the top side of the tablet are sneaky little things—they go through the back cover. When removing the cover, make sure to slide it up smoothly to avoid an unfortunate button casualty.
– Alright, time to remove that back cover from the touch screen panel! Grab a plastic spudger and carefully insert it into the seam. Work your way around the edges until the panel pops free. Easy does it!
Tools Used

Step 3

– Once you’ve popped off the back cover, your tablet should be looking all fresh and ready to roll! Now it’s time to dive into the repair adventure. Grab the corresponding guide to jump into fixing those major components.
– To get the back cover back in action, start by gently sliding it on, making sure those buttons and speaker fit snugly into their designated spots. Then, give the covers a firm press together until you hear that satisfying click of the plastic tabs locking in place.
– With those screens locked and loaded, the grand finale is to reinsert the two 1cm screws at the top of your tablet. And just like that, your tablet is all set for another round of fun!
Step 4

– To kick things off, let’s get that motherboard out from the touch screen panel! Grab your trusty Phillips head #0 screwdriver and take out those three 1cm screws that are keeping the motherboard snug in its spot. You’ll find them hanging out at the top of the motherboard, just waiting for their moment to shine!
Step 5

– Next up, it’s time to gently coax the microphone out of its snug little home. You’ll find it nestled in the tiny circular opening shown in the picture. If it’s being a bit stubborn and doesn’t slide right out, give it a little nudge with some tweezers to help it along.
Tools Used

Step 6

– There’s a wire strip connecting the touch screen to the motherboard that needs to be disconnected. Grab a spudger and gently lift the tab on the back of the connector. This will let you slide the wires out, freeing up the touch screen panel. Easy does it!
Tools Used
Step 7

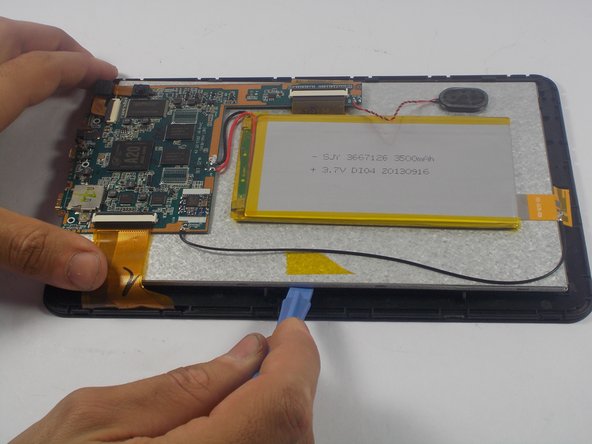
– Now that the touch screen panel is completely disconnected from any electrical connections, it’s time to gently lift it off from the screen and motherboard.
– You’ll find 9 sneaky plastic tabs securing the screen to the touch screen panel, which are marked in the photo. Grab a spudger and carefully pry each tab free to release the screen from its snug little home in the touch screen panel.
Tools Used
Step 8

– With all those tabs out of the way, the touch screen panel is free! Gently lift it off from the screen and motherboard.
– Now it’s time to get your new touch screen panel in place! Start by pressing it into the screen at the nine designated spots you marked earlier.
– As you put everything back together, don’t forget to position the microphone, wire strip, and motherboard screws in their rightful places. Just follow the steps in reverse, and you’ll be golden!