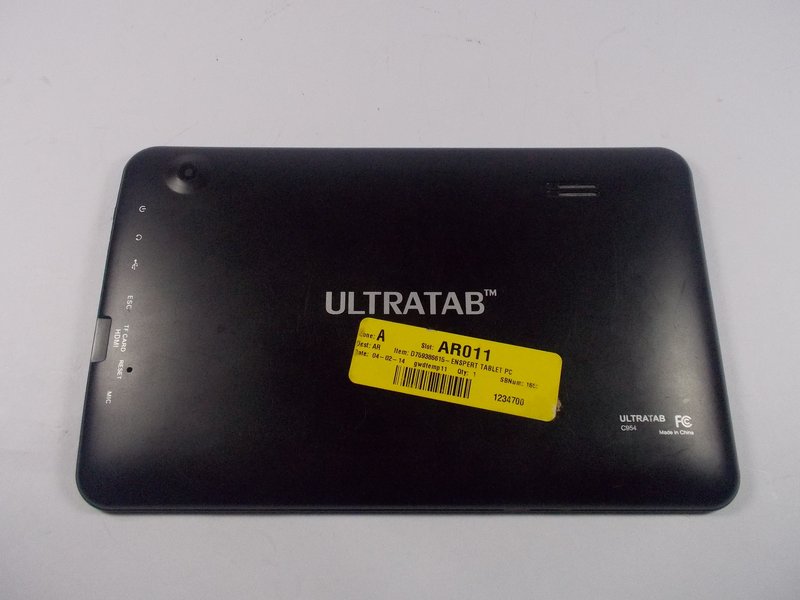
Jazz Ultratab C954 Battery Replacement
Duration: 45 minutes
Steps: 11 Steps
Ready to give your Ultratab C954 a fresh boost? In this guide, we’ll walk you through replacing its battery. Just a heads up, we’re assuming the back cover is already off your tablet. If it’s still on, make sure to check out our prerequisite guide for removing the cover (steps 1-3). If you’re good to go, jump right into step 4! Keep in mind, this repair requires a soldering iron, and if you haven’t used one before, it might be a bit of a challenge. But don’t worry, you’ve got this! And if you ever feel stuck, you can always schedule a repair.
Step 1


– Up at the top of your tablet, there are a couple of 1cm screws keeping the back cover snug. Spot those little guys and gently unscrew them using a Phillips head #0 screwdriver.
Step 2

The buttons on the top side of the tablet extend through the back cover. When removing the cover, slide it upward to steer clear of any button mishaps.
– It’s time to detach the back cover from the touch screen panel! Grab your trusty plastic spudger and gently slide it into the seam. Now, just work your way around the panel until it pops free. You’ve got this!
Step 3

– Once you’ve popped off the back cover, your tablet should be looking all fresh and ready to roll! Now it’s time to dive into the repair adventure. Grab the corresponding guide to jump into fixing those major components.
– To get the back cover back in action, start by gently sliding it on, making sure those buttons and speaker fit snugly into their designated spots. Then, give the covers a firm press together until you hear that satisfying click of the plastic tabs locking in place.
– With those screens locked and loaded, the grand finale is to reinsert the two 1cm screws at the top of your tablet. And just like that, your tablet is all set for another round of fun!
Step 4

– Start by locating the battery on your tablet—it’s like the heart of your device! All the important battery details are printed right on top, so take a moment to check them out. This info is your golden ticket to finding the perfect replacement battery for your tablet.
Step 5

– Alright, let’s give ourselves some elbow room before tackling that battery! First, detach the motherboard so you’ve got more space to work with and avoid any accidental damage. To do this, unscrew the three Philips head screws marked by the red circles—they’re 1cm wide, so you won’t miss ’em.
Step 6
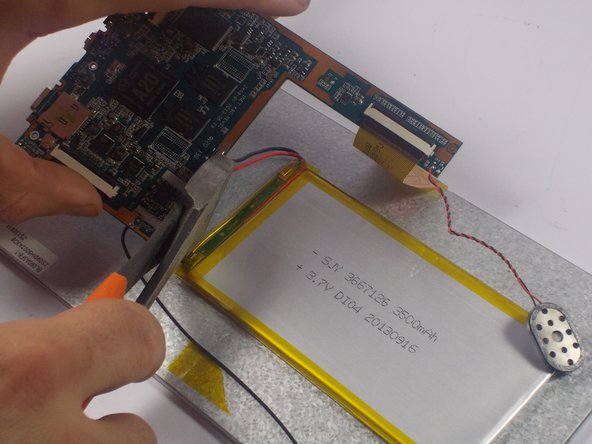

– Time to tackle those wires connecting the battery, located within the yellow box. Grab your trusty wire cutters and carefully cut each wire as close to the motherboard as possible, without damaging the board. Take your time and make clean cuts – you got this!
Step 7

WARNING: Handle that battery with care! It’s got some no-good materials inside and should never be opened or sliced. Keep it safe and sound!
– Alright, let’s get that old battery out of there! Grab a pencil and trace where the battery sits—this little trick will help you line up the new battery perfectly. The old battery is stuck to the screen, so we’ll need some spudgers to gently pry it free. Just take your time and peel it away until it’s out, like unwrapping a gift!
– Now for the fun part! Grab your hot glue gun and secure that shiny new battery in the same spot as before, making sure it lines up with your pencil marks. Don’t forget—those wires should be on the side facing the motherboard. You got this!
Step 8

– Before plugging in your shiny new battery, take a moment to identify where the wires need to go. Connect the black wire to the (-) spot—think of it as the cool, calming side—and the red wire to the (+) spot, bringing in that positive energy!
Step 9

Soldering irons are like the sun—super hot and can lead to serious burns! If you’re not already a soldering whiz, it might be a good idea to get some guidance from a pro who knows their way around these hot tools.
– Alright, it’s time to get your soldering game on! Grab those wires and place them on the old solder. With just a tiny bit of fresh solder, melt it together with the old stuff to create a solid connection.
– Remember, the black wire goes to the – location and the red wire goes to the + location. Keep it straight!
– For a deeper dive into the art of soldering, check out the soldering guide on our site. If you need help, you can always schedule a repair.
Step 10

– Now that your shiny new battery is snugly in place, it’s time to give that motherboard some love! Grab the three screws you took out earlier and fasten them back in. You’re almost there!
Step 11

– Now that your fresh battery is all set up, it’s time to pop that cover back on and get your tablet back in action! Need a hand with the cover? Check out the prerequisite guide for cover removal and attachment (Step 3).
Success!