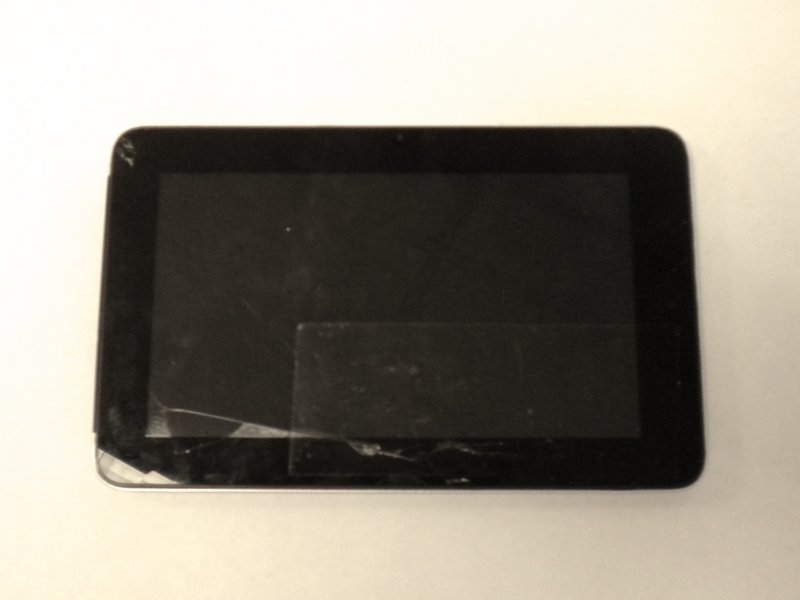
Jazz UltraTab C855 Motherboard Replacement
Duration: 45 minutes
Steps: 8 Steps
Get ready to bring your tablet back to life! This guide is your go-to for swapping out the motherboard, and yes, you’ll need some soldering skills for this project. If you’re looking to sharpen those skills, check out more info on soldering here. And remember, if the going gets tough, you can always schedule a repair!
Step 1
– Unscrew the 4 exterior screws with a Phillips #000 Screwdriver and get ready to dive into the fun part!
Tools Used
Step 2
– Gently work your way around the edge of the back case with those nifty blue Plastic Opening Tools. Wiggle one along the seam until you can sneak your fingers in there to pull it apart. You’ve got this!
Step 3
– Peel away the two pieces of tape that are holding the ribbon cables snugly to the motherboard. It’s like unwrapping a surprise, so go gently and reveal what’s beneath!
Step 4
– Unscrew the 3 screws at the top of the motherboard. Nice and easy, just make sure they’re all out before moving on!
Step 5
– Grab yourself a plastic prying tool and pop that latch open—it’s the little one keeping the ribbon cable snug near the speaker.
– Gently slide the ribbon cable out of its connector on the motherboard. Take your time—you’re rocking it!
Step 6
– Gently use a plastic prying tool to free up the other ribbon cable hooked to the motherboard. This little guy is connected to your device’s cameras, so treat it with care!
Step 7
When you’re diving into electronics repair, make sure your gear is ESD-safe—it’s like giving your device a protective shield against accidental harm. Stick with the classic black nylon spudger or a trusty plastic opening tool for best results.
– Unplug the big ribbon cable from the motherboard. Just give those tabs on both sides of the connector a little nudge to unlock them. You’re doing great!
Tools Used
Step 8
If you’re just replacing the screen, feel free to skip this step and save yourself some time.
When you’re putting everything back together, we recommend soldering or crimping the wires carefully, keeping them away from the motherboard contacts. Soldering directly to the motherboard should be your last resort. Need a little help with soldering? Check out our handy Soldering Skills Guide for some useful tips!
– Reassembling your device is a breeze! Just retrace your steps and follow these instructions in reverse. If you hit a snag, remember, you can always schedule a repair for some expert help!
–


