Microsoft Surface Keyboard (WS2-00025) Teardown
Duration: 45 minutes
Steps: 24 Steps
The Surface Keyboard is Microsoft’s take on bringing a laptop-style keyboard to the desktop world. First introduced with the Surface Studio, it’s been both praised and critiqued by tech enthusiasts. In this teardown, we’ll dive into how it’s built and explore some of the design choices Microsoft made along the way.
Step 1


– The box is an accurate mini version of the product. Nailed it!
– It’s a box—wait, no, it’s a keyboard—oh nope, it’s definitely a box…
Step 2


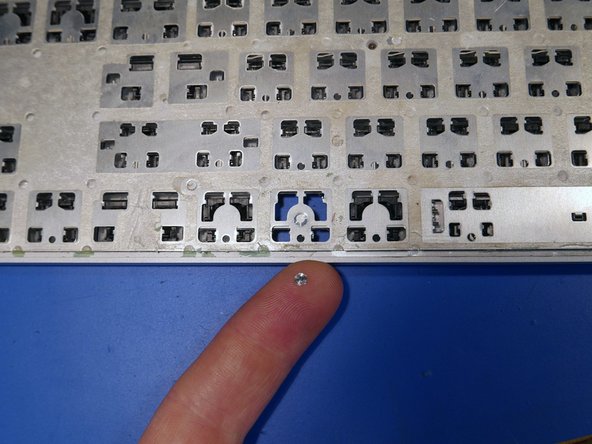
– Why the teardown? This keyboard was bought from an eBay listing that claimed it was used, but it turned out to have a pretty major flaw – a broken key.
– The key tabs that were supposed to hold the key in place had snapped off, making it super tough to fix that beloved Windows key. Time to get out the repair tools and see what’s going on inside!
Step 3

– Take a peek under the left side of the keyboard – there’s the Bluetooth sync button, hiding away, waiting to be discovered!
Step 4

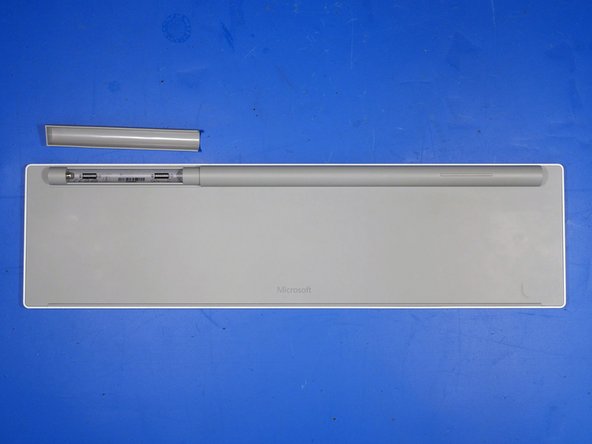
– Flip the keyboard over, and you’ll find a slick, screwless battery compartment—it’s minimalist design at its finest.
– The battery cover stays snug thanks to some strong neodymium magnets and a cool metalized plastic coating holding it all together.
Step 5
– The satisfying snap when the battery compartment locks into place.
Step 6

– Before diving into our repair adventure, let’s take a moment to check out the outside of our gadget. This little analysis helps us understand how it was put together and rolled off the production line.
– Now, picture the keyboard in your mind. I had a hunch it was one big assembly, all glued and snapped together, but we need to confirm that theory.
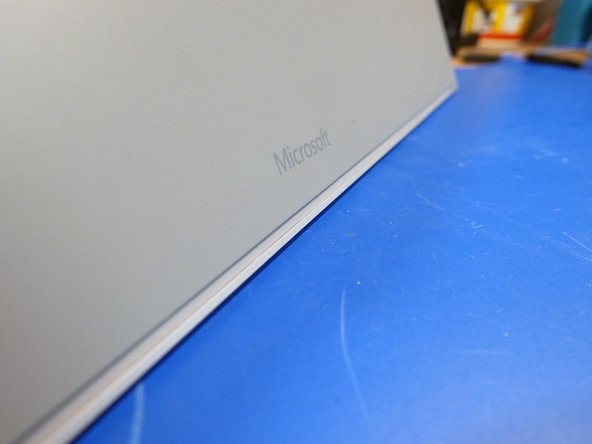
– The best way to figure this out is to look for seams or any little quirks in the construction.
– Does the part bend or flex when you apply a gentle nudge? Are there any noticeable gaps? And what about those sneaky stickers hiding the fasteners?
Step 7

– After giving the seams a quick once-over, I take a look under the stickers and those rubber feet that are stuck on. Still nothing pointing to screws. Let’s keep digging!
Step 8

– No sneaky screws lurking under the keys here—thank goodness! Let’s get started.
– To pop off a key, take a plastic spudger and slip it under the top edge of the key. Give it a gentle nudge downwards; you should hear some satisfying pops as the key releases from the metal clips holding it in place. Easy peasy!
Step 9

– Bracing myself for what was next, I grabbed a piece of wax paper and removed the bottom-most rubber foot from the keyboard.
– Still no screws in sight—keeping us on our toes!
Step 10


– This keyboard is built tight—like, really tight. If you were hoping to sneak a prying tool in there without a struggle, think again. There’s practically no wiggle room in the seams, so you’ll need steady hands and maybe a little patience.
Step 11


– Before you start prying open the keyboard, it’s smart to grab that iOpener tool or a heat gun to handle all that double-sided tape and glue lurking inside. We’re talking about some serious stickiness here!
– As I made my way through the prying process, I had a lightbulb moment and decided to use the heat gun later on because I didn’t want to risk melting or warping the keyboard’s back plastic. Thankfully, by setting the heat gun to the lowest level, I was able to soften the glue just enough to make it easier to work with.
Tools Used

Step 12


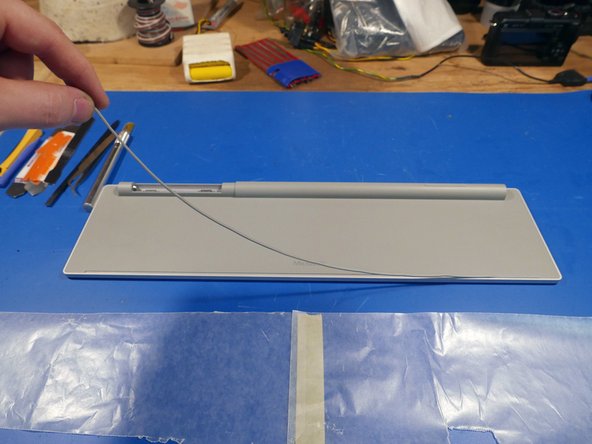
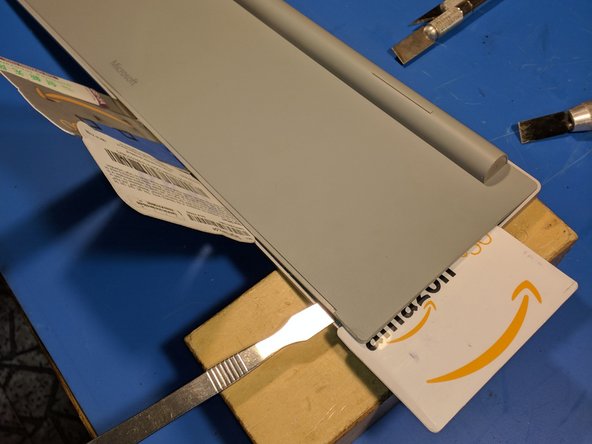
Heads up: Avoid using an X-ACTO knife for prying—those blades aren’t made for it! If you give it a go, you might end up with a cracked device and a handful of cuts. Let’s keep those hands safe while we get your gear back into shape!
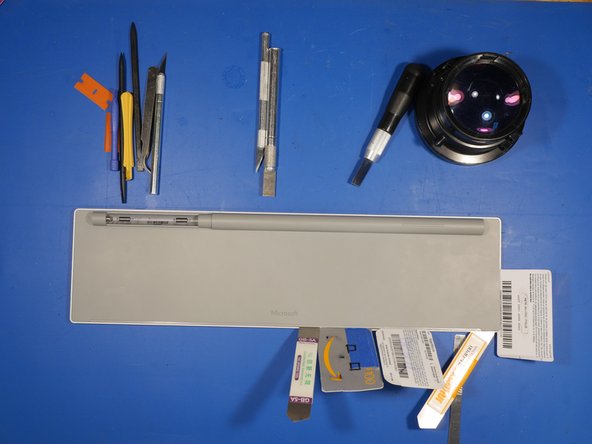
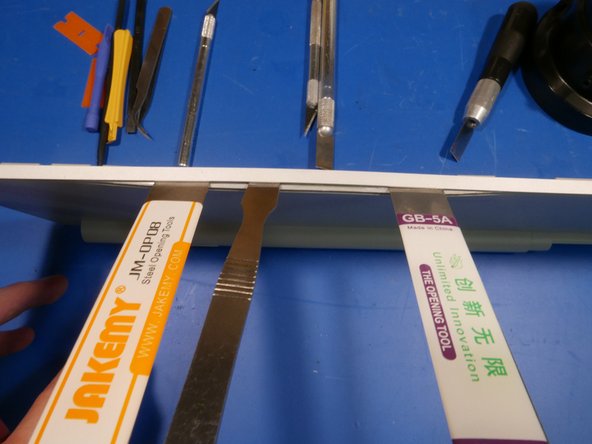
– It’s time to tackle the prying part! Get your lineup of trusty prying tools ready! I went with a mix of plastic spudgers, metal spudgers, plastic cards, and an X-ACTO knife to help me crack this open.
– The squeeze between that aluminum shell and plastic rear plate was pretty tight, so I had to bring in the big guns—a square-headed No. 18 Blade X-ACTO knife—to help widen the gap just enough for my metal spudger to slip in smoothly.
Tools Used

Step 13

– Heating things up was the game-changer for getting those stubborn parts to budge. Trust me, patience and heat work wonders!
– Here’s the scoop: two metal prying tools will leave you wanting more. Lucky for me, I had some old gift cards lying around—turns out they make excellent backup prying tools!
Step 14
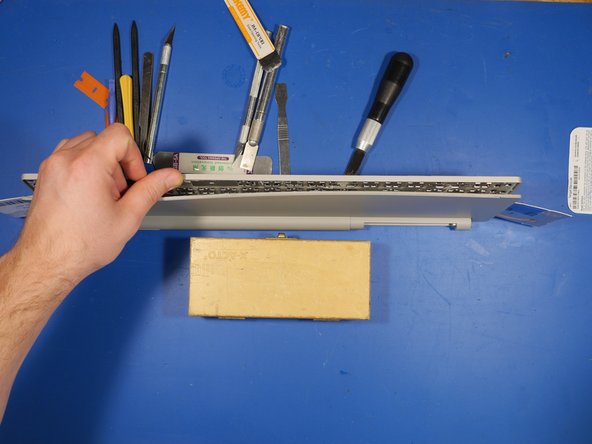

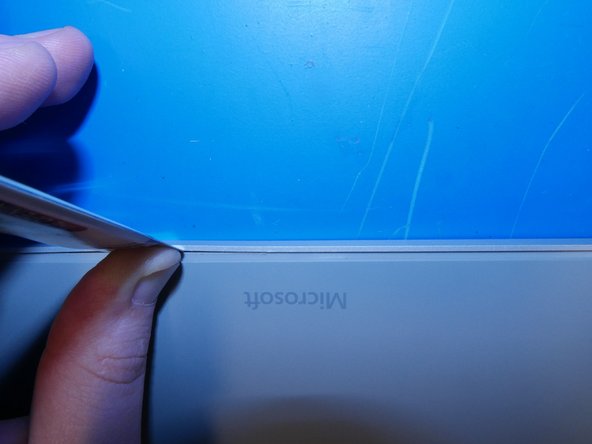
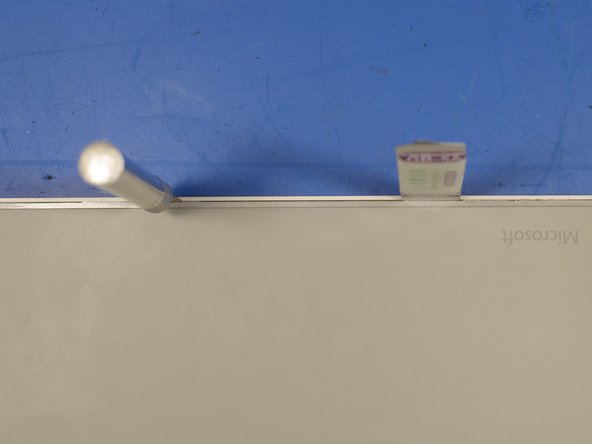
– After a few more rounds of heat and some careful prying, you’ll finally start to make some progress.
Step 15

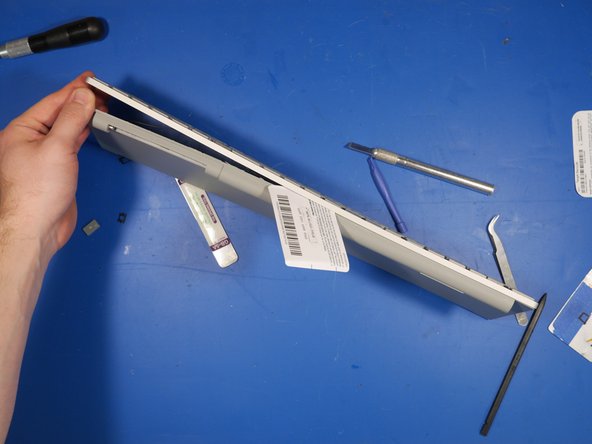
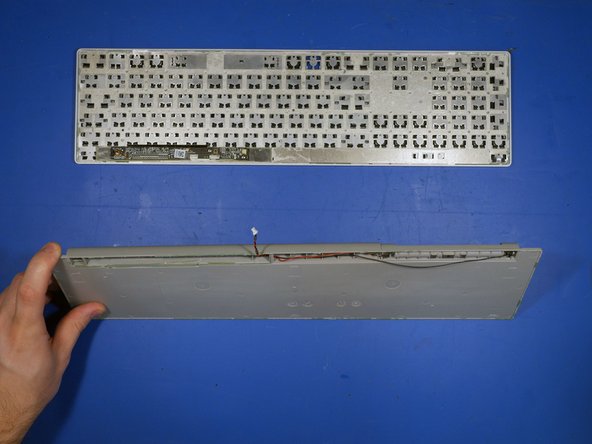
– The two main halves can be coaxed apart with a bit of gentle persuasion.
– Giftcards can be super handy for prying things open without damaging the delicate parts inside. Using a metal spudger here could risk damaging the ribbon cable, so it’s better to use something a bit more gentle. Save those giftcards, they might just come in handy for a repair like this!
Tools Used
Step 16


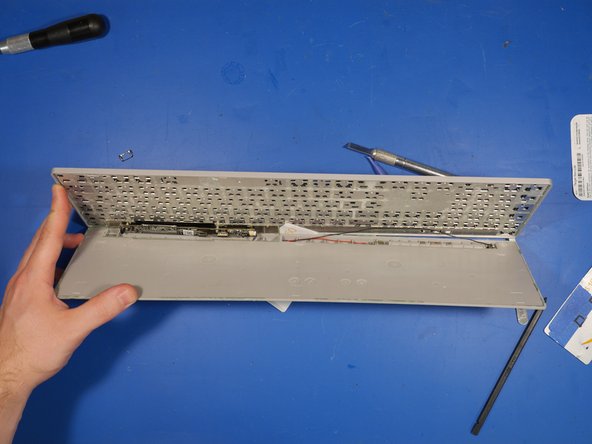
– Hooray, we’re finally in! Now that the keyboard is split apart, it’s clear that Microsoft decided to stick with double-sided tape around each key and a little glue on the edge of the keyboard. Easy peasy, right?
Step 17


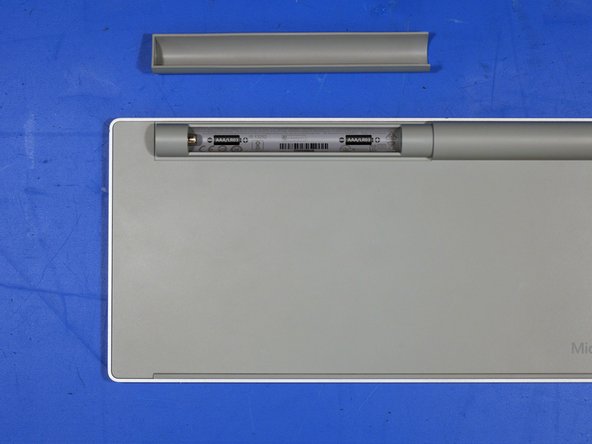
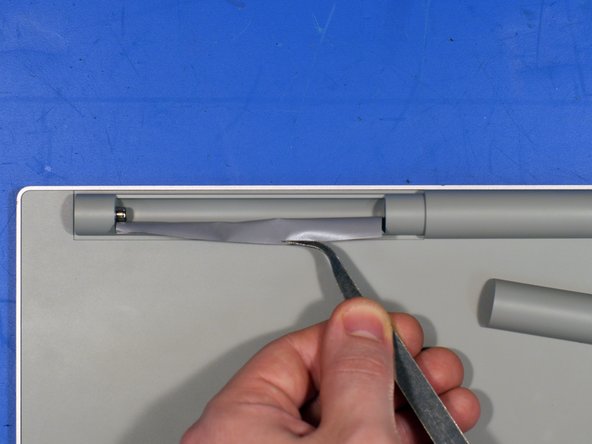
– Zoom in on that Battery compartment! We’re diving in!
– Look for those sneaky neodymium magnets perched on both terminals and at the top of the compartment!
– Those top magnets are like the VIP section for AAA batteries, keeping them snugly in their place. For a smooth exit, just give a firm tap to the top of the keyboard to coax those batteries out of their cozy hideaway.
Step 18

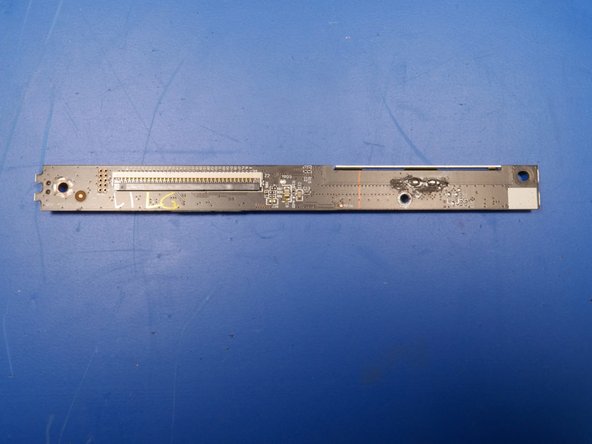
– Check out the main PCB – it’s a compact little guy, measuring just 12mm x 170mm.
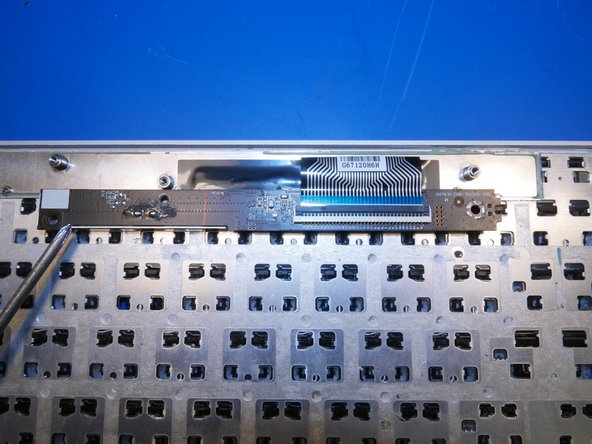
– Flipping it over, you’ll notice the backside is pretty minimal with only a ribbon cable connector and a few solder joints hanging out.
– Now, the flex circuit board for those rubber dome keys wraps up nicely into a multi-wire ribbon cable that connects right back to the main PCB.
Step 19

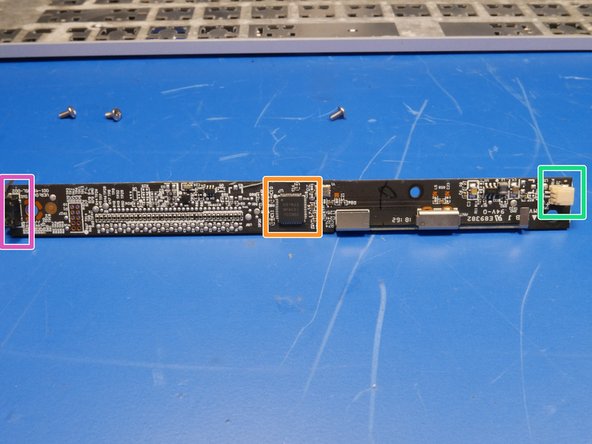
– Take a look at the top side of the PCB – it’s a bit of a component party up in here. You’ll spot the main chip, some passive components hanging out, a battery connector, the Bluetooth switch, and the Bluetooth antenna all getting along swimmingly.
– The star of the show is the Nordic Semiconductor nRF51822 – a pretty cool chip if we do say so ourselves.
– You’ll also notice a 2 Pin JST battery connector, because, you know, batteries are kind of important for making things work.
– And last but not least, there’s a button for Bluetooth pairing, because who doesn’t love a good pairing session?
Step 20

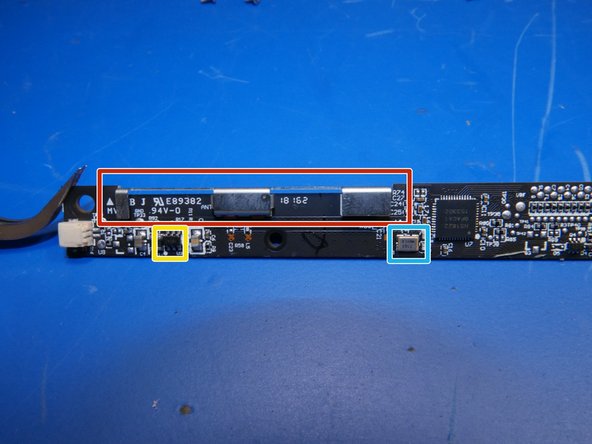
– Let’s take a peek at the Bluetooth antenna! It might look more like a bracket, but trust us, it’s perfectly crafted for that sweet 2.4GHz bandwidth.
– Check out the real-time clock.
– Spotlight on the Microchip Microchip VUA Power IC / Voltage regulator.
Step 21


– Isn’t it a fun little quirk that Microsoft decided to leave a ribbed, empty space at the bottom of the keyboard? Just adds to the charm, right?
– Ever heard of the Microsoft Modern Keyboard? You might just want to check it out!
Step 22


– As we dive deeper into the world of the surface keyboard, we’ll uncover something intriguing that Microsoft has cleverly tucked away right before our eyes.
Step 23
– Ever wondered why typing had to be so tricky? Let’s get that fixed.
– What’s up with no backlight in some keyboards, huh? That’s where the problem is, folks!
– Ever ask yourself why your keyboard doesn’t quite feel right? It’s the strokes, my friend.
– The world just can’t get enough of that sound, right? But we’re here to make it even better.
– And why, you ask, did they even make a new surface? Simple – because the old ones just didn’t light up the way they should!
Step 24

– You made it to the end of this repair guide. If you’re feeling stuck or need a little extra help, don’t worry – you can always schedule a repair with Salvation Repair.