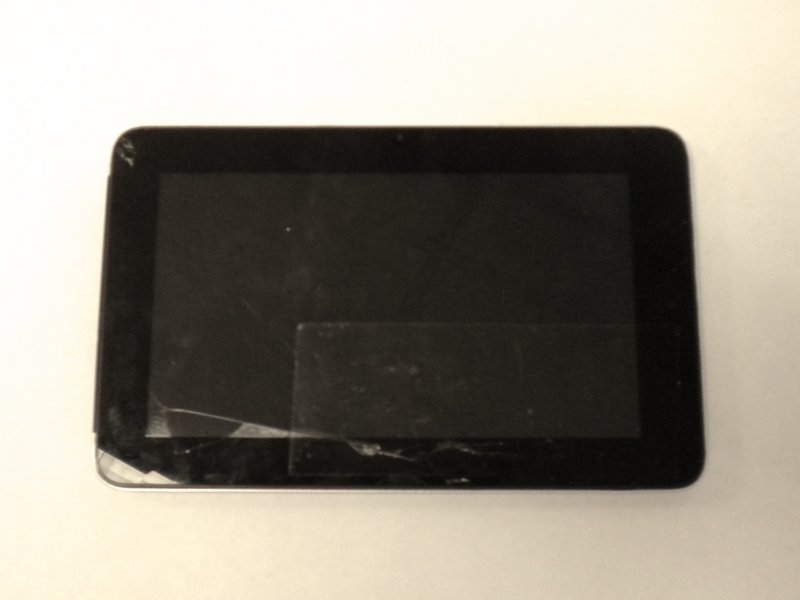
Jazz UltraTab C855 Battery Replacement
Duration: 45 minutes
Steps: 6 Steps
Get ready to flex those soldering skills to swap out the battery in this device! If you’re looking for a little extra guidance, check out our Soldering Skills guide for a handy boost.
Step 1

– Let’s get started by removing the 4 exterior screws. Grab your trusty Phillips #000 Screwdriver and get to work!
Tools Used

Step 2

– Grab the blue Plastic Opening Tools and gently pop off the back case. Glide one tool along the seam until you’ve got enough space to slip your fingers in and pull it apart with confidence.
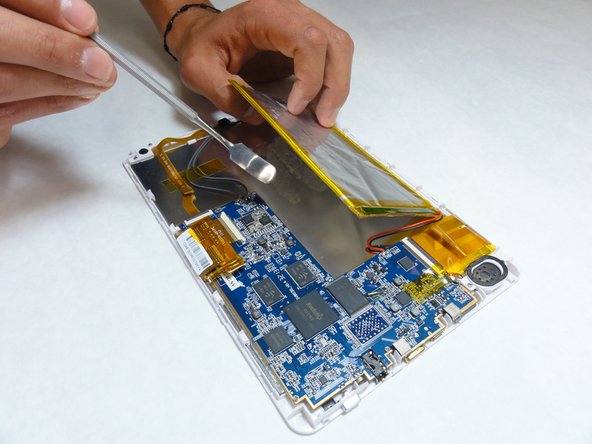
Step 3

– Peel off that cheerful yellow tape from the edges of the battery and any nearby components like you’re unwrapping a surprise gift!
Step 4

– Time to disconnect the battery! Use your trusty wire cutters to snip the positive (+) and negative (-) wires that link the battery to the device. Cut them near the middle, don’t worry, you’ll get to reuse them later when you’re installing the new battery – just strip the ends and solder or crimp them back on.
– Go ahead and cut those wires, you’re one step closer to a brand new battery! Remember to strip the wire ends during the new battery installation, and then solder or crimp them to secure the connection.
Step 5
Watch out for those sneaky metal spudgers! They can pop a battery like a party balloon, and that’s a fire waiting to happen. When you’re diving into your device, make sure to grab a tool that’s ESD-safe to keep things smooth and damage-free. Stick with the classic black nylon spudger or a trusty plastic opening tool whenever you can. Let’s keep it safe and sound during your repair journey!
The battery is stuck to the device with some pretty strong adhesive, so you’ll need to carefully work it loose.
– Grab a plastic opening tool or spudger and gently work it between the battery and the board. Take your time, a little patience goes a long way here.
Step 6

– Grab some two-sided adhesive and use it to snugly fit the new battery in place.
– Time to play electrician! Solder or crimp those wires back together to reconnect with the motherboard.
– Don’t forget that yellow tape you detached earlier; it’s time to replace it and keep those wires secure like a pro.