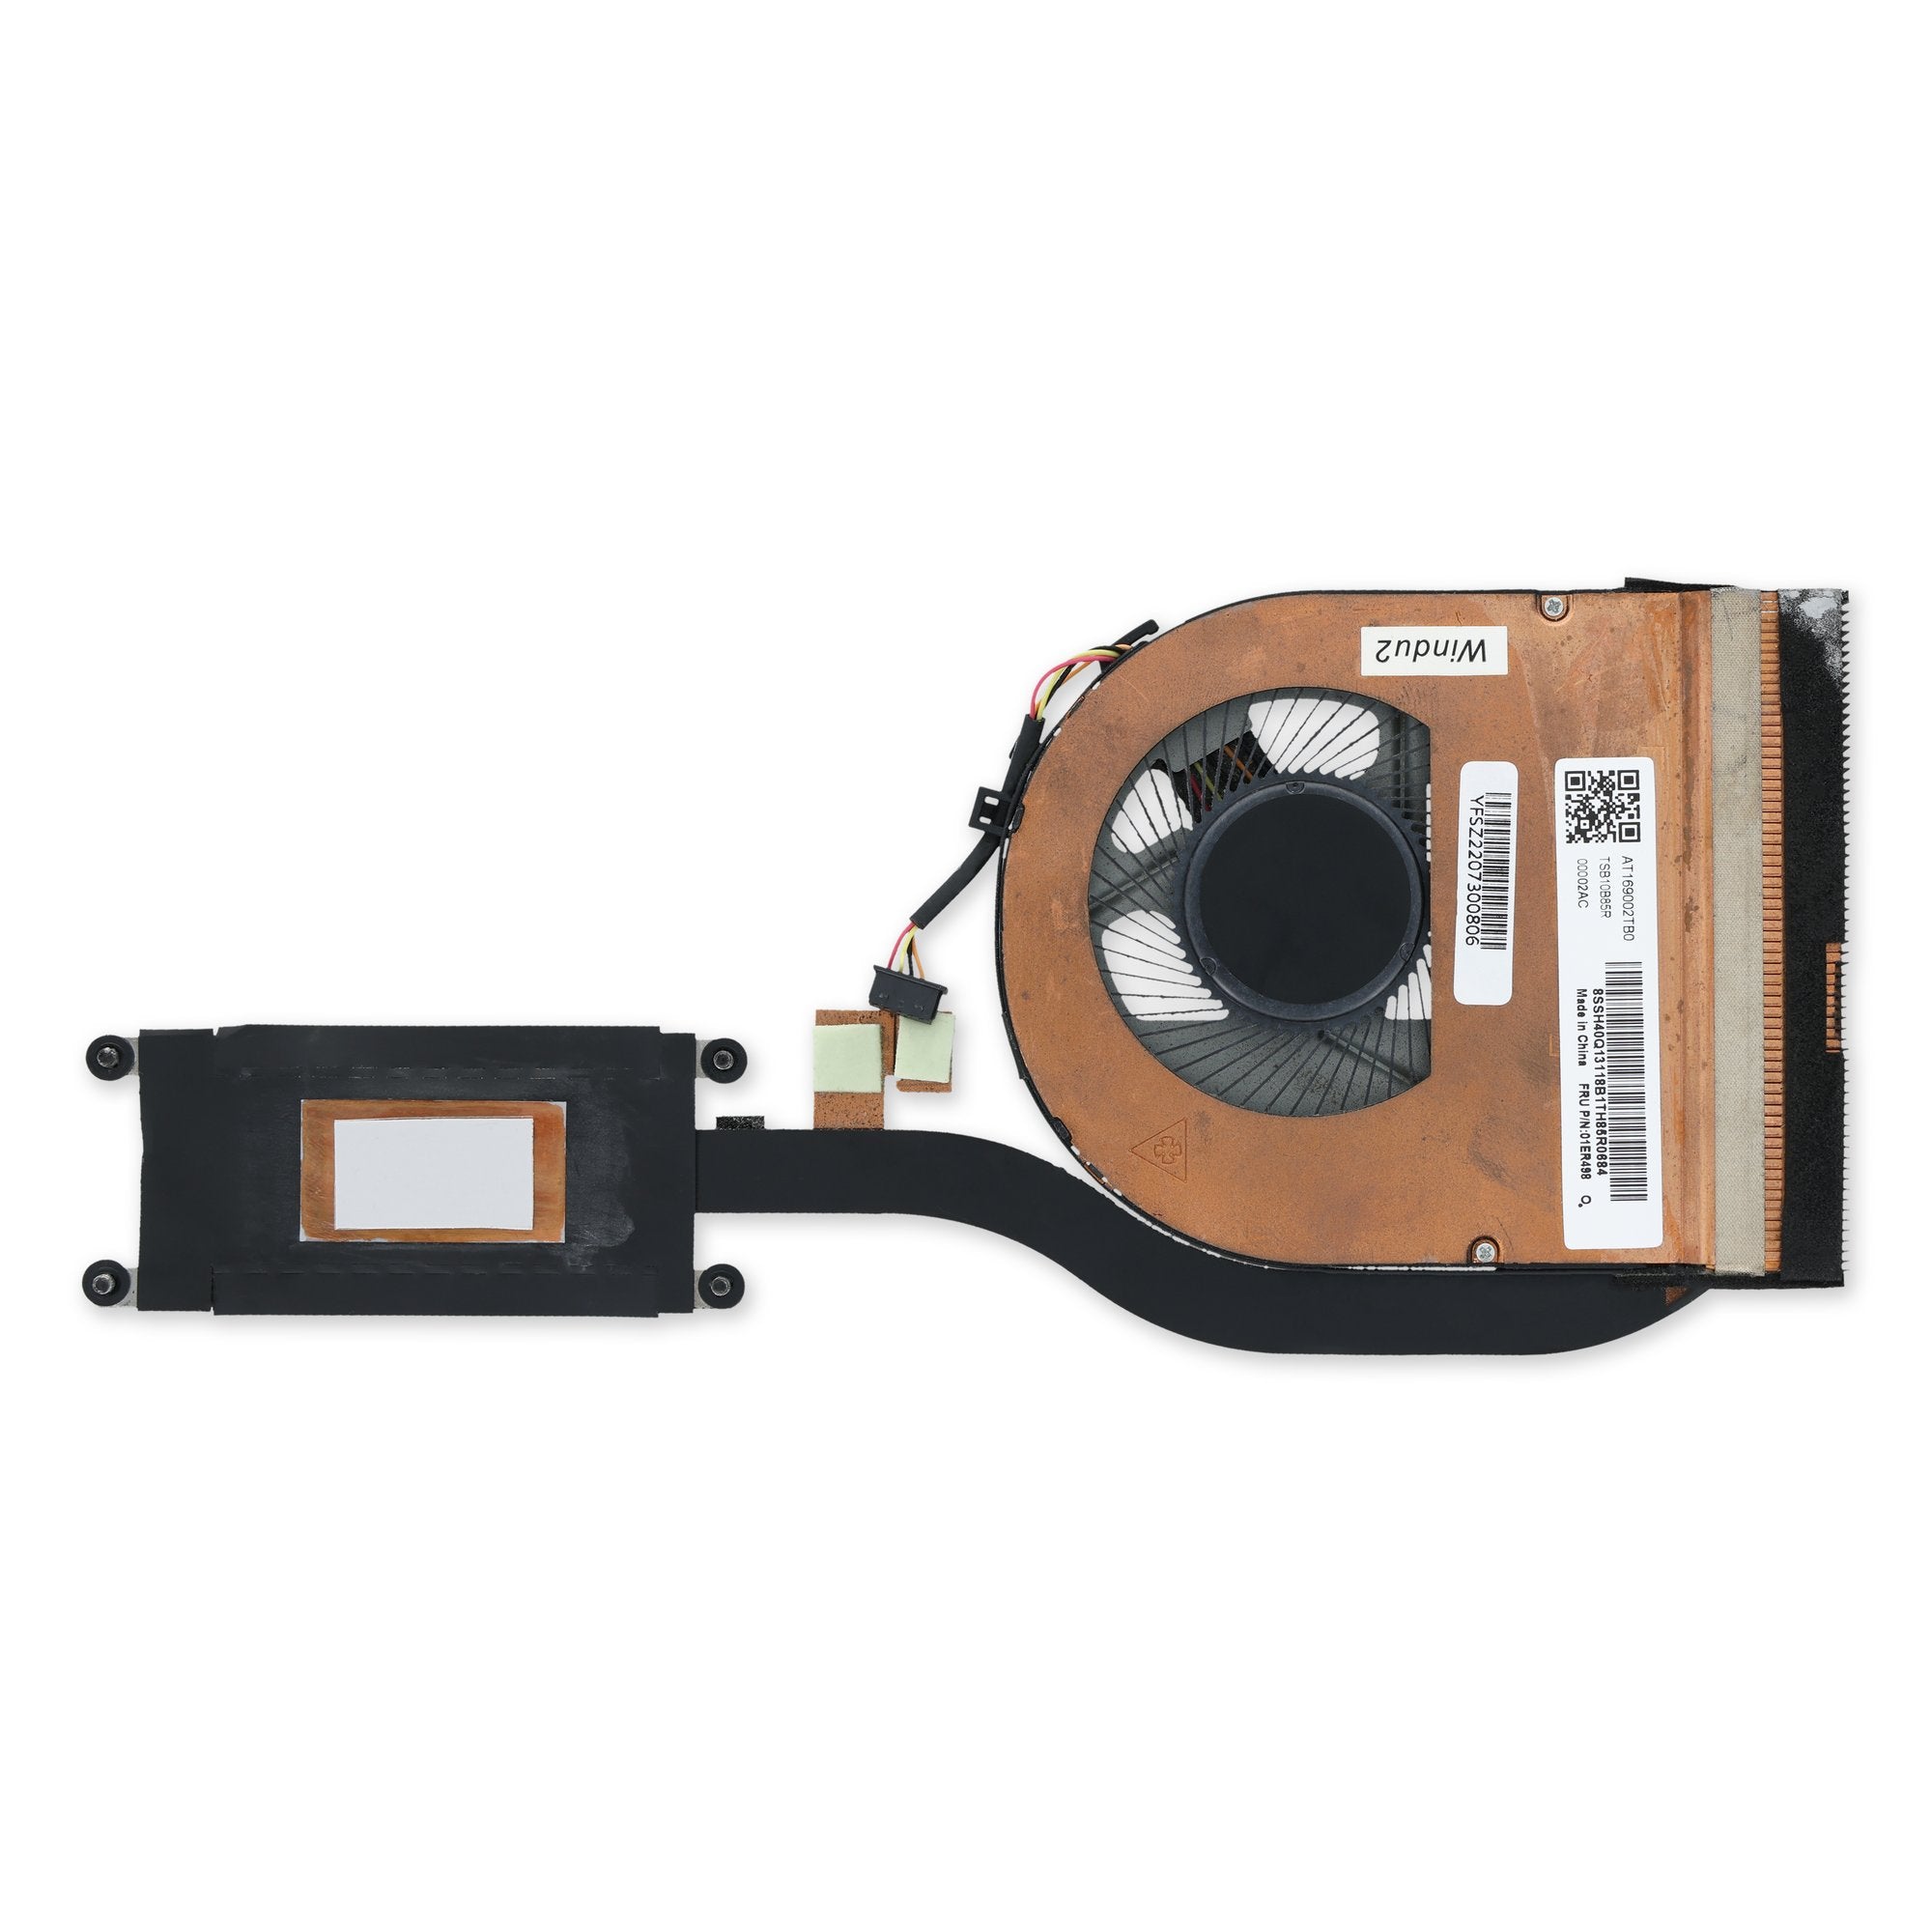
Lenovo ThinkPad L590 Fan and Heatsink Assembly Replacement
Duration: 45 minutes
Steps: 7 Steps
If your Lenovo L590 laptop is getting too hot, making weird sounds, or slowing down because it’s not getting enough cooling, it might be time to swap out the internal fan. Over time, laptop fans can get clogged with dust, wear down, or simply stop working, causing your CPU to overheat and throttle itself, which can hurt your laptop’s performance. This guide will show you how to replace the fan in your Lenovo L590 laptop. All you’ll need are a few basic tools like a Phillips-head screwdriver, a plastic spudger, and a microfiber cloth. With a little patience and attention to detail, you can easily replace the fan and get your laptop running smoothly again. If you need help, you can always schedule a repair.
Step 1

Before jumping into the repair adventure, make sure to power down your ThinkPad L590 completely—no snoozing or hibernating allowed! Unplug the AC adapter and any gadgets you have connected (think USB drives, external monitors, and such).
– Let’s get this repair started! Place the computer with its lower case facing up, ready for some screw-removing action.
– Time to bring out the big guns – or rather, a trusty Phillips screwdriver. Use it to remove the screws holding the lower case in place:
– You’ll need to take out six 10 mm screws
– And don’t forget the three 5.5 mm screws
Step 2

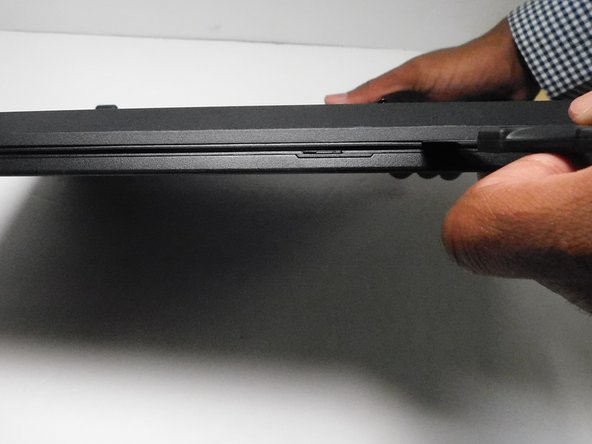
– Slip an opening pick into the sweet spot between the lower case and the chassis.
– Go ahead and shimmy your way around the laptop’s perimeter, gently popping those retaining clips loose like a pro.
Step 3

– Gently pop off the lower case like you’re unwrapping a surprise gift!
Step 4
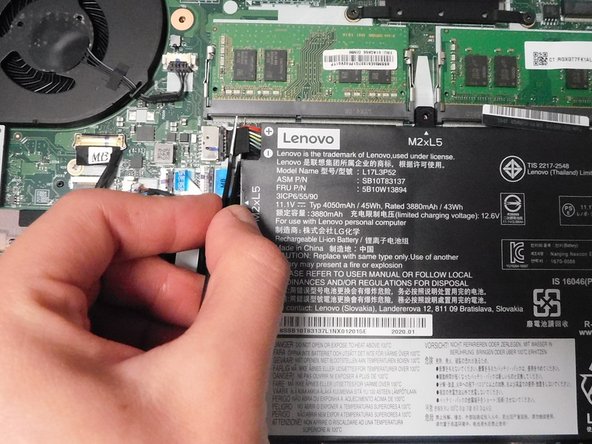

– Grab those tweezers and give the battery connector a gentle tug to free it from its cozy spot on the motherboard. You’ve got this!
Step 5

– Unscrew the four 5.5 mm Phillips screws holding the heatsink in place. A little twist and you’re good to go!
Step 6

– Time to get that fan connector out of its socket! Use an opening tool or your trusty fingernails to carefully coax it out. Think of it as a gentle game of tug-of-war – you’re trying to persuade the connector to come out and play, rather than yanking it out forcefully.
Step 7

If the fan is feeling a bit stubborn, grab a nylon spudger and gently coax it free. You’ve got this!
– Carefully lift the fan out of its cozy home.