Lenovo Thinkpad T430 Display Assembly Replacement
Duration: 45 minutes
Steps: 9 Steps
Step 1


– Flip that laptop over so the bottom’s looking up at you—it’s time to get to work!
– Slide the battery unlock lever to the right like you’re opening a treasure chest.
– Now, gently wiggle and pull the battery away from the device. You’re almost there!
Step 2


– Unscrew the two screws securing the RAM cover using a Phillips #000 screwdriver. Easy, right?
– Gently remove the back panel and set it aside. You’re almost there!
Tools Used

Step 3

– Grab your trusty Phillips #000 screwdriver and unscrew those two screws in the middle panel. You’ve got this!
Tools Used
Step 4


Give that ribbon cable a gentle touch—pulling too hard could mess things up! Disconnect it first before you go all in and remove the keyboard.
– Turn your laptop upside down and pop that lid open with style!
– Give the keyboard a gentle nudge from the space bar while pressing down a bit to lift it up. It’s like a dance move but for your tech!
– Take extra care to unplug and disconnect that ribbon cable. Treat it like a delicate secret handshake!
Step 5

– Now, flip the device back over and let’s get to work! Grab your trusty screwdriver and remove those six screws that are keeping the palm rest snugly in place.
Step 6

– Turn the device around to face the front, then take out the two screws securing the palm rest—it’s like giving your device a little breather before the next step!
Step 7


Give it a gentle touch! Yanking too hard on that ribbon band could spell trouble for your device. Make sure to gently disconnect the ribbon band nestled beneath the keyboard before you part ways with the palm rest. Keep it cool and take your time!
– Get ready to unlock the secrets of the device! Tilt it 45 degrees upward, so the top is facing up, to expose the clips holding the palm rest in place.
– Time to get handy! Use a Jimmy to gently unclip the palm rest from the device’s body. Be smooth, be slick, and those clips will come undone in no time.
– Now it’s time to lift the palm rest off the device’s body, starting from the hinge. Don’t forget to unclip the ribbon cable underneath the mouse pad before completely removing the palm rest. If things get tricky, remember, help is just a click away: schedule a repair
Tools Used

Step 8


– Pop off the Wi-Fi cables (orange, white, and blue) from the device’s body by giving them a gentle lift—like they’re shy and need a little coaxing.
– Take out the screw holding down the video cable, and remove the metal bracket to reveal the video cable tucked underneath—like uncovering a hidden treasure.
– Disconnect the ribbon cable found on the device’s right side—nice and easy, no rush.
– Carefully unplug the video cable from the device’s body—think of it as setting the cable free.
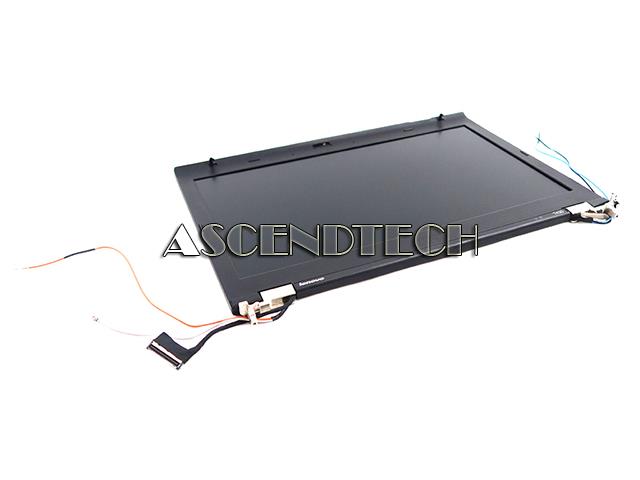
– Unscrew the two screws near the left and right hinges that are keeping the screen in place—let’s get that screen ready to move!
Step 9

– To put everything back together, just work your way through these steps in reverse—easy peasy!
– If you need help or got stuck along the way, you can always schedule a repair