Jazz UltraTab C1059-HL Screen Replacement
Duration: 45 minutes
Steps: 10 Steps
This guide will walk you through the steps to confidently swap out the screen like a pro. Sure, it’s a bit of a marathon, but with patience and precision, you’ll get it done without harming your precious device.
Step 1

– Let’s get started by removing the screws from the top and bottom of your device. This is the first step towards bringing your device back to life.
Step 2

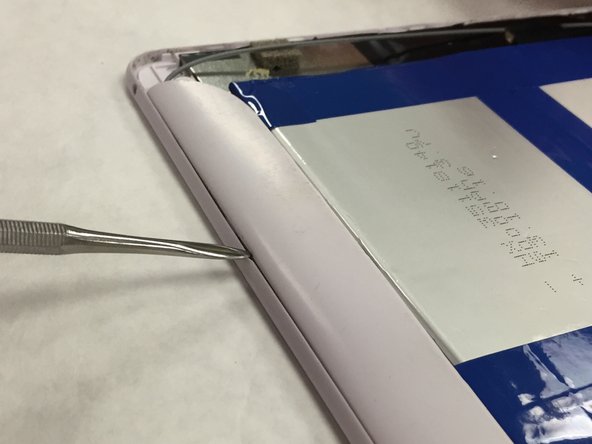
– Pop off the back panel of your device like you’re unwrapping a present. Just remember, treat that plastic cover with care—nobody wants it to bend or break!
Step 3

– After you’ve popped off that back panel like a pro, flip the device screen side down on the table. You’re all set for the next step!
Step 4

– Detach all those little data strips from the motherboard like you’re peeling off stickers!
Step 5
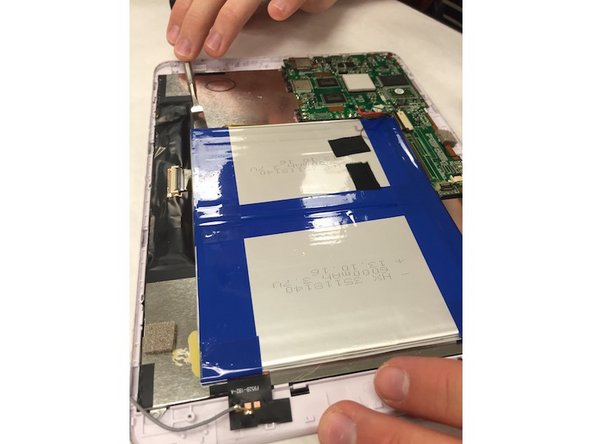

Be gentle when prying, and try not to bend the battery – it’s a delicate part of the process.
One of these sneaky strips of tape is what keeps the battery connection snugly attached to the mainboard.
– First, carefully remove the tape that’s holding the battery in place – it’s time to set that battery free.
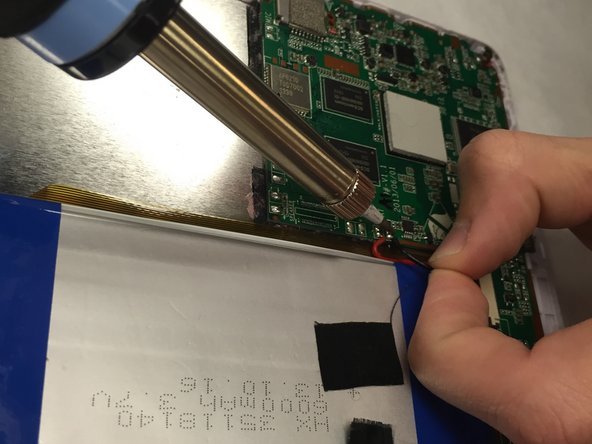
– Next, grab your trusty soldering iron and use it to disconnect the wires. This might take a little patience, but you’ve got this!
– Now, it’s time to pry off the battery. Be prepared for a bit of a fight, as it’s stuck down with some strong adhesive. Use a tool to gently coax it out – you’re almost there!
Tools Used

Step 6

– Now that the battery is out, take a moment to carefully remove any data strips that are still attached – we’re making progress!
– Next, grab your screwdriver and start unscrewing the motherboard. You’re doing great, keep it up!
Step 7

– Gently detach the motherboard chip from the device, taking care to avoid any damage.
Step 8

– Once you’ve removed all the components from the screen panel, your board should be looking nice and clean like this. Ready for the next step!
Step 9

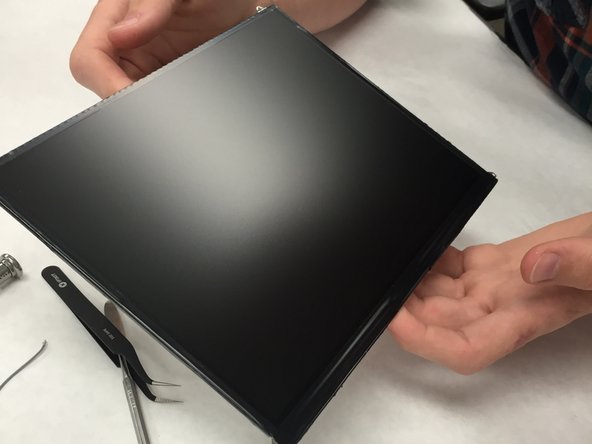
– Lift off the Display Module from the screen cover—easy does it!
Step 10

– Alright, it’s time to swap out that cracked or faulty screen!