Jazz UltraTab C1059-HL Headphone Jack Replacement
Duration: 45 minutes
Steps: 5 Steps
This guide shows you how to swap out that headphone jack with ease. Expect to spend about 15-20 minutes on the job, and if you follow along step by step, you’ll be back to your tunes in no time—without causing any harm to your device. Need a hand? If things get tricky, you can always schedule a repair.
Step 1

– Let’s get started by removing the four screws that hold everything together. Grab your trusty Philips screwdriver and take out the two screws at the top and the two at the bottom of the device. Easy peasy!
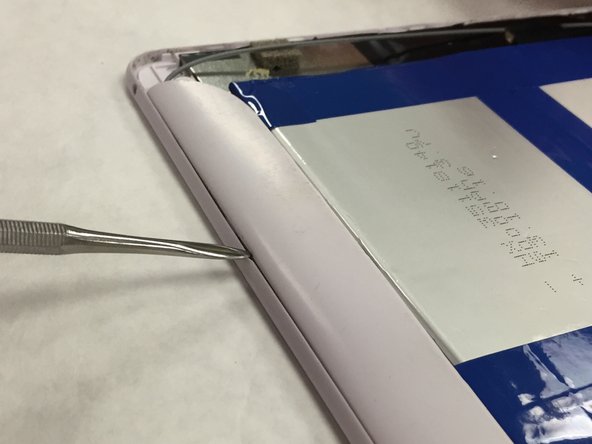
Step 2


– Flip your device over, placing the screen gently face down on the table. Grab your pry tool and carefully work around the edges to pop off the back panel. Take your time, and remember, patience is key!
Step 3

– Hey there, safety first! Pop that battery out of its snug little spot.
– Grab your soldering iron and carefully detach the wires connecting the battery to the motherboard. Patience is key—you’re doing great!
Step 4
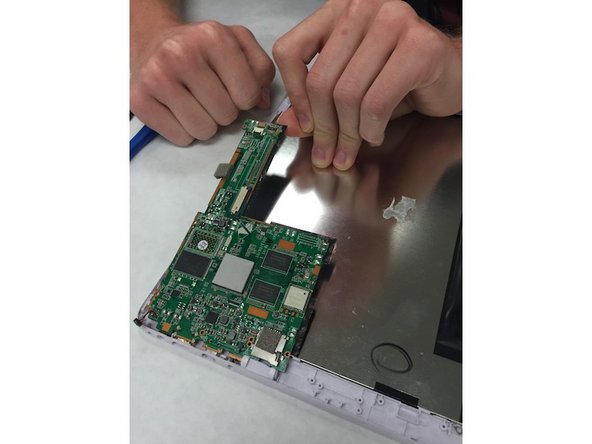

– Unscrew the little guy that’s holding the motherboard to the back panel. Now, gently lift that motherboard out and give it some room to breathe.
Step 5

– The headphone jack is glued to the motherboard, so to make it right, you’ll need to swap out the entire assembly. No worries though, you got this!
– Once you’ve got the new motherboard in hand, just retrace your steps in reverse to put everything back together. It’s like a puzzle, but with electronics!


