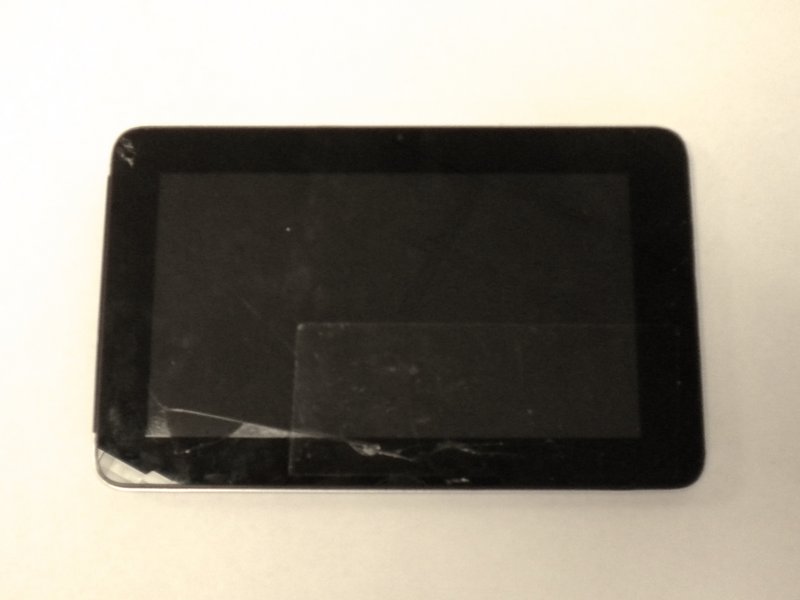
Digitac Jazz Ultratab C725 Charging Port Replacement
Duration: 45 minutes
Steps: 5 Steps
Ready to jazz up your tech? This guide will walk you through the process of swapping out the charging port for your Digitac Jazz Ultratab C725. Let’s get started and bring your device back to life, one step at a time!
Step 1


When removing screws, use a gentle touch to avoid stripping the threads – it’ll make the process way easier and save you some hassle. Take your time and apply the least amount of force needed, and you’ll be golden.
– First, let’s get started by locating the four 3.5 mm Phillips head screws that hold the silver back plate and screen together. You’ll find two at the top and two at the bottom – easy peasy!
– Now, grab your trusty Phillips #00 screwdriver and remove all four screws. Take your time and make sure they’re all out before moving on to the next step.
Tools Used

Step 2


Once the screen is loosened, gently pull it towards you. Lift it with care to keep those buttons safe from harm!
– Let’s get started by flipping your device so the long side without buttons is facing up – easy peasy.
– Now, carefully insert the plastic opening tool between the silver back plate and the screen, starting from either corner. Gently pry the seam about 1 inch to get things moving.
– Keep using that trusty plastic opening tool to pry the screen apart from the back plate. You’re making great progress!
– Continue prying the screen apart from the back plate until they’re completely separated. You’re almost there!
– If there are any remaining seams that need a little extra love, use the plastic opening tool to pry them apart. And that’s it – you’ve completed the first part of the repair. If you need help, you can always schedule a repair
Step 3
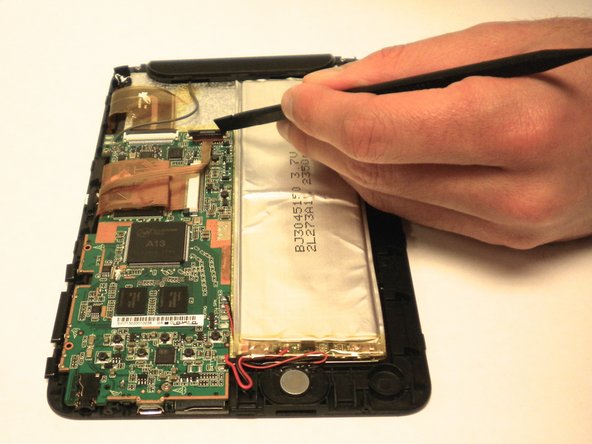

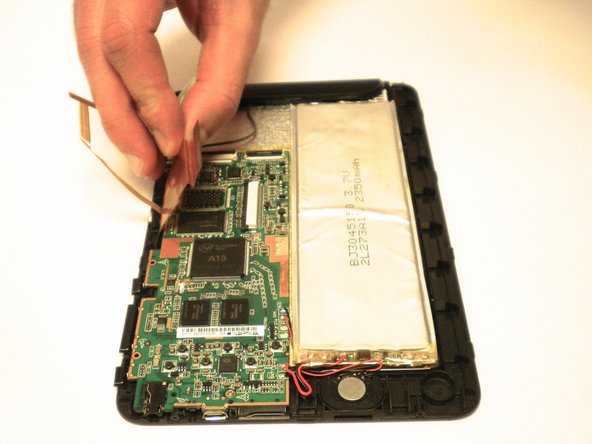
– Spot the 3 black clips on the motherboard—those little heroes that keep the data cables in place.
– Grab your trusty Spudger and gently pop those clips up until they stand tall at a 90-degree angle.
– Once those clips are standing proud, slide the data cables out smoothly. No tugging needed!
– Do the same drill for all 3 clips—you’re on a roll!
Tools Used

Step 4


– Locate the two 4.0 mm Phillips head screws that are holding the motherboard in place.
– Use the Phillips #00 screwdriver to remove both of the screws.
Tools Used
Step 5
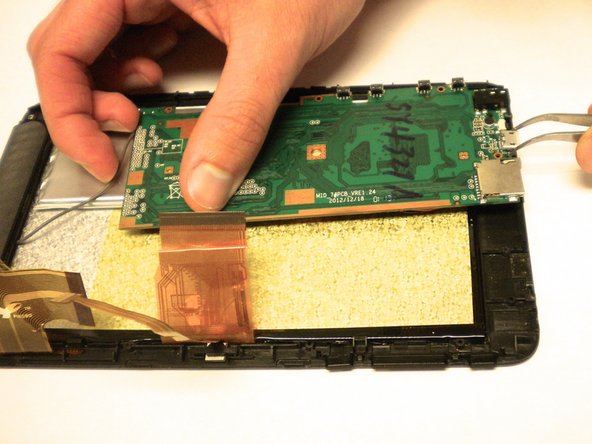
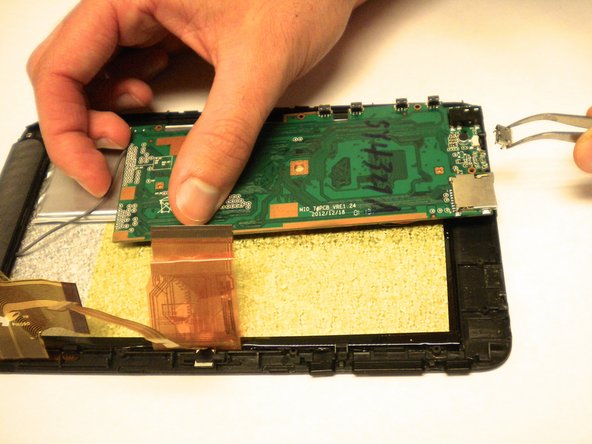

– The motherboard should now be free and ready to move around.
– To reach the charging port, carefully flip the motherboard over.
– Grab your tweezers and gently remove the charging port from the motherboard.