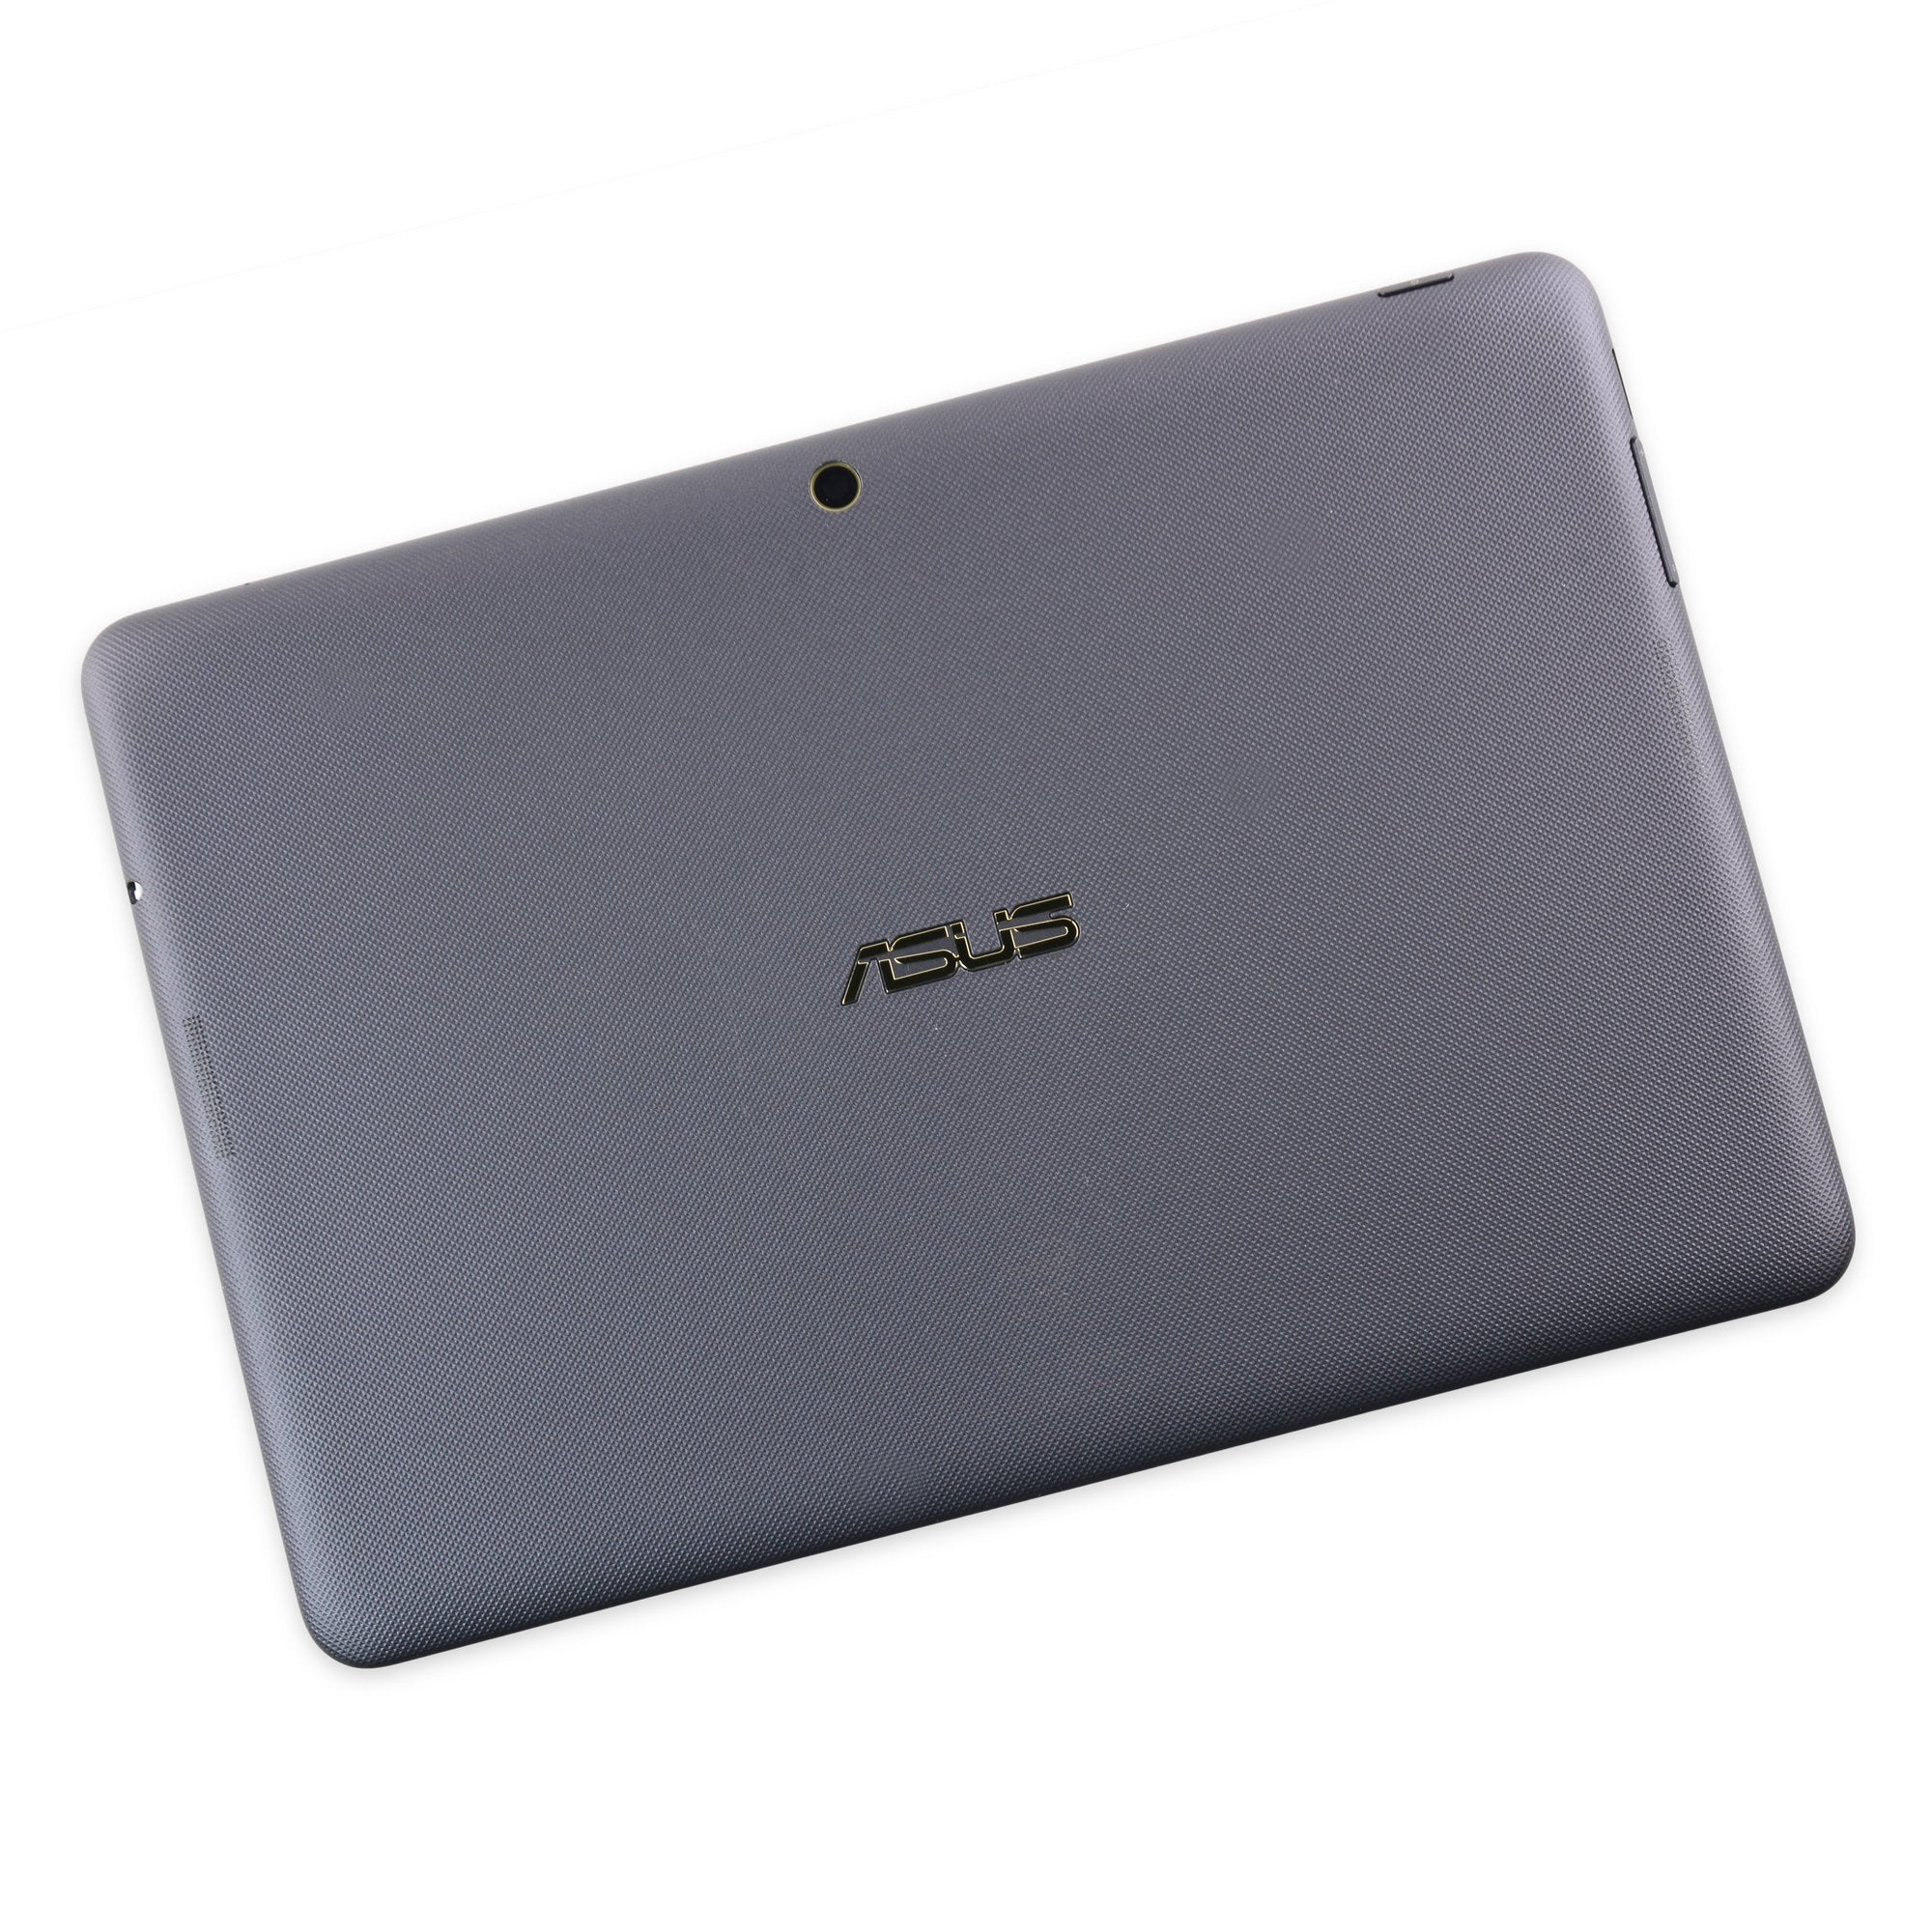
Asus Transformer Pad TF103C Rear-Facing Camera Replacement
Duration: 45 minutes
Steps: 17 Steps
Step 1

Before you get started, make sure the SD card slot is clear. You wouldn’t want any little surprises getting in the way!
If you don’t have an opening tool, a thin screwdriver can do the trick. Just be gentle, and you’ll be good to go!
– First, make sure your device is powered off – we don’t want any unexpected start-ups getting in the way.
– Next, grab your trusty plastic opening tool and find a crack on the side of your tablet to insert it into. This is where the magic begins.
– Carefully pry open the Transformer pad by pulling the tool upwards. Take your time, and don’t force it – we want to avoid any damage to your device. If you’re not feeling confident, you can always schedule a repair with the pros at Salvation Repair.
Step 2

– Gently slide the tool into the gap around all four sides, giving it a steady pull upwards as you go.
Step 3

– Gently peel off the back cover once it’s feeling loose and place it to the side.
– Twist the tablet around until it lines up with the picture.
Step 4

– Gently disconnect the battery cable from the motherboard. Grip the wires near the black connector and give it a steady pull—it’ll slide right out of the socket!
Step 5


Swap out the old battery for a fresh +3.7V=19Wh Li-polymer Battery Pack C11P1328. It’s time to power up!
Be ready for a little resistance – there might be some tape holding things in place. So, as you pry, you might hear some pulling sounds. Just keep going!
– Gently work the opening tool around the edges and pop that battery out of your tablet like a pro!
Step 6

– Gently detach the rainbow cable from the motherboard. Take your time and make sure you’re being careful, so nothing gets yanked out!
Step 7

– Time to set that battery free. Use a plastic opening tool to carefully pry it out from the frame.
Step 8

– Grab your trusty +J000 screwdriver and let’s unscrew those two little screws from the speakers. You’re doing great!
– Keep those screws safe and sound in one spot—maybe label them if you want to be extra organized. You’re on a roll!
Step 9

Be gentle when handling the wire, as excessive pulling can cause it to break off.
Don’t worry if you accidentally break the wire off – it’s an easy fix. Simply solder it back on and you’ll be good to go.
– Gently disconnect the ground wire from the top of the TF103C-L(Left) speaker. It’s a quick and easy step, just be careful!
Step 10

– Time to get this repair party started! Remove the Left speaker from the frame.
Step 11

– Grab your trusty +J000 screwdriver and get ready to liberate that M2 plastic holder from its screwy prison. Simply unscrew and remove it to move on to the next step.
Step 12

– Peel off the black tape from the ribbon cable, then carefully separate it from the soundboard. Take your time and stay gentle to avoid any damage.
Step 13

– Take off the black tape like a pro.
– With your trusty small tweezers, gently unplug the ribbon cable from the volume and power button. You’ve got this!
Tools Used

Step 14

– Grab your trusty +J000 screwdriver and carefully remove the three screws from the motherboard. You got this!
Step 15

You’ll need to disconnect two cables from the motherboard and one from the USB charging port. Let’s get started with this step in our repair guide.
– Gently disconnect all three ribbon cables. Take your time and make sure they’re fully detached before moving forward.
Step 16

– Gently lift that motherboard up, giving it some space to breathe.
– Carefully pull the ribbon cable from underneath the motherboard and take it out. You’re doing great!
Step 17


The camera is stuck down with adhesive, so you’ll need a bit of muscle to pry it free.
– Take out the camera with care.
Success!

