Asus Transformer Pad Infinity Charging Port Replacement
Duration: 45 minutes
Steps: 5 Steps
Let’s get started with replacing that charging port. First, you’ll need to open up your device. To do this, follow the Asus Transformer Pad Infinity Teardown guide up to step 6, which will walk you through removing the charging port. If you’re not feeling confident, don’t worry – it’s a bit of a process, but you got this. Take your time and be careful, and you’ll be back to charging in no time. If you need help, you can always schedule a repair.
Step 1


– Gently remove the display and the large motherboard, like peeling an orange! You’ve got this!
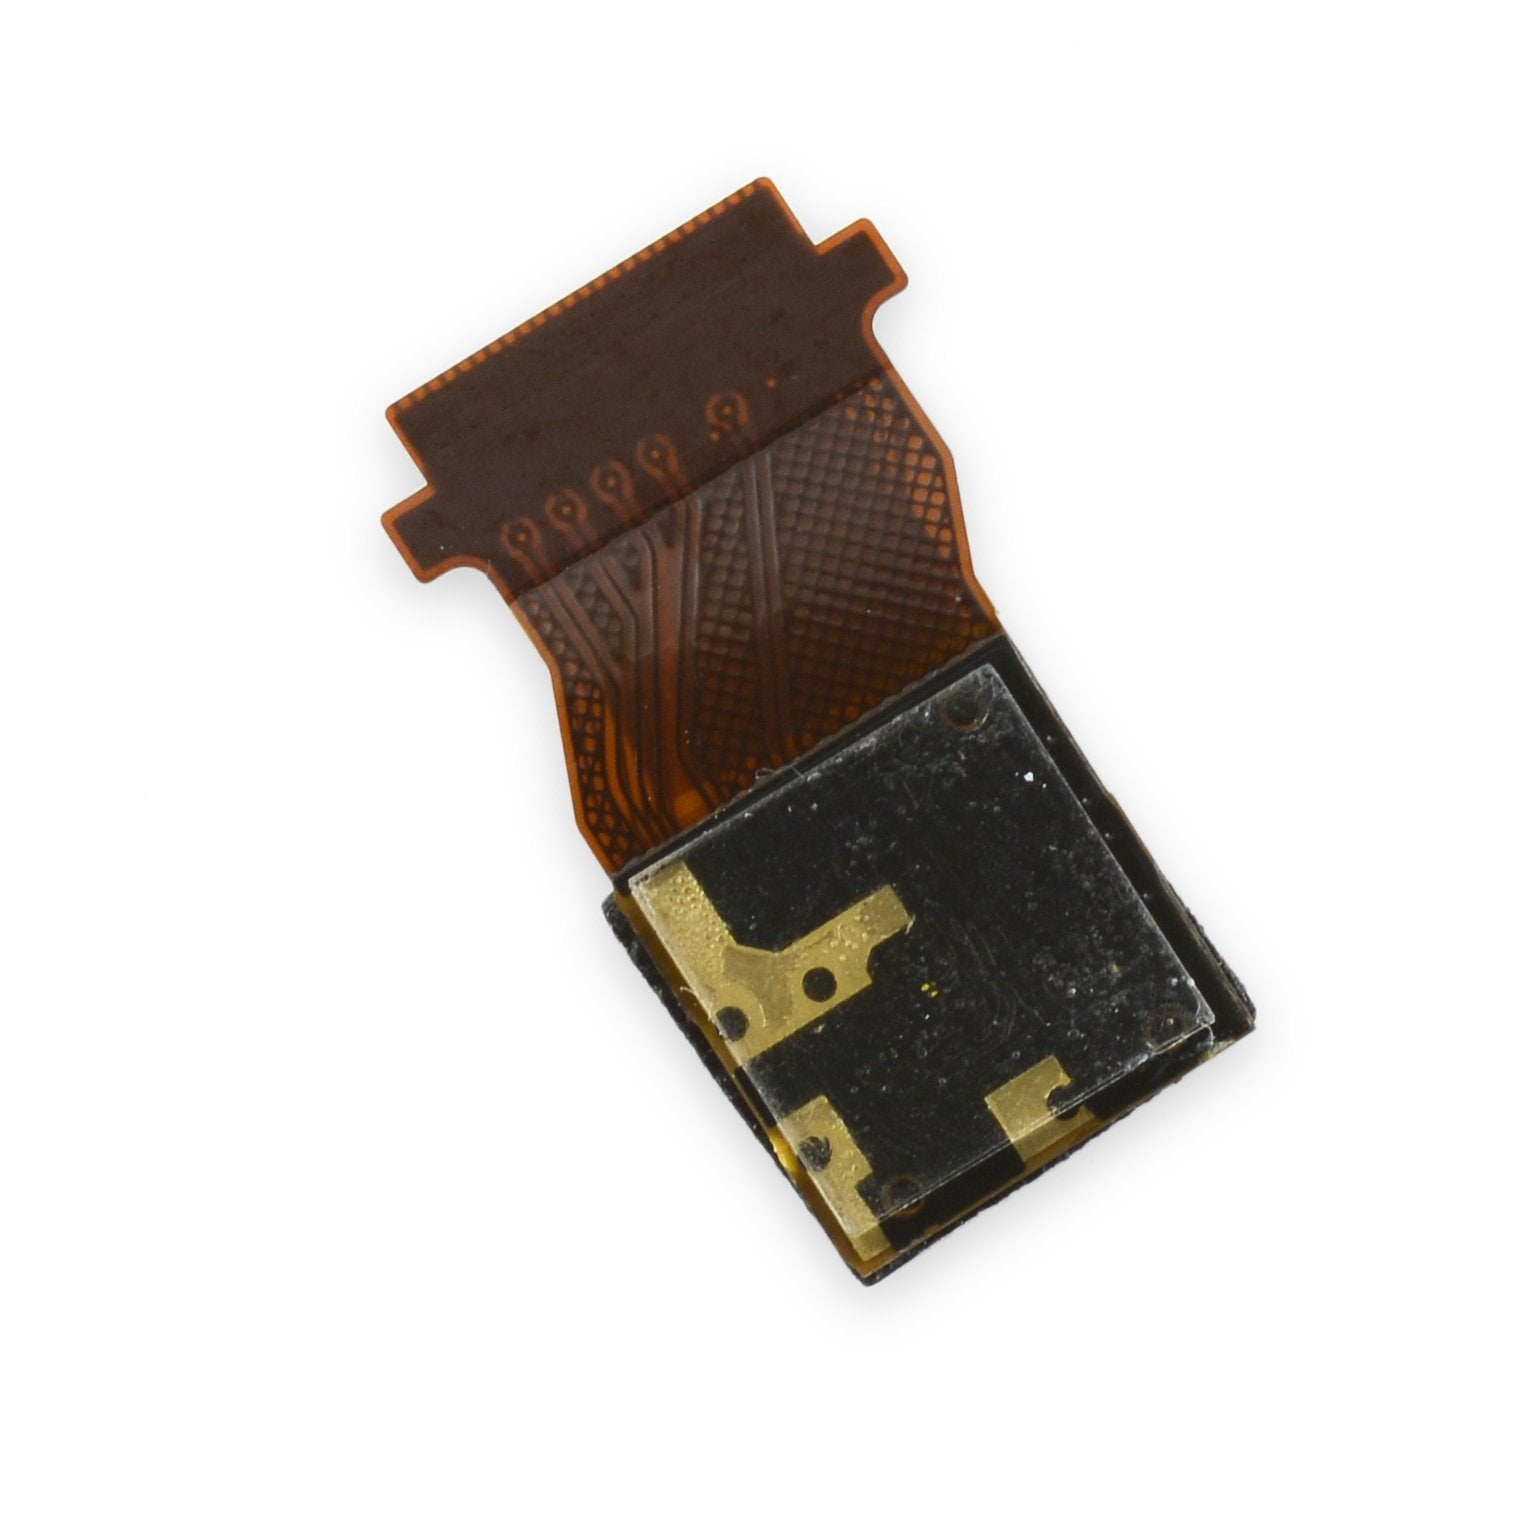
Step 2


– Unplug that long silver ribbon connector from the screen with care.
– Gently detach the orange ribbon connector that has two connections like a pro.
Step 3

– Gently lift up the tab that’s holding the ribbon in place on the main motherboard and carefully detach the ribbon.
– Just a heads up: it might be covered in tape, so keep your cool and avoid cutting the ribbon or scratching anything else if you’re keen on keeping them intact.
Step 4

– Time to free the port! Grab your screwdriver and take out the two screws securing the external port—the one that connects to the outside world. This piece is snugly attached to the case, so be gentle as you remove it.
Step 5

– After you’ve said goodbye to that old, worn-out charging port, it’s time to welcome the new one into your device’s life! Simply pop in the fresh part, reassemble everything, and give it a whirl to see if the new charging port is ready to power up your world.