Asus Transformer Pad Infinity Battery Replacement
Duration: 45 minutes
Steps: 4 Steps
Time to get your hands dirty and swap out that battery! To start, you’ll need to open up your device. First, follow our Asus Transformer Pad Infinity Teardown guide up to step 6 to remove the screen – it’s a breeze, and we’ve got you covered. Once you’ve got the screen off, you’re ready to rock. If you need help, you can always schedule a repair
Step 1


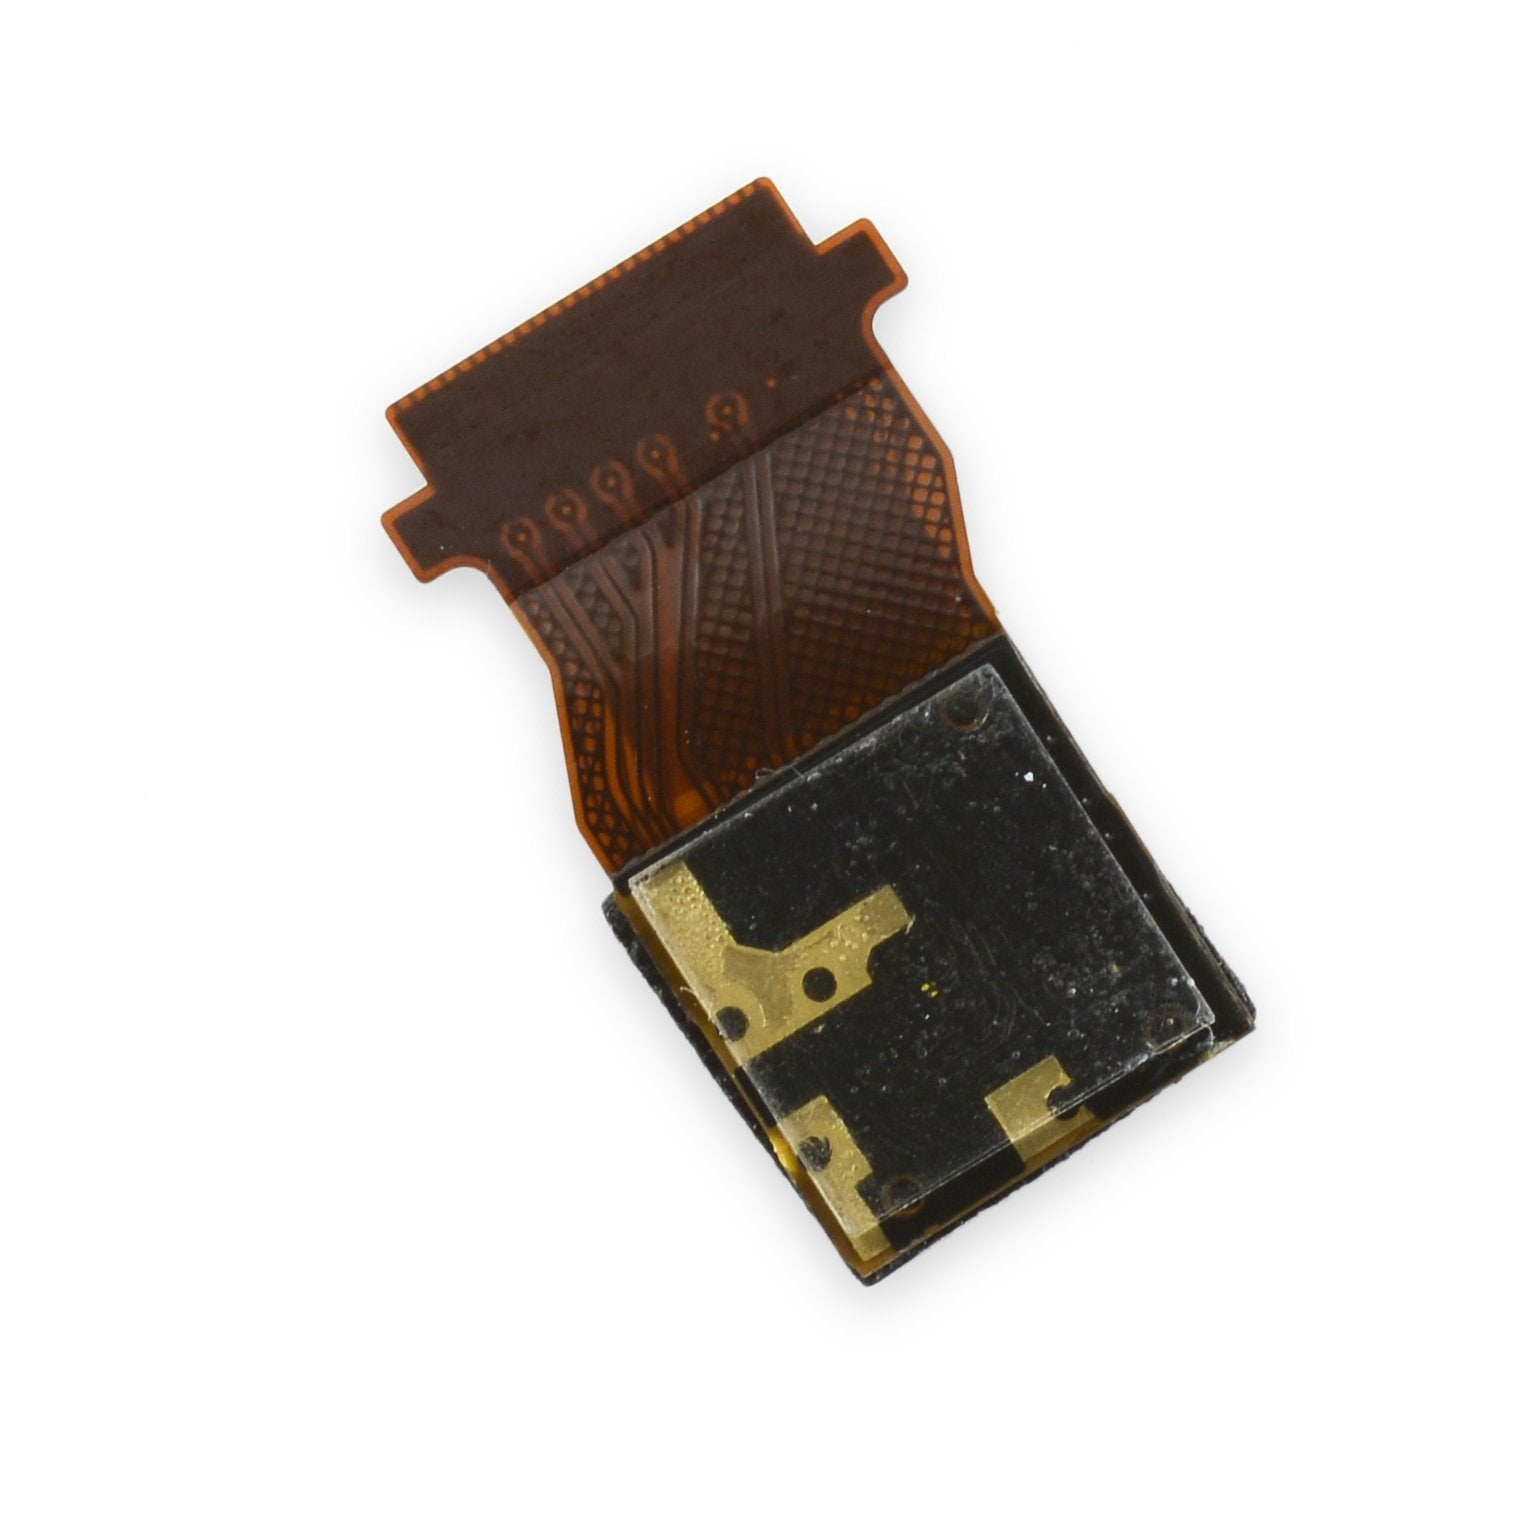
– Time to get started! Carefully disconnect the long silver ribbon connector from the screen – it’s like saying goodbye to an old friend, but don’t worry, it’s reversible.
– Next up, gently remove the orange ribbon connector with the two connections. Think of it like a little puzzle, and you’re one step closer to fixing your device.
Step 2

– Gently detach the battery from the main motherboard. Take your time—it’s all about precision here!
Step 3

– Pop out all eight screws securing the battery to the case—yes, every single one of them.
– Carefully lift out the battery. You’re one step closer to victory!
Step 4

– Pop that new battery snugly into the exact spot where the old one used to hang out.
– Secure the new battery by putting those eight screws back where they belong—tighten them up to keep everything nice and solid.