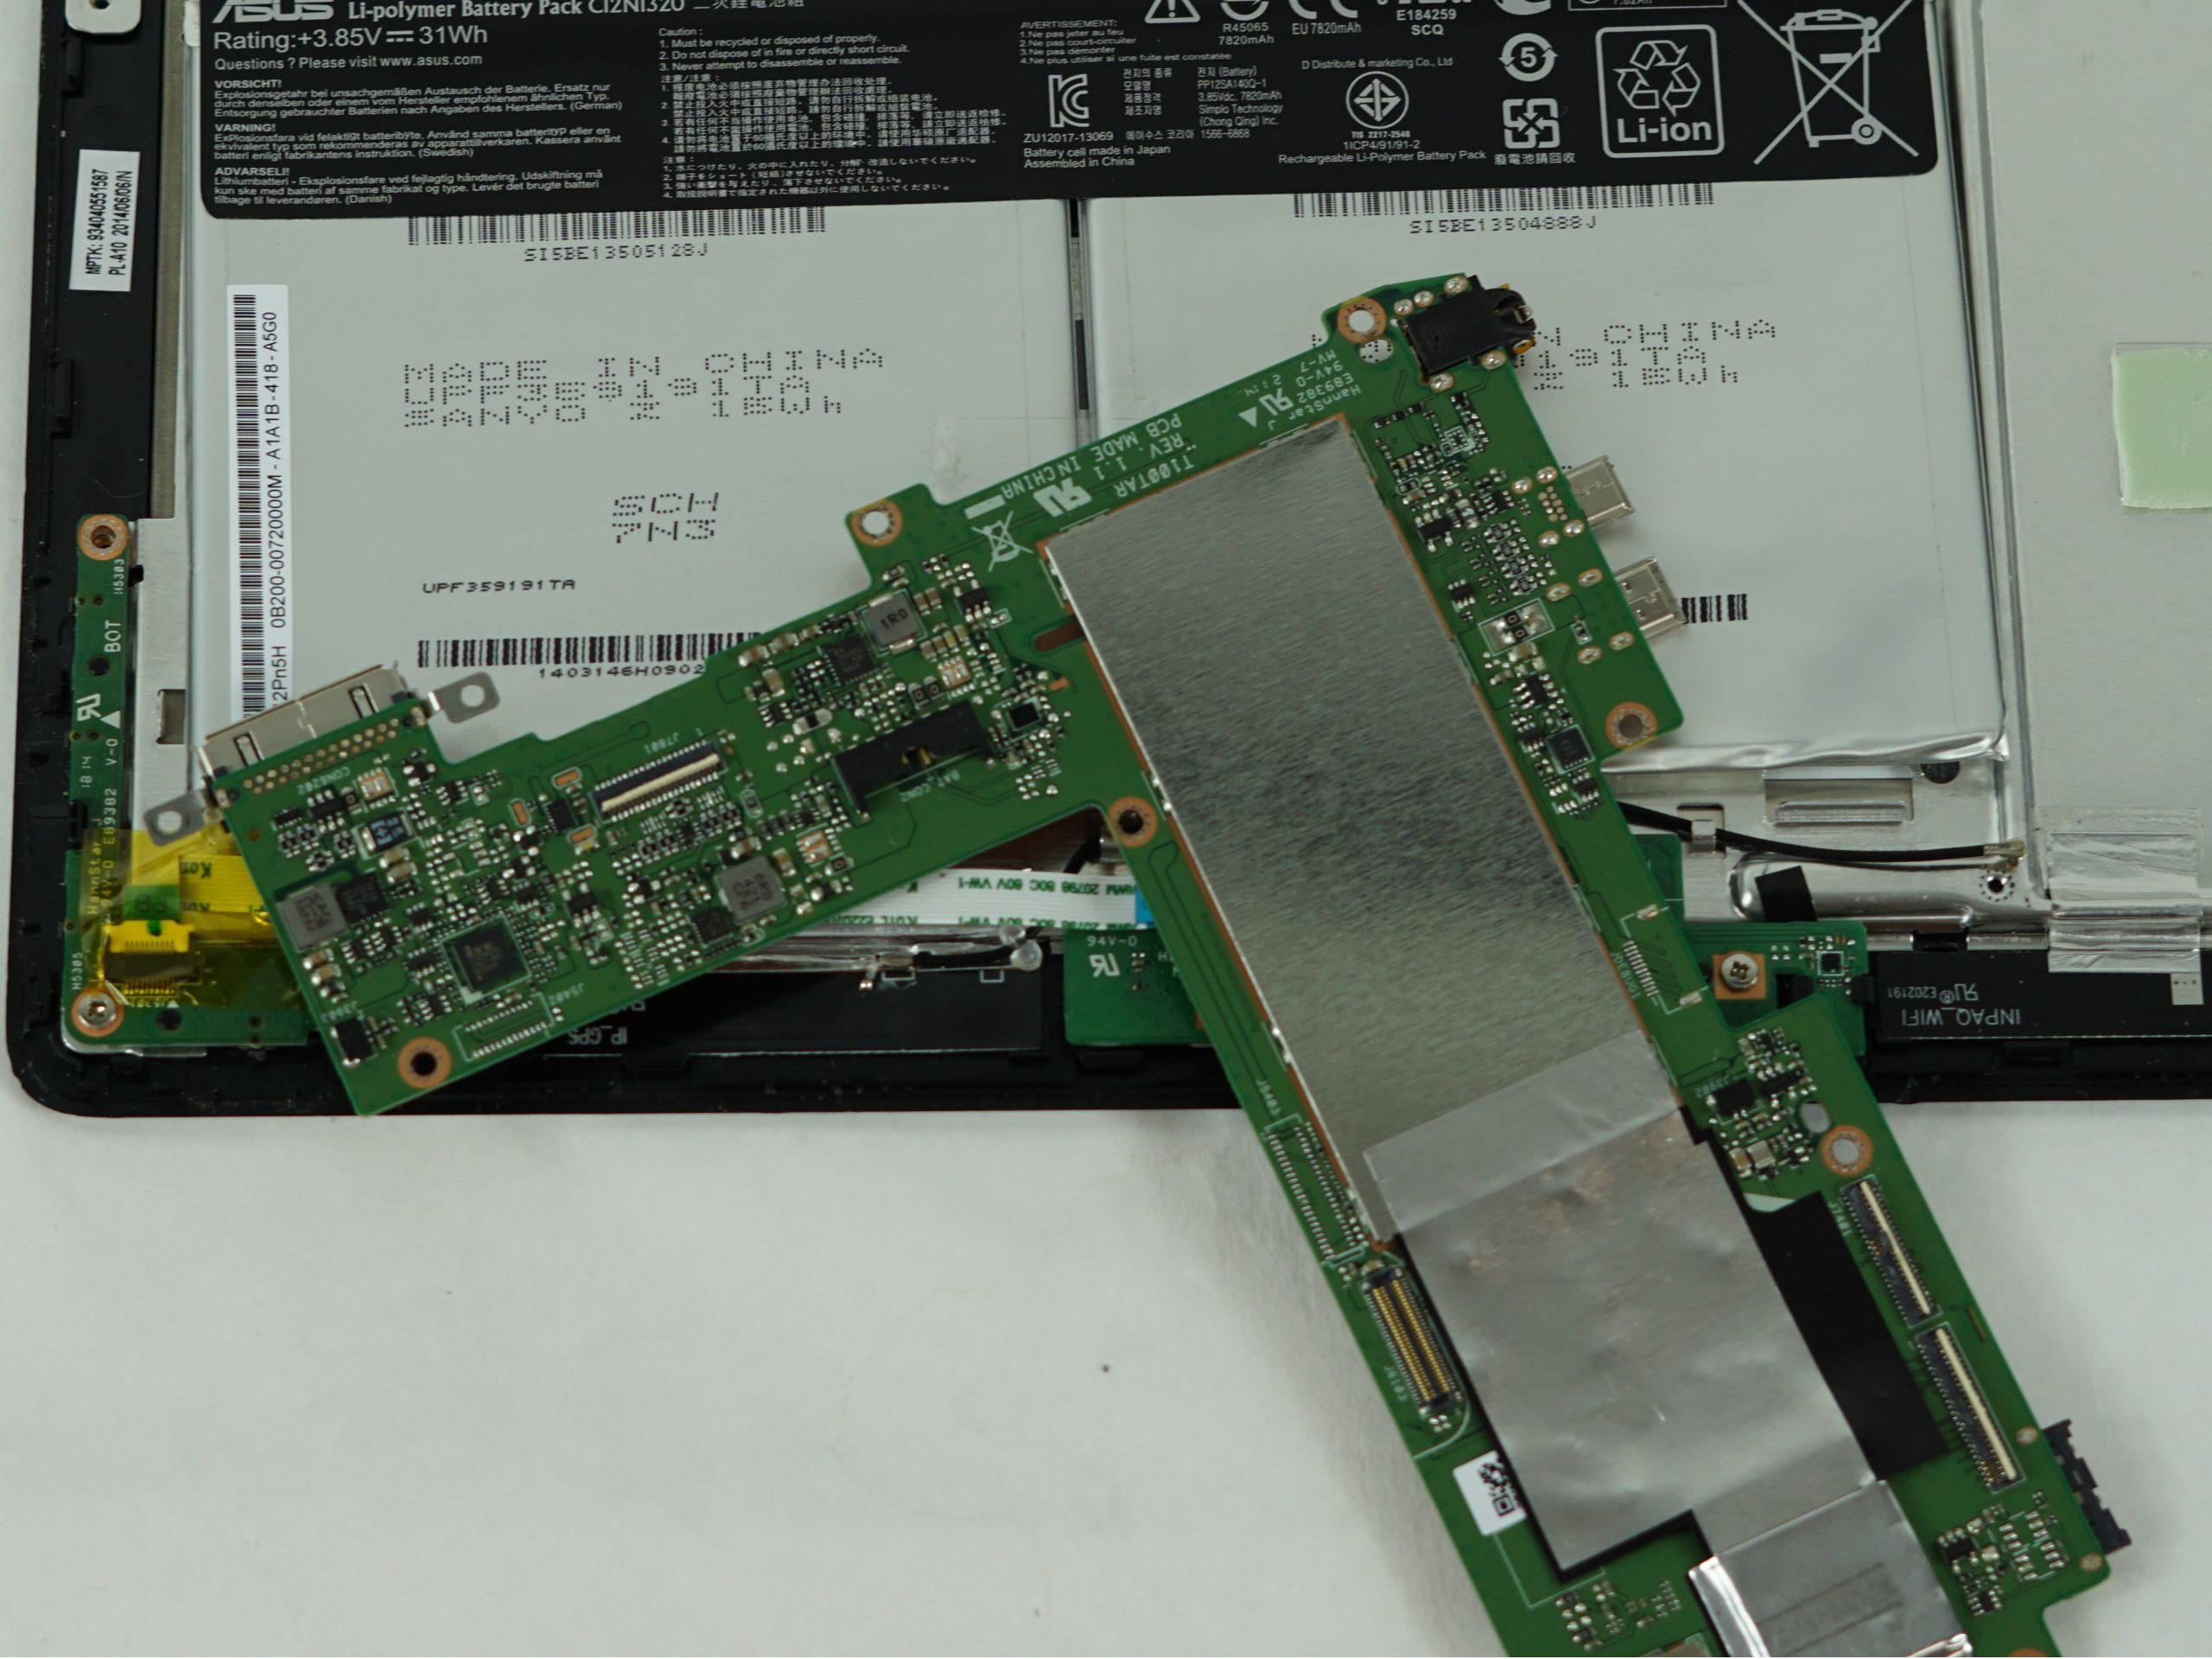
Asus Transformer Book T100TAR Motherboard Replacement
Duration: 45 minutes
Steps: 11 Steps
Get ready to breathe new life into your ASUS Transformer Book! This guide will walk you through taking it apart piece by piece and swapping out the internal motherboard with ease.
Step 1


– Gently pop the screen off the keyboard by pressing that shiny silver release button located at the tablet’s base.
Step 2

Take it easy with those clips! Forcing them can lead to breaks, making your screen dance around like it’s at a party. Gently coax the rear cover open with care, and you’ll be all set.
– Let’s get started by using a metal spudger to carefully pry open the rear cover casing. Gently insert it into the seam and work your way around until you feel the clips start to release.
– You’re doing great! If everything is going smoothly, you should start to feel the clips releasing as you pry the casing open. Keep going until you’ve got them all.
– Almost there! To make sure all the clips are released, take your metal opening tool and slide it along the four edges of the tablet. This will help you get everything open and ready for the next step. If you need help, you can always schedule a repair
Tools Used

Step 3

– Remove the rear case to get to the good stuff inside!
Step 4


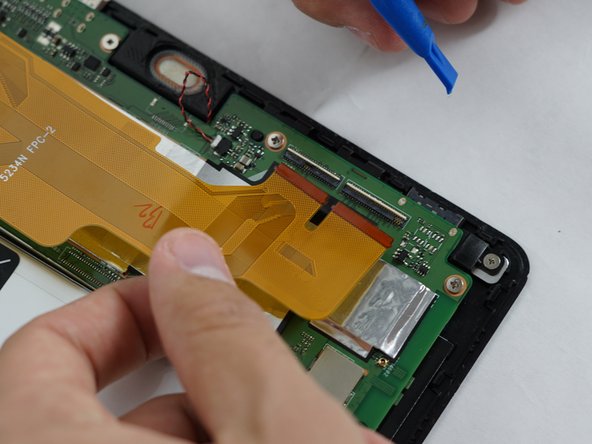
– Grab your trusty plastic opening tool and gently pry up that big black strip connecting the camera board to the motherboard. It’s like giving your device a little lift!
Step 5

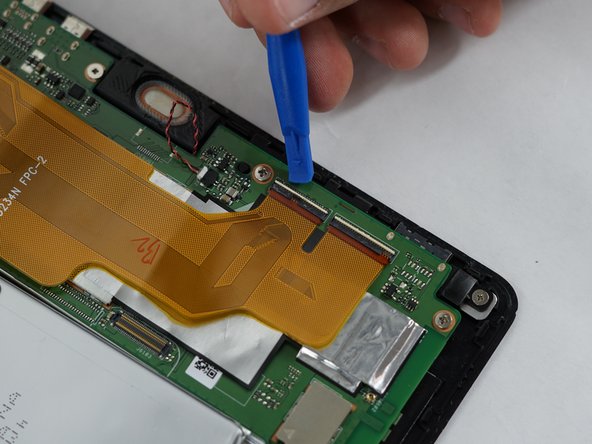
– With your trusty tweezers, give that little black cable a gentle tug to disconnect it from the motherboard. You’ve got this!
Tools Used

Step 6

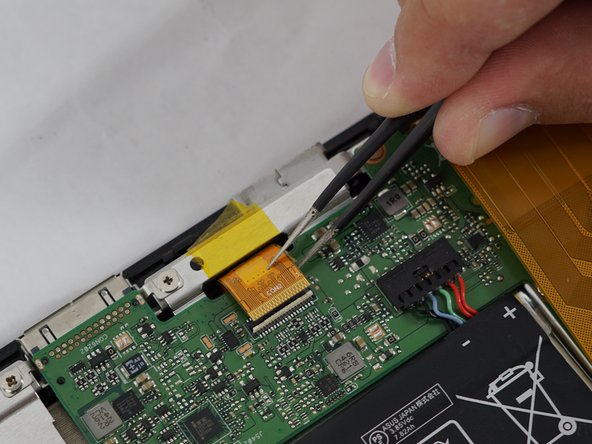
– Grab your trusty tweezers and gently peel away that sneaky black tape holding the big orange strip in place.
– Next up, take a plastic opening tool and give those white tabs a little lift, then smoothly pull the orange strip out of its cozy home.
Tools Used
Step 7

– Gently bid farewell to the LCD connection by removing that black protective strip with tweezers and giving the orange ribbon a gentle tug. You’ve got this!
Tools Used
Step 8

– Grab your nylon spudger, and with a steady hand, gently nudge the battery out by pressing the sharper end at the base.
– You’ll spot a small dent in the middle—give it a gentle push from there to make it budge.
Tools Used
Step 9

– Grab your trusty Phillips #0 screwdriver and get ready to rock! First up, unscrew those six 5mm screws that are keeping the motherboard snug as a bug in a rug.
– Still feeling pumped? Awesome! Now, let’s tackle two more pesky 4mm screws hanging out at the top left ends of the motherboard. Unscrew them and let those good vibes flow!
Tools Used

Step 10

– Gently grab the cable head with a pair of tweezers and ease it out to disconnect the speaker from the motherboard.
Tools Used
Step 11

– It’s time to say goodbye to that motherboard! Carefully remove it from the device.
