Asus Transformer Book T100TAR Front Camera Replacement
Duration: 45 minutes
Steps: 7 Steps
Got a busted front-facing camera on your laptop? No worries! This step-by-step guide will walk you through how to take apart your laptop and swap out that broken camera like a pro.
Step 1
– Give that screen a gentle push and watch it pop away from the keyboard by hitting the shiny release button at the bottom of your tablet. You’ve got this!
Step 2
Take it easy with those clips! Forcing them can lead to breaks, making your screen dance around like it’s at a party. Gently coax the rear cover open with care, and you’ll be all set.
– Grab your trusty metal spudger and gently slide it into the groove of the rear cover casing, then give it a little nudge upwards.
– If you’re doing it right, you’ll feel those clips letting go like they’re ready for a break.
– Make sure every last clip has joined the party by gliding the spudger along all four edges of the tablet.
Tools Used
Step 3
– Pop off the back cover like a champ!
Step 4
– Use your trusty Phillips #0 Screwdriver to remove those two 5mm screws from the camera board. You’ve got this!
Tools Used
Step 5
– Grab your trusty plastic opening tool, pop up that white tab holding the power button cable on the camera board, and gently slide the cable strip out like a pro.
Step 6
– Grab your trusty plastic opening tool and carefully lift that big black strip—it’s the bridge between the camera board and the motherboard. Slow and steady wins the race here!
Step 7
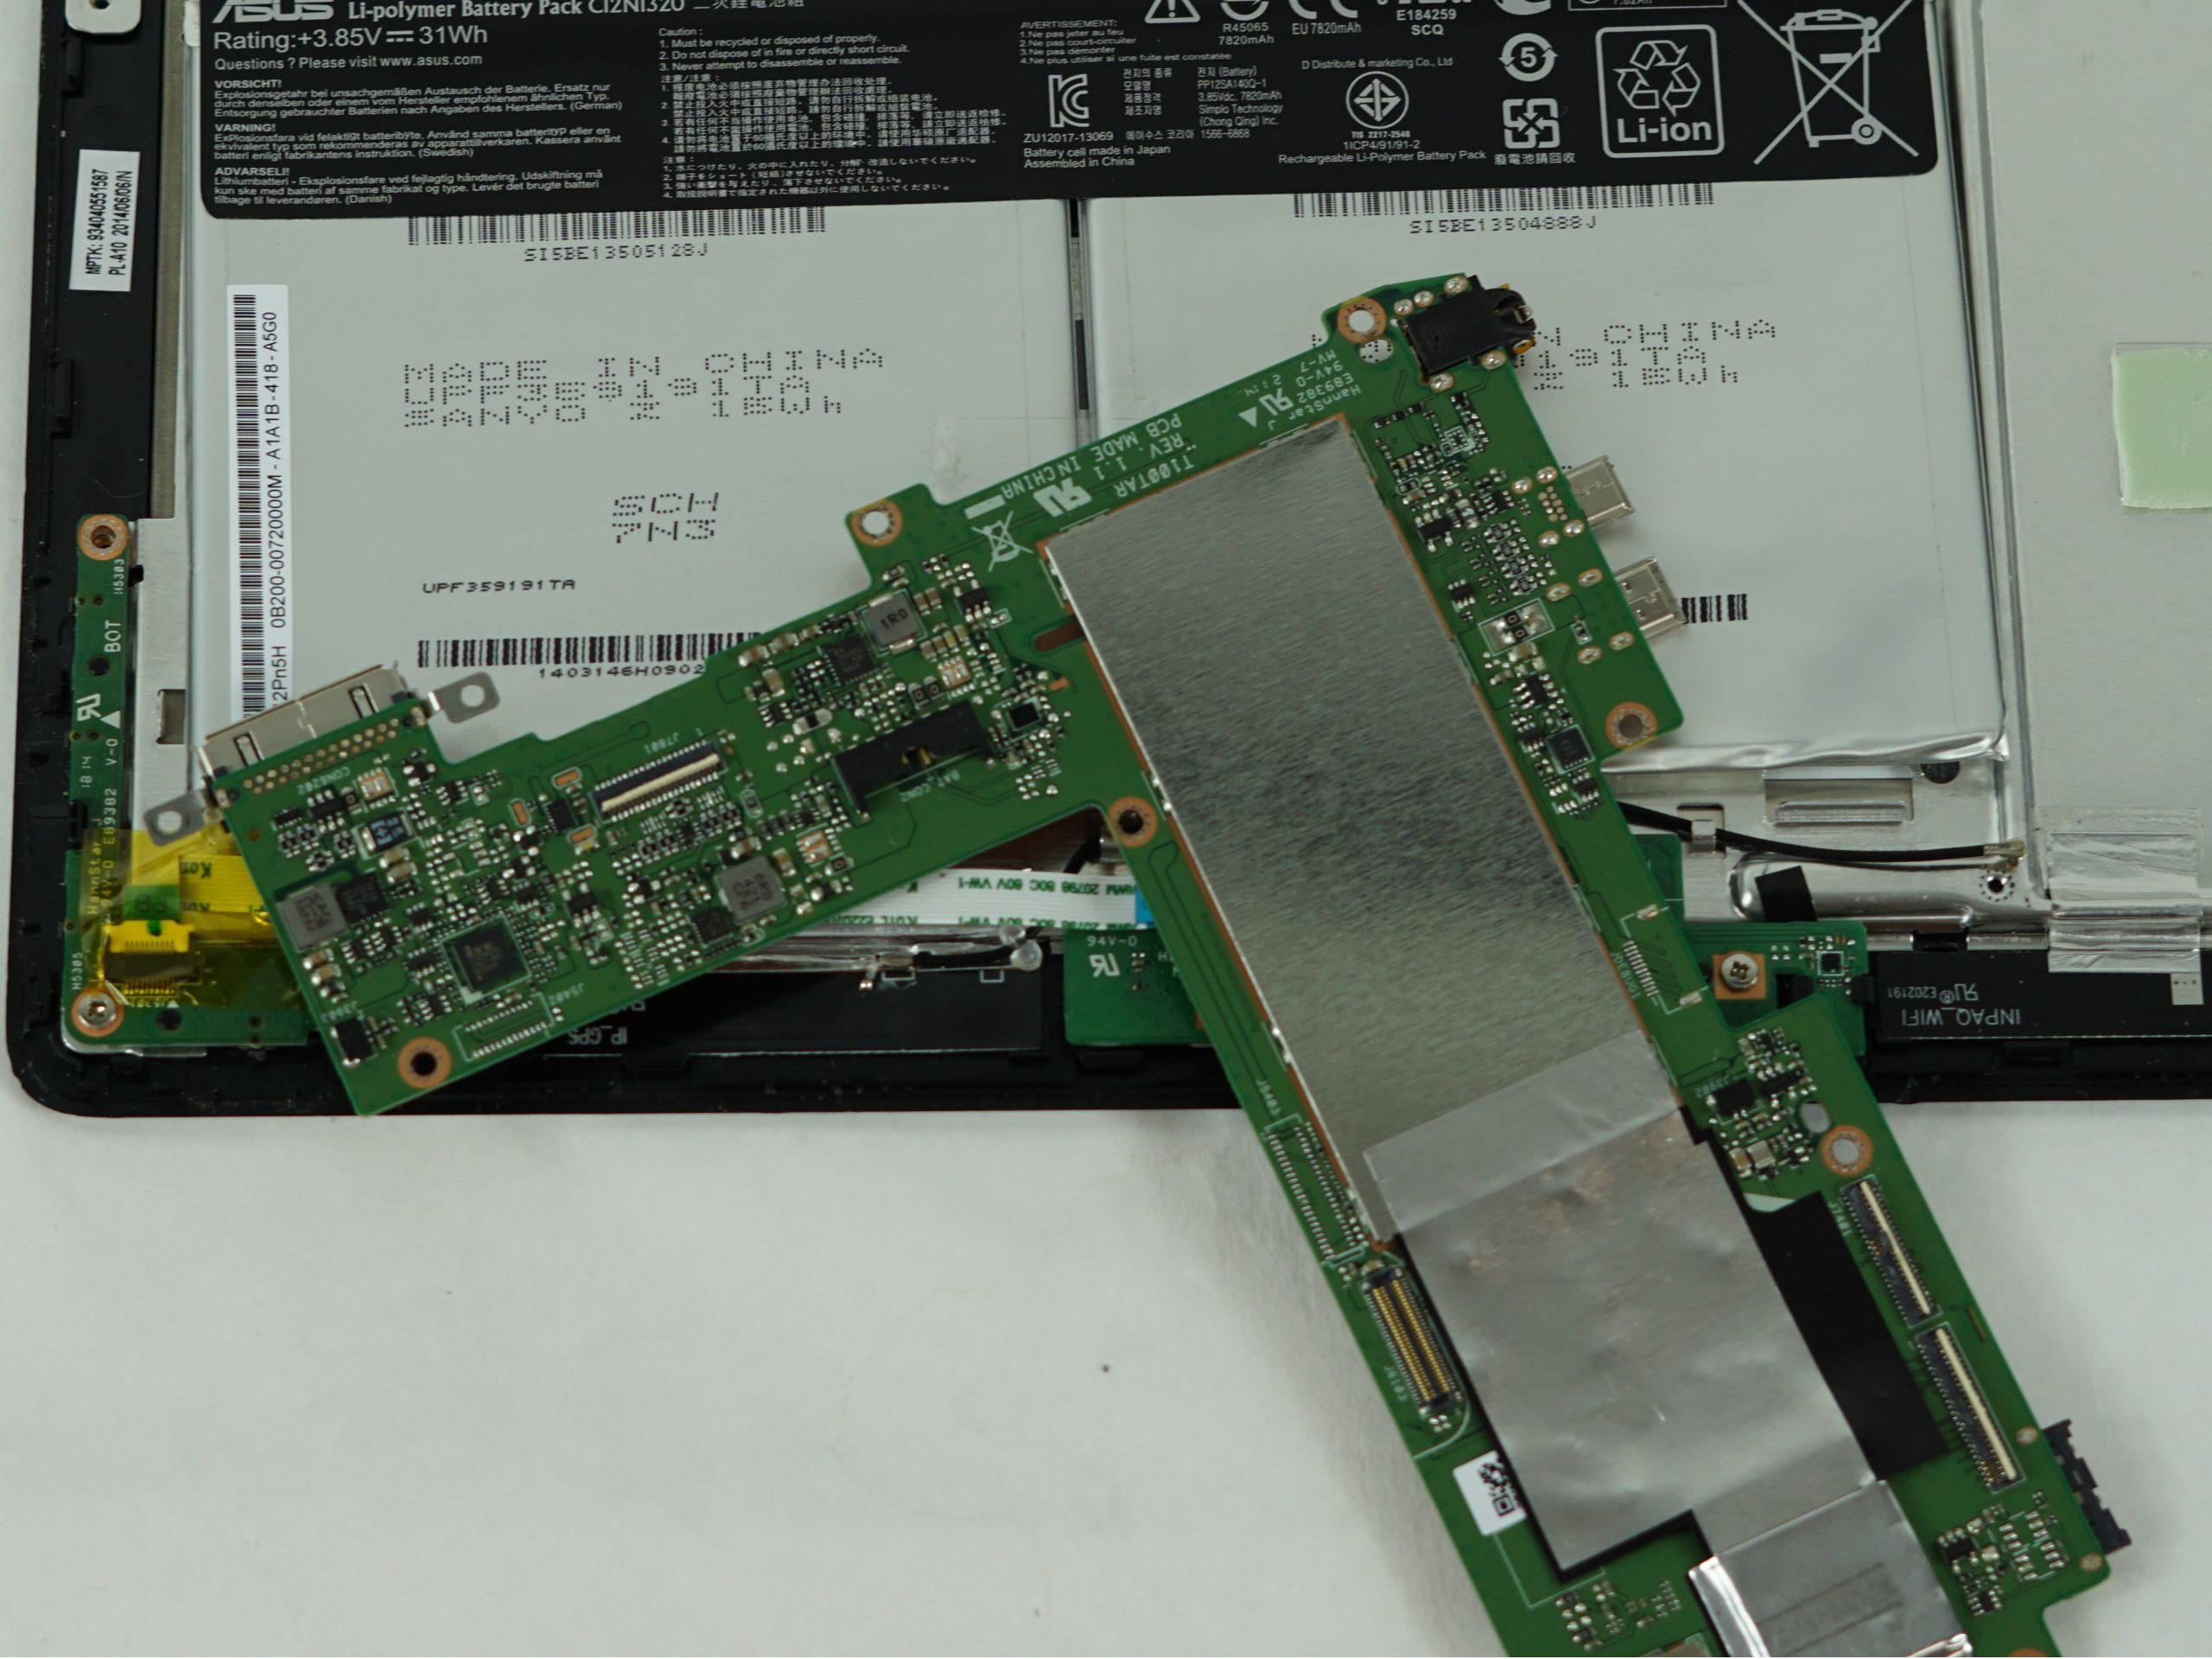
– It’s time to say goodbye to that camera board – carefully remove it from your device.


