ASUS Padfone X mini Station Speaker Replacement
Duration: 45 minutes
Steps: 6 Steps
Ready to tackle your speaker repair? This guide is your trusty companion for swapping out that speaker when the troubleshooting page has given you the green light to replace it. If you’ve checked everything else and your current speaker still isn’t singing, then it’s time to get to work!
Step 1
– Time to get this repair started. Begin by carefully inserting the plastic opening tool between the edge of the screen and the back cover. This is the first step in freeing your device from its casing.
– Now, gently pry the screen and back cover apart. If they’re being stubborn, don’t worry – just use a little extra hand power to coax them apart.
Step 2
– Gently peel away the three strips of tape holding the battery and its wires in place. Take your time and be careful not to pull on the wires – a little patience goes a long way here!
Step 3
Take your time when it comes to removing the battery. It’s hiding behind another wire, so give it a gentle nudge rather than yanking it out right away!
– Gently pull the ribbon from the motherboard; just a little tug with your fingers will do the trick!
– Grab those opening tools and work your magic to lift the battery right off the adhesive!
Step 4
Peel away any tape that’s hiding those screws before you start unscrewing them. Let’s keep things nice and neat as we make our repairs!
– Let’s get started by removing the three 2.5mm screws that hold the speaker case in place. Grab your trusty Phillips #00 screwdriver and get to work!
Tools Used
Step 5
– First, grab those trusty tweezers and carefully remove the three pesky pieces of tape covering the metal. Easy does it!
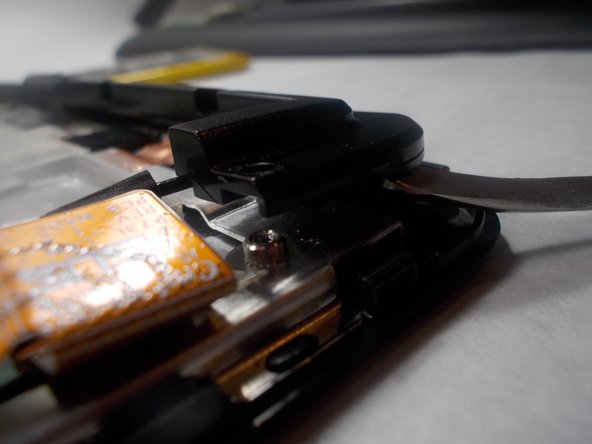
– Next, slide the metal spudger under the speaker case and gently pry it upwards to release it from the device body. You got this!
Tools Used
Step 6
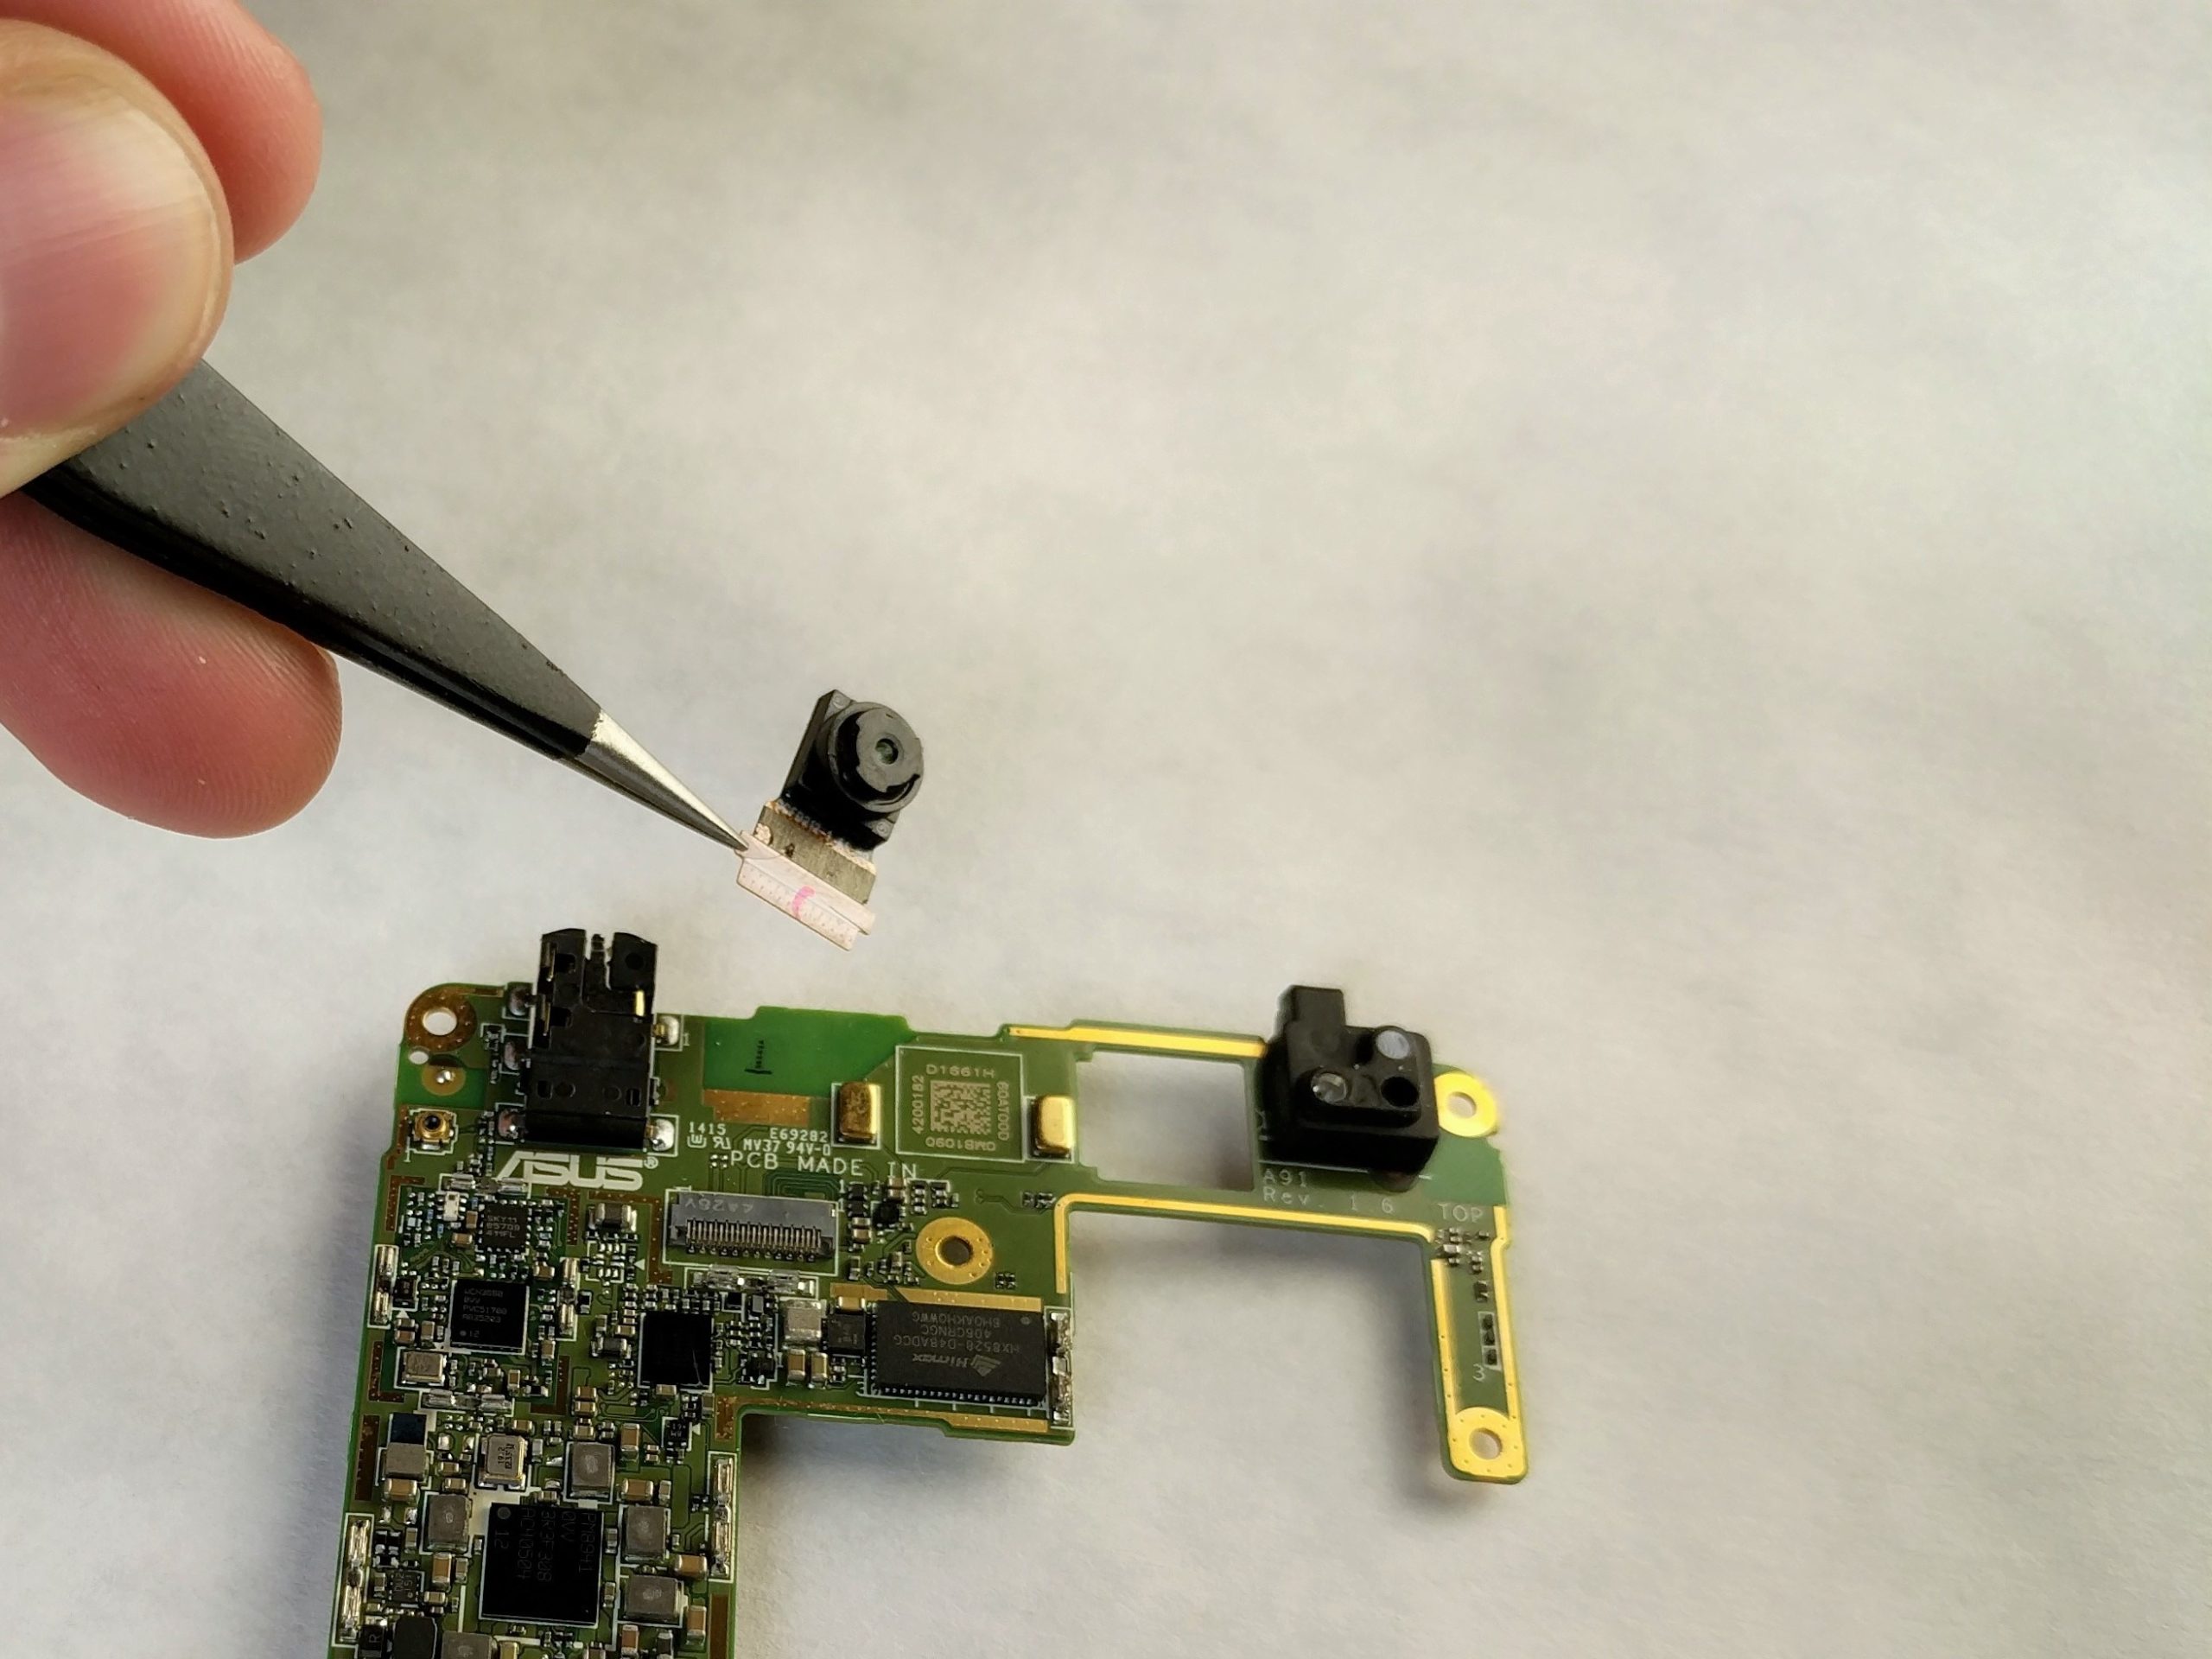
– Grab those trusty tweezers and carefully pop the connector off the motherboard—it’s like a game of Operation, but way cooler!
Tools Used
Success!


