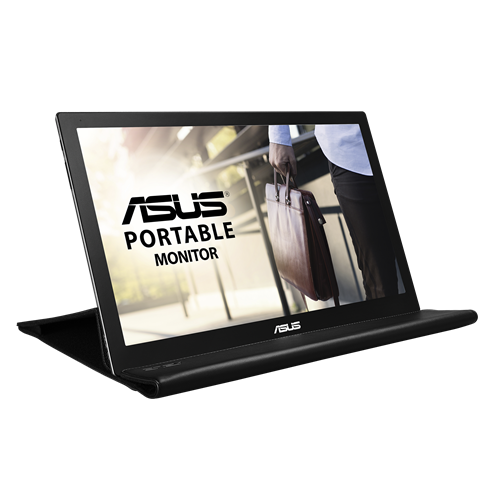
ASUS MB169B Portable Monitor Teardown
Duration: 45 minutes
Steps: 5 Steps
Dive into this guide to take apart your ASUS MB169B+ portable monitor like a pro. Let’s tackle this together and get that monitor opened up in no time! And remember, if you need help, you can always schedule a repair.
Step 1


– Alright, let’s get started! In this guide, we’re going to take apart the ASUS portable monitor. Follow along carefully to keep everything intact, especially the display and clips. Trust us, it’ll go smoothly!
– There are some plastic clips that are holding the cover in place. Grab a spudger and gently slide the edge between the faceplate and the rear cover of the monitor, just like in the picture. It’s a snug fit, but don’t worry, it’ll come apart!
– Now, take your time and slowly pry up on the faceplate starting from one corner. Keep working your way around the outer edge until the entire cover is off. It’s a slow and steady process, but we know you’ve got this!
Step 2
– Gently lift the cover off the LCD and place it aside like a pro.
– Unscrew those 4 pesky screws keeping the LCD snug against the back cover.
– Hold your horses! Don’t try to remove the display just yet; it’s still cozy with the main board.
– Flip the display over and you’ll spot a cable connector secured with some yellow tape.
– Give that yellow tape a little tug to lift the retaining bar and free the connector.
– Now, carefully pull the connector straight out from the display like a champ.
Step 3
– Unscrew the four screws securing the main power board to the rear cover. It’s as easy as pie!
– Start at a corner and gently work your spudger under the main board. Move around the edges until it pops up nice and easy. No need to rush, take your time!
– Before fully lifting the main board out, carefully peel off the grey tape holding the wires in place, and gently pull it away from the back cover.
– *Optional* If you need to disconnect the wire harness, just follow the same steps as in Step 2. It’s no biggie!
Step 4
– Alright, that’s the disassembly wrapped up! If you’re aiming to swap out that LCD, there are two screws holding the board to the monitor and a wire harness to deal with.
– Unscrew those two, unplug the smaller wire harness at the bottom of the LCD, and then simply hook up the new board to your shiny new LCD.
– Now, reassembly is a breeze—just reverse the steps, and you’ll be good to go!
Step 5
– Whoops, dropped my LCD and managed to yank the power connector right off the main board. Grabbed my trusty soldering iron and tried to reattach the connector.
– Turns out, the real culprit was the busted pins inside the connector—no amount of solder was going to fix that. Instead of chasing my tail with more soldering, I tracked down a replacement main board on eBay and decided to swap it in. If you find yourself in a similar situation and need backup, you can always schedule a repair.