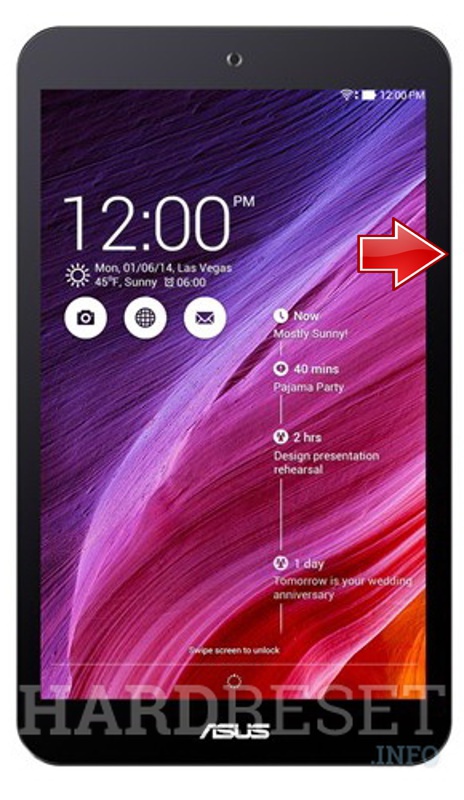
Asus Memo Pad ME172V – Touch Screen Replacement
Duration: 45 minutes
Steps: 7 Steps
Don’t forget to hit that subscribe button for more awesome repair tips! ツ
Replacing a broken or unresponsive touchscreen? Let’s do this! But hey—take your time, work carefully, and only start if you’re confident in your skills. No pressure, just precision! You got this!
Step 1


– First, power down that tablet – it’s time to get started!
– Now, grab a plastic tool and carefully pry open the back or battery cover. Easy does it!
Step 2


– Go ahead and unplug that battery, then give it a little lift to set it free. You’re doing great!
Step 3


– First, go ahead and disconnect that LCD display flex cable.
– Next, unplug the touchscreen flex cable.
– Time to say goodbye to the loudspeaker – disconnect and remove it.
– Unscrew those 10 screws, they’re just waiting to be freed.
– With all that out of the way, you’re ready to remove the motherboard.
Step 4

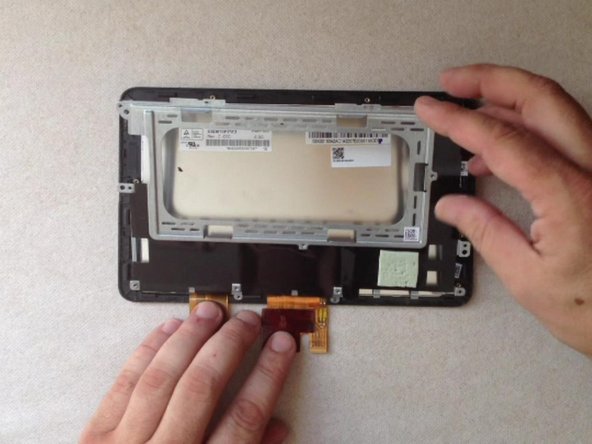
– Let’s get started by removing the metal LCD display shield. This is the first step in giving your device a brand new look and feel.
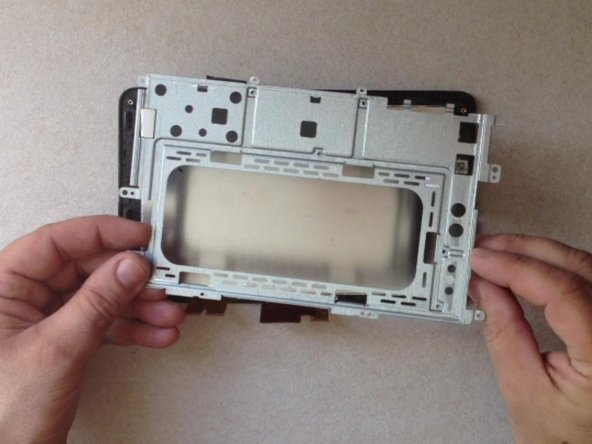
Step 5


– You’ll find quite a few clips keeping that LCD panel snug against the metal frame.
– Grab a spudger and give those clips a little nudge to release the LCD display.
Step 6


– Heat things up by warming the touch screen.
– Get started by using a cutter to carefully begin detaching the touchscreen, then switch to a plastic tool to finish the job.
Step 7


– Once you’ve successfully separated the touchscreen from the front bezel, it’s time to take off that LCD display frame!
– This little gem has double-sided adhesive tape. If yours doesn’t, make sure to set it up properly.
– Did you nail it? Let us know how it went!
– Don’t forget to hit that subscribe button for more awesome guides! ツ