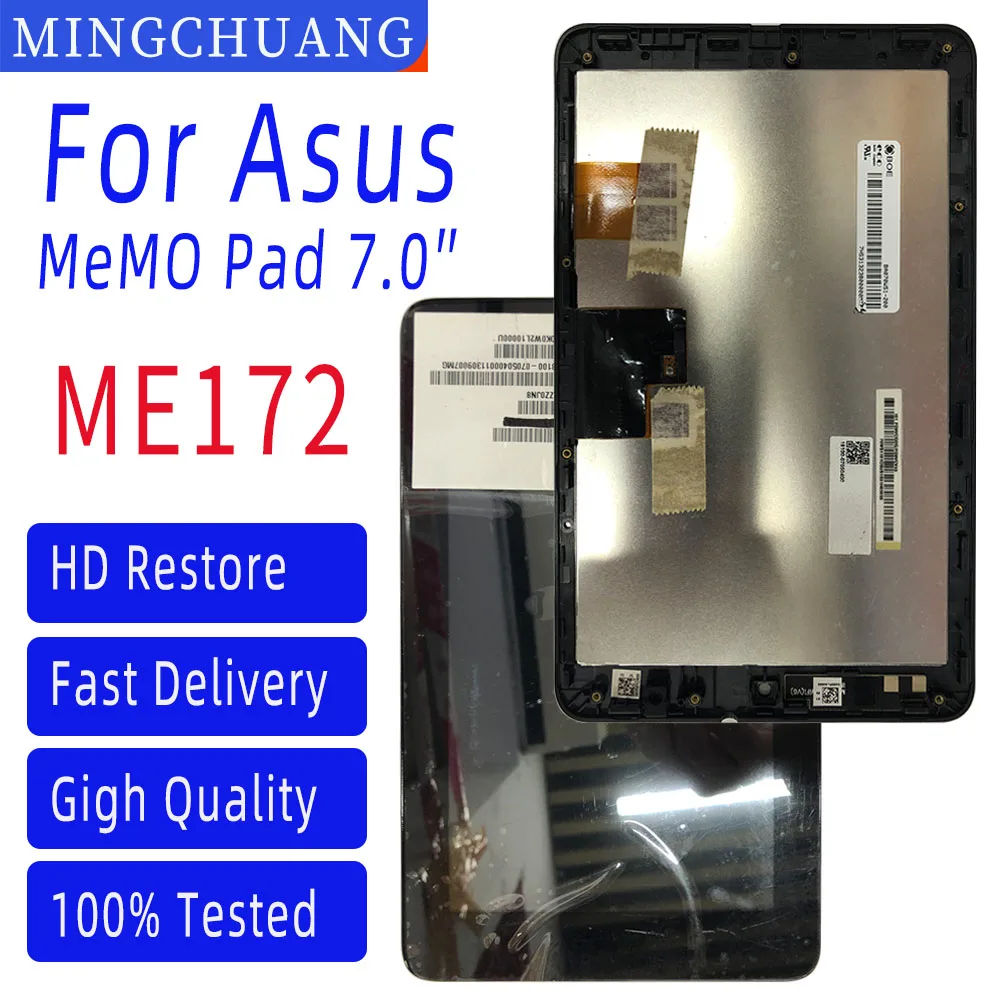
Asus Memo Pad ME172V – LCD Display Replacement
Duration: 45 minutes
Steps: 5 Steps
Hey there! Don’t forget to hit subscribe for more cool repair guides ツ
Ready to take apart the Memo Pad and swap that LCD display? You’ve got this! Let’s dive in and give it a spruce-up. If you find yourself in a pickle, just remember you can always schedule a repair.
Step 1


– Pop off the back or battery cover like a pro!
Step 2


– Let’s get started by disconnecting and removing the battery. This is a crucial step to ensure your safety while working on the device.
Step 3


– Let’s get started by disconnecting the LCD display flex cable – easy peasy!
– Next up, carefully disconnect the touch screen flex cable.
– Now it’s time to say goodbye to the loudspeaker – gently disconnect and remove it.
– Time to get a little more hands-on: unscrew those 10 screws and carefully lift out the mother board.
Step 4


– Let’s get this show on the road and gently peel away the LCD display metal shield!
Step 5


– The LCD display is snugly secured to the metal frame, held in place by some adhesive around the edges. Grab your cutter, and carefully begin to loosen the frame, gently prying it off to free the LCD display.
– .
– Did it go smoothly?
– .
– If you’re stuck, no worries! You can always schedule a repair.