Asus MeMO Pad HD 8 ME180A Motherboard Replacement
Duration: 45 minutes
Steps: 9 Steps
Ready to swap out that motherboard? Follow this guide if you’re having trouble—it’s got you covered. First things first, you’ll need to remove the battery. Make sure to check out the Asus MeMO Pad HD 8 ME180A Battery Replacement Guide to tackle that step before diving in.
Step 1


Watch out for those sneaky volume buttons! They have a tendency to escape from the case, so keep an eye on them to avoid any runaway moments.
– Grab a plastic opening tool and let’s gently pry the back half away from the front half. You got this!
– Carefully pull the back panel away from the device, and give yourself a virtual high-five. You’re one step closer to fixing it!
Step 2

– Pop on your Anti-Static Wrist Strap like a pro—it’s your shield against static mishaps!
Tools Used

Step 3

– Gently lift the white tab on the ZIF connector and carefully slide out the metal connector.
Step 4

– Time to get those cables loose! Use your trusty spudger to press down on the two marked spots, and gently release the cables from their cozy little homes.
– Double-check that the touchscreen cables are completely disconnected – we don’t want any sneaky connections holding us back from a successful repair!
Step 5

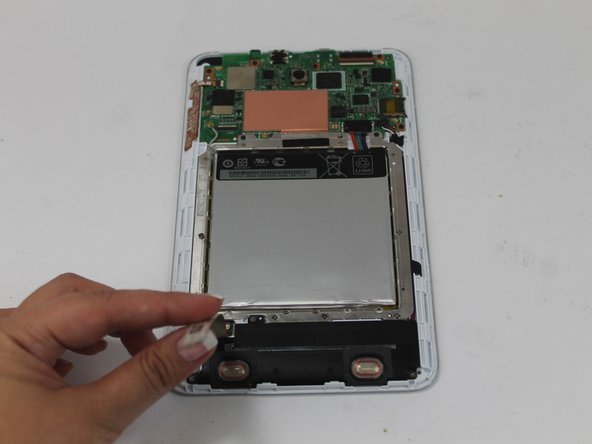
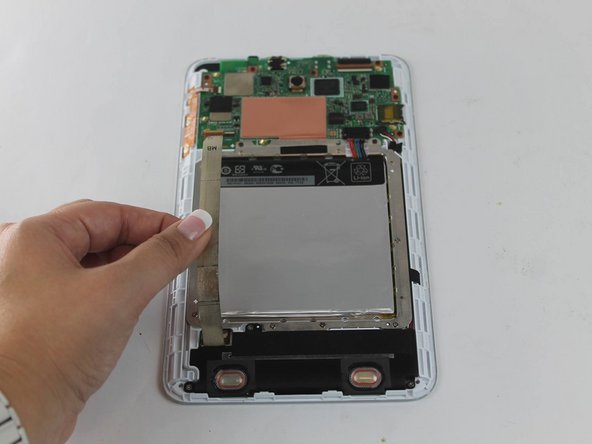
– Grab a PH#0 screwdriver and carefully unscrew the twelve shiny 3.2 mm screws—precision is key!
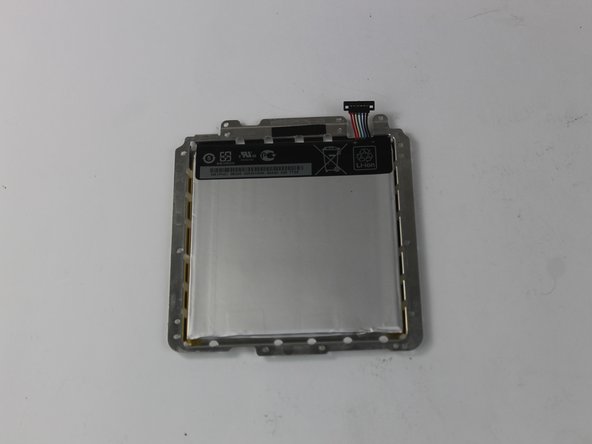
– Gently lift the battery out like you’re rescuing a kitten from a tree—steady hands, my friend!
Step 6

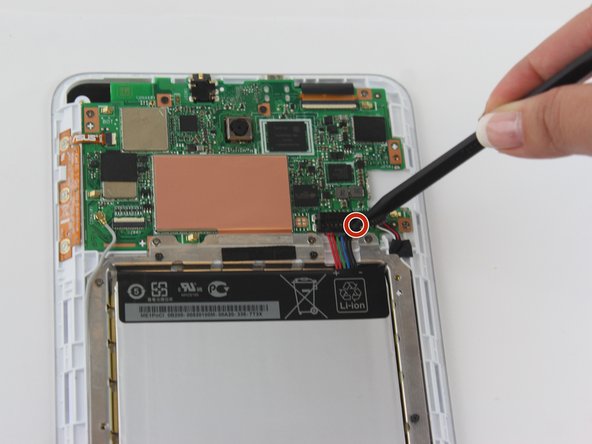
– Time to disconnect that GPS Antenna cable!
Step 7

– Swing that latch open and gently tug on the ribbon cable to disconnect the ZIF connector like a pro.
Step 8

– Pop open the latch and gently tug on the ribbon cable to free up that ZIF connector.
Step 9


– When it’s time to put your device back together, just follow these steps in reverse—it’s like rewinding your favorite playlist, but cooler!
– If you run into trouble, no stress! You can always schedule a repair and we’ve got you covered.