Asus MeMO Pad HD 8 ME180A Camera Replacement
Duration: 45 minutes
Steps: 11 Steps
Get ready to tackle a camera replacement! If your camera’s giving you trouble, this guide will be your best friend. To swap out that camera, you’ll need to take out the battery and motherboard first. No worries—just check out our Asus MeMO Pad HD 8 ME180A Battery Replacement Guide and Asus MeMO Pad HD 8 ME180A Motherboard Replacement Guide to get started. If you need help, you can always schedule a repair.
Step 1


Watch out for those volume buttons—they’re sneaky and might pop out of the case. Keep an eye on them so they don’t disappear on you!
– Grab that trusty plastic opening tool and gently work it between the back half and the front half to create some separation.
– Now, give that back panel a good pull to detach it from the device. You’ve got this!
Step 2

– Make sure to rock that Anti-Static Wrist Strap like a pro!
Tools Used

Step 3

– Pop up that little white bar on the ZIF connector—it’s like unlocking a tiny secret door. Then, give the metal connector a smooth slide out. No need to force it—gentle hands win the race!
Step 4

– Grab your trusty spudger and gently press down on the two designated spots to set the cables free.
– Double-check that the touchscreen cables are completely disconnected.
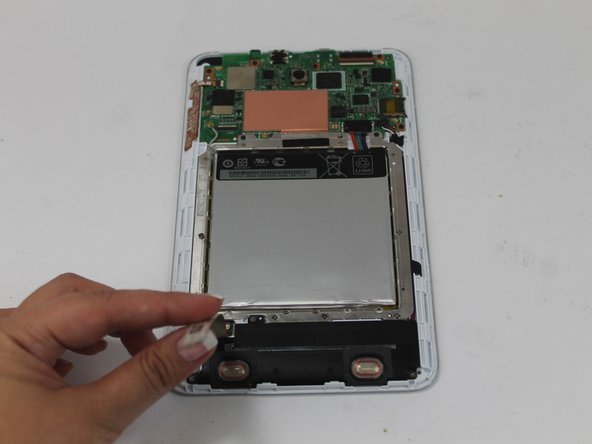
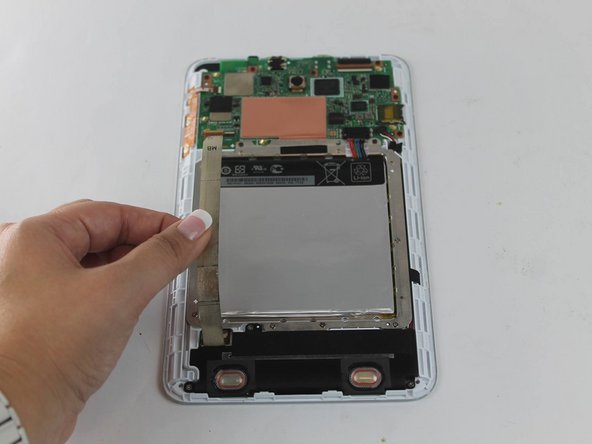
Step 5

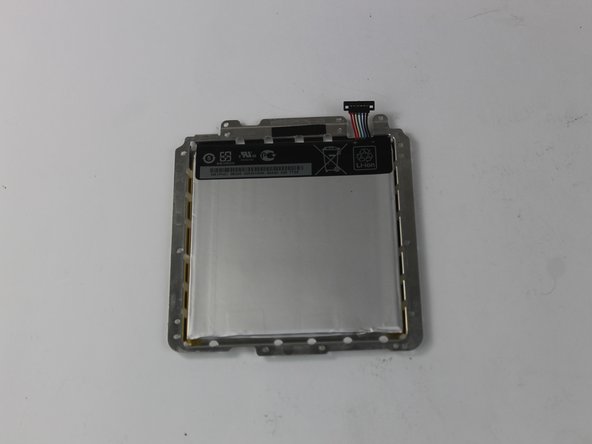
– Grab your trusty PH#0 screwdriver and get ready to tackle those twelve shiny 3.2 mm screws—let’s make them disappear!
– Once you’re through with that, gently pull the battery out like a pro.
Step 6

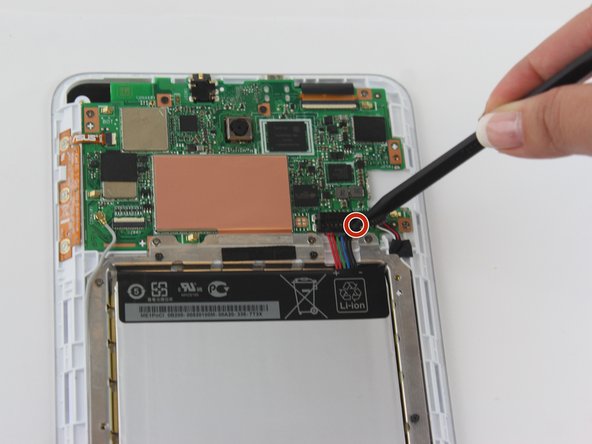
– Pop off that GPS Antenna cable like a pro—time to give it a well-earned break!
Step 7

– Pop the latch open and gently slide out the ribbon cable to unplug the ZIF connector.
Step 8

– Pop open the latch and gently wiggle the ribbon cable to free the ZIF connector.
Step 9


– Grab your trusty PH#0 screwdriver and remove the six 3.0 mm black screws – you got this!
– Now, carefully lift the motherboard straight up to remove it. Take your time and you’ll be a pro in no time!
Step 10

– Now that you’ve removed the motherboard, let’s get a closer look. Flip it over so the front-face camera is staring you down.
– Time to say goodbye to that front facing camera – carefully remove it from the motherboard.
Step 11

– Once you’ve freed that front-face camera, turn your device so the back-face camera is looking right at you. It’s showtime!
– Take a pair of tweezers and gently grasp the back-face camera. Give it a steady pull until it pops straight out. You’ve got this!