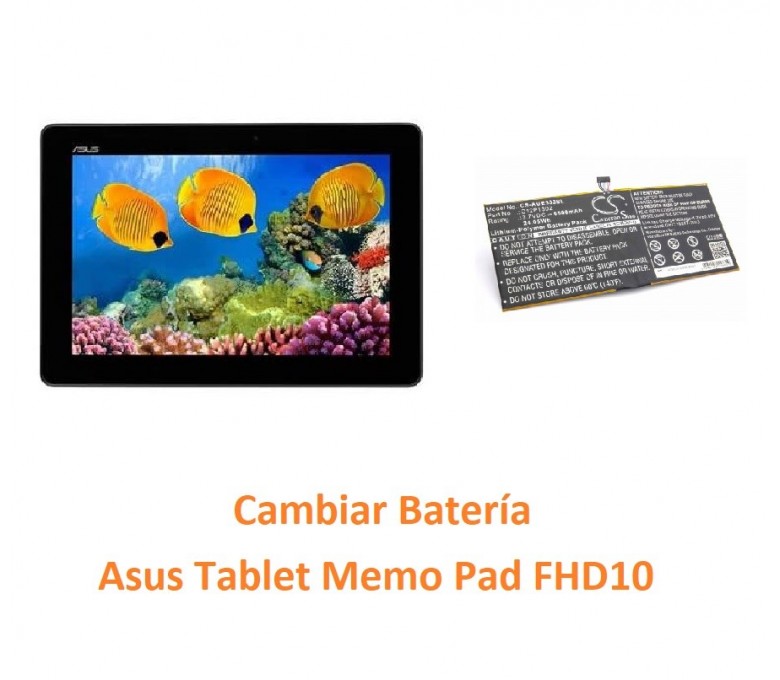
ASUS MeMo Pad FHD10 Speakers Replacement
Duration: 45 minutes
Steps: 7 Steps
Got a ASUS Memo Pad FHD tablet with speakers that are on the fritz? No worries, this step-by-step guide from Salvation Repair will walk you through replacing them and getting your tablet sounding sweet again. Follow along and you’ll be jamming out in no time. If you need help, you can always schedule a repair
Step 1


Let’s keep things safe and sound—turn off your device before diving in!
– First things first, unplug that charger and pop out any memory card hanging around in your device.
– Next up, grab your trusty plastic opening tool and gently slide it between the front and back covers on all sides.
– Give it a little wiggle back and forth to ensure the back cover is ready to say goodbye.
– Once it’s feeling disconnected, carefully lift off the back cover from the device screen.
Step 2


When using tweezers, be gentle and precise to avoid accidentally damaging any of the device’s components.
– Time to get started! Remove the protective copper sticker and any tape that’s holding things in place on your device.
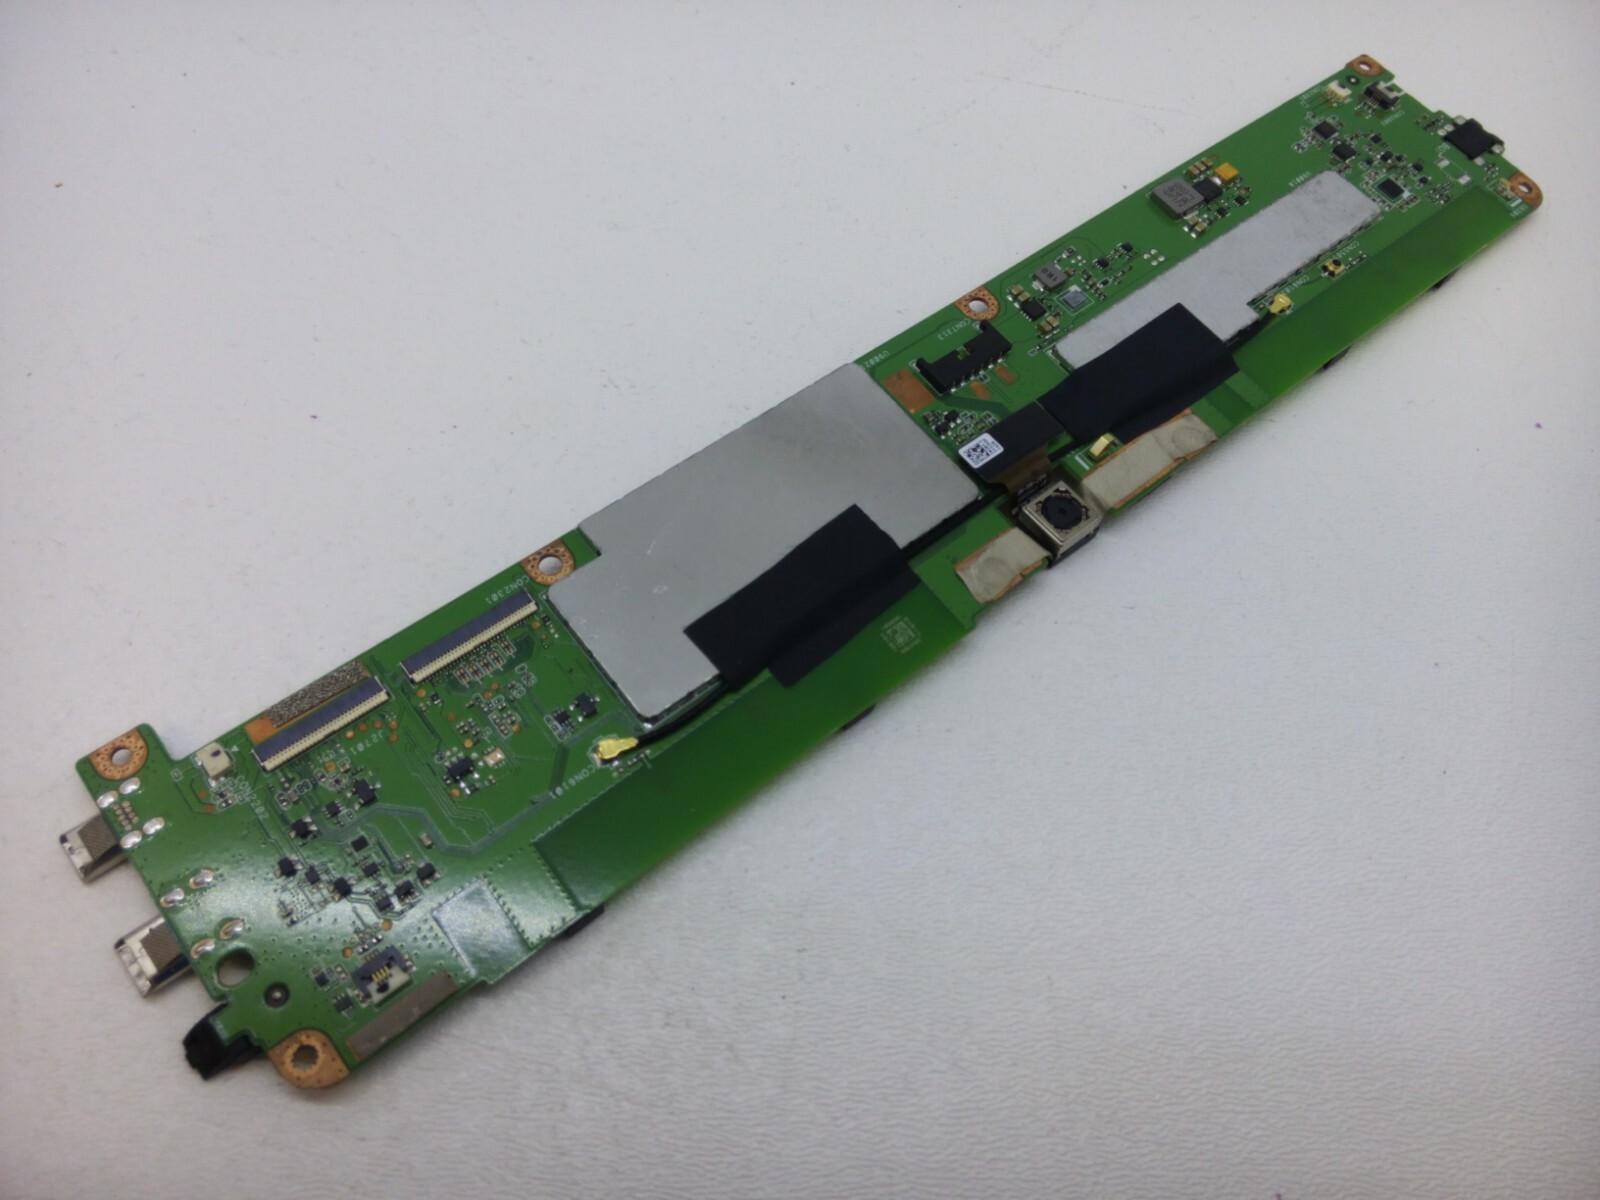
– Now, use those trusty tweezers to carefully detach the ribbon cable from its connections on the motherboard. Take your time, it’s a delicate step!
Tools Used

Step 3


– Let’s get started by removing the four 2 mm Phillips #00 screws that hold the battery tray in place. This is a straightforward step, and you’ll be done in no time!
Step 4


When you’re popping off the metal frame, make sure to grip it right in the middle—remember, the battery is split into two separate cells. Stay steady!
– First, track down the battery cable that’s hooked up to the motherboard. Use the same gentle technique you used on the ribbons to carefully detach it from the battery.
– Now it’s time to remove the battery from your device. Once it’s out, use your trusty plastic tool to pry the metal frame away from the battery. Easy does it!
Step 5

– Grab your Phillips #00 screwdriver and carefully remove three screws. Think of it as unlocking the next level in your repair quest—steady hands win the game!
Tools Used

Step 6

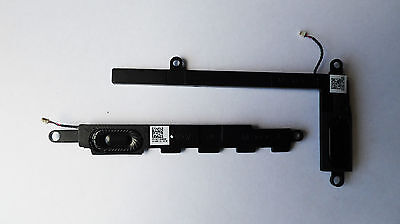
The two speakers are perched on opposite sides of your device, looking like sleek black bars ready to pump out some sound. They connect to the motherboard, making sure your tunes and calls come through loud and clear!
– Carefully unplug the speaker cables from their connections on the motherboard using tweezers – it’s easier than you think, and you’re making great progress!
Tools Used
Step 7


– Time to get those speakers outta there! Carefully use your hands to remove them.