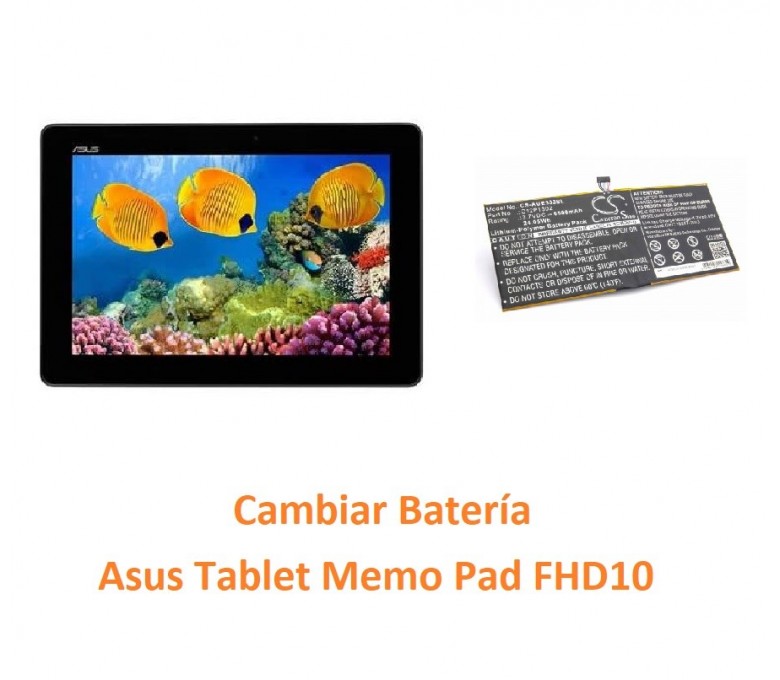
ASUS MeMo Pad FHD10 Camera Replacement
Duration: 45 minutes
Steps: 11 Steps
Got a camera that’s not doing its job or showing a blurry mess on your ASUS MeMo Pad FHD10? Whether the front or rear camera needs replacing, fixing, or just a little cleanup, this guide has you covered. If you’re dealing with a fuzzy display or the camera’s out of place, this guide will help you get things back in focus. Ready to make your camera shine again? Let’s dive in!
Step 1


Remember to power down the device first. Better safe than sorry!
– Disconnect the charger and take out any memory card hanging out in the device—it’s their time to step aside.
– Use the plastic opening tool and slide it into the gap between the front and back covers. Work your way around all sides like you’re unlocking the secrets of a treasure chest.
– Keep the tool moving back and forth, making sure those covers loosen their grip and the back cover is no longer holding on for dear life.
– Once free, lift off the back cover gently and say hello to the device screen underneath.
Step 2


When you’re wielding those tweezers, think of them as your delicate dance partners—use just the right amount of finesse and care to keep all the components safe and sound!
– Peel off that protective copper sticker and get rid of any tape hanging on the device. It’s time to strip away the extras!
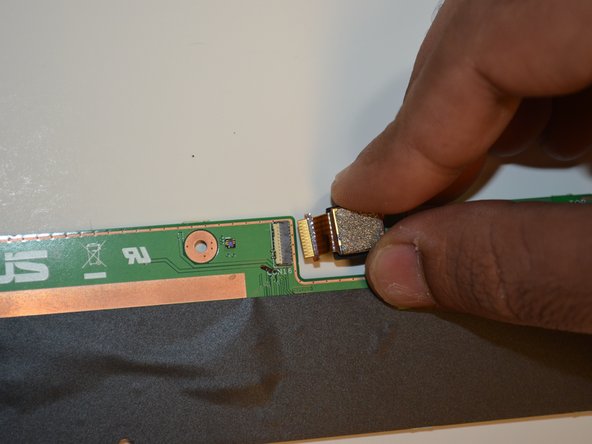
– Grab your trusty tweezers and carefully disconnect the ribbon cable from the motherboard. Handle with care—it’s a delicate operation!
Tools Used

Step 3


– Unscrew those four little 2 mm Phillips #00 screws that are keeping the battery tray snug as a bug. Let’s get that tray out of there!
Step 4


When you’re separating the metal frame, grip it firmly in the center – the battery is made up of two separate cells, so be careful not to damage them.
– First up, find that battery cable snugly connected to the motherboard. Just like with those ribbon cables, give it some gentle love and detach it with care.
– Now, carefully pop that battery out of the device. Once it’s free, grab your trusty plastic tool and slide it between the metal frame and the battery to separate them like pros.
Step 5

– Take out three screws using a Phillips #00 screwdriver—you’re basically an unscrewing pro now!
Tools Used

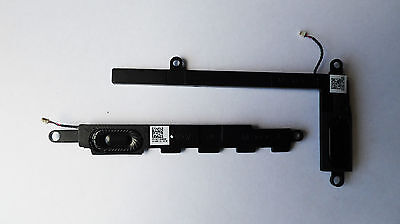
Step 6

The two speakers are sitting pretty on opposite sides of the device. They’re sleek black strips with connections leading right into the motherboard, ready to make some sweet sound waves!
– Gently pull those speaker cables away from the motherboard connections using some tweezers. You’ve got this!
Tools Used
Step 7


– Carefully and gently pop those speakers out with your hands, like you’re giving them a little hug!
Step 8

– Let’s get started by removing the five screws with a trusty Phillips #00 screwdriver.
Tools Used
Step 9


– Gently unplug the cord connecting the on/off button to the motherboard. You got this!
– Carefully peel back the electrical tape securing the motherboard connections to the device frame. Take your time, we’re almost there!
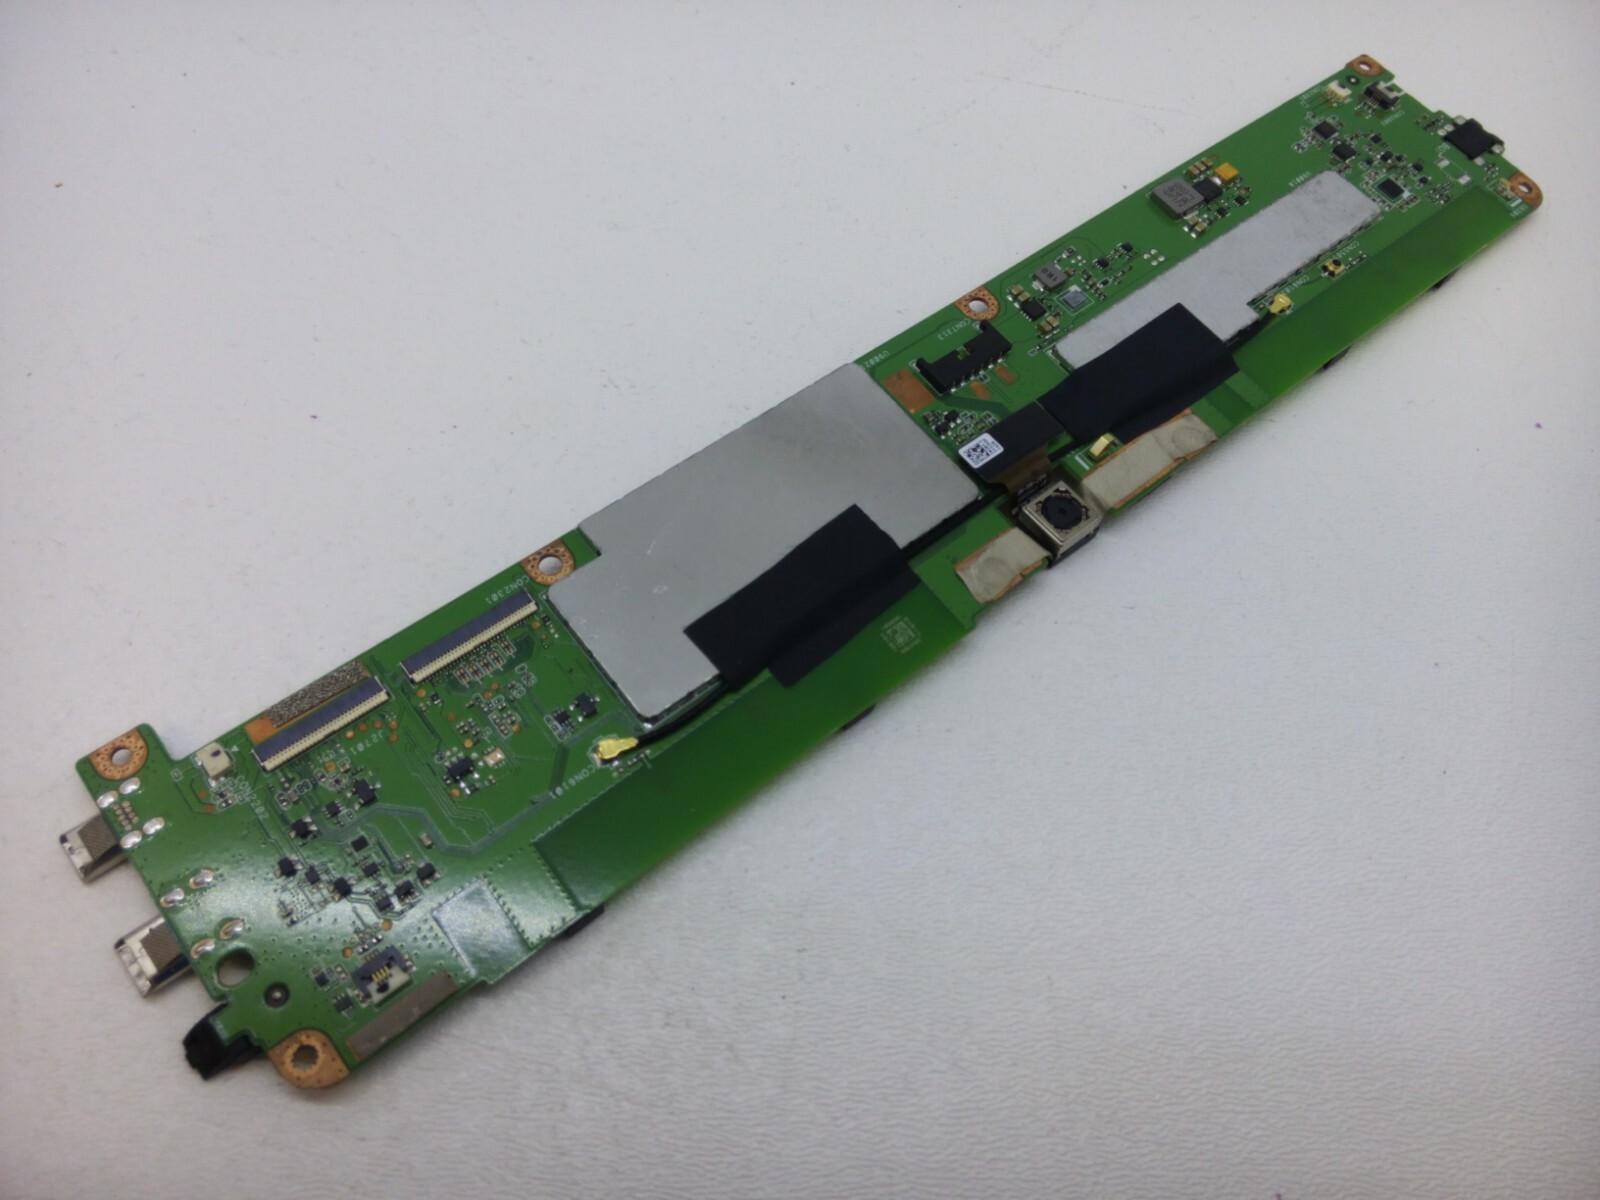
Step 10

– Now it’s time to get hands-on – carefully lift the motherboard out of the device.
Step 11


– First things first, locate the front and rear cameras on your motherboard. They’re the little guys peeking out waiting for some love!
– Once you’ve found them, gently coax those cameras out by pulling them with your hands. No need to be rough; they appreciate a little TLC!