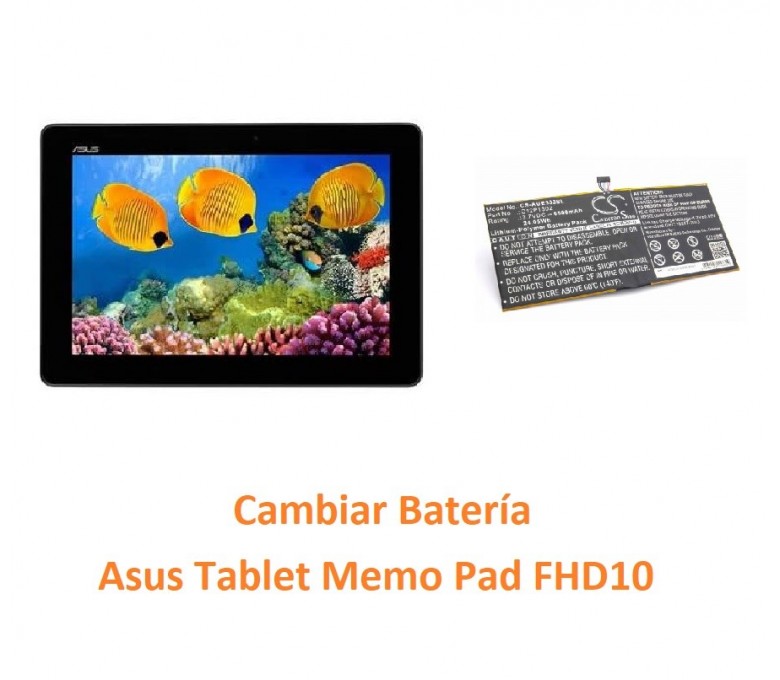
ASUS MeMo Pad FHD10 Battery Replacement
Duration: 45 minutes
Steps: 4 Steps
Ready to give your device a new lease on life? This guide walks you through replacing the battery step by step! We’ll help you smoothly pop off the back panel, disconnect those pesky cables, and swap in a fresh battery. We’re talking about a 6760mAh Li-polymer powerhouse that lasts up to 10 hours. If you run into any tricky spots, don’t hesitate to schedule a repair!
Step 1


Don’t forget to power down your device first; it’s the smart move to keep things safe!
– First things first, unplug that charger and pop out any memory card hanging out in your device.
– Grab your trusty plastic opening tool and slide it between the front and back covers on all sides.
– Give it a gentle wiggle back and forth to ensure the back cover is ready to say goodbye.
– Once it’s free, lift off the back cover like a pro and set it aside!
Step 2


Handle those tweezers like you’re playing Operation—steady hands, gentle touch, and all the precision. No wrecking crew vibes here, okay?
– Peel off that shiny copper sticker and any tape clinging to the device—like taking off a band-aid, but way cooler.
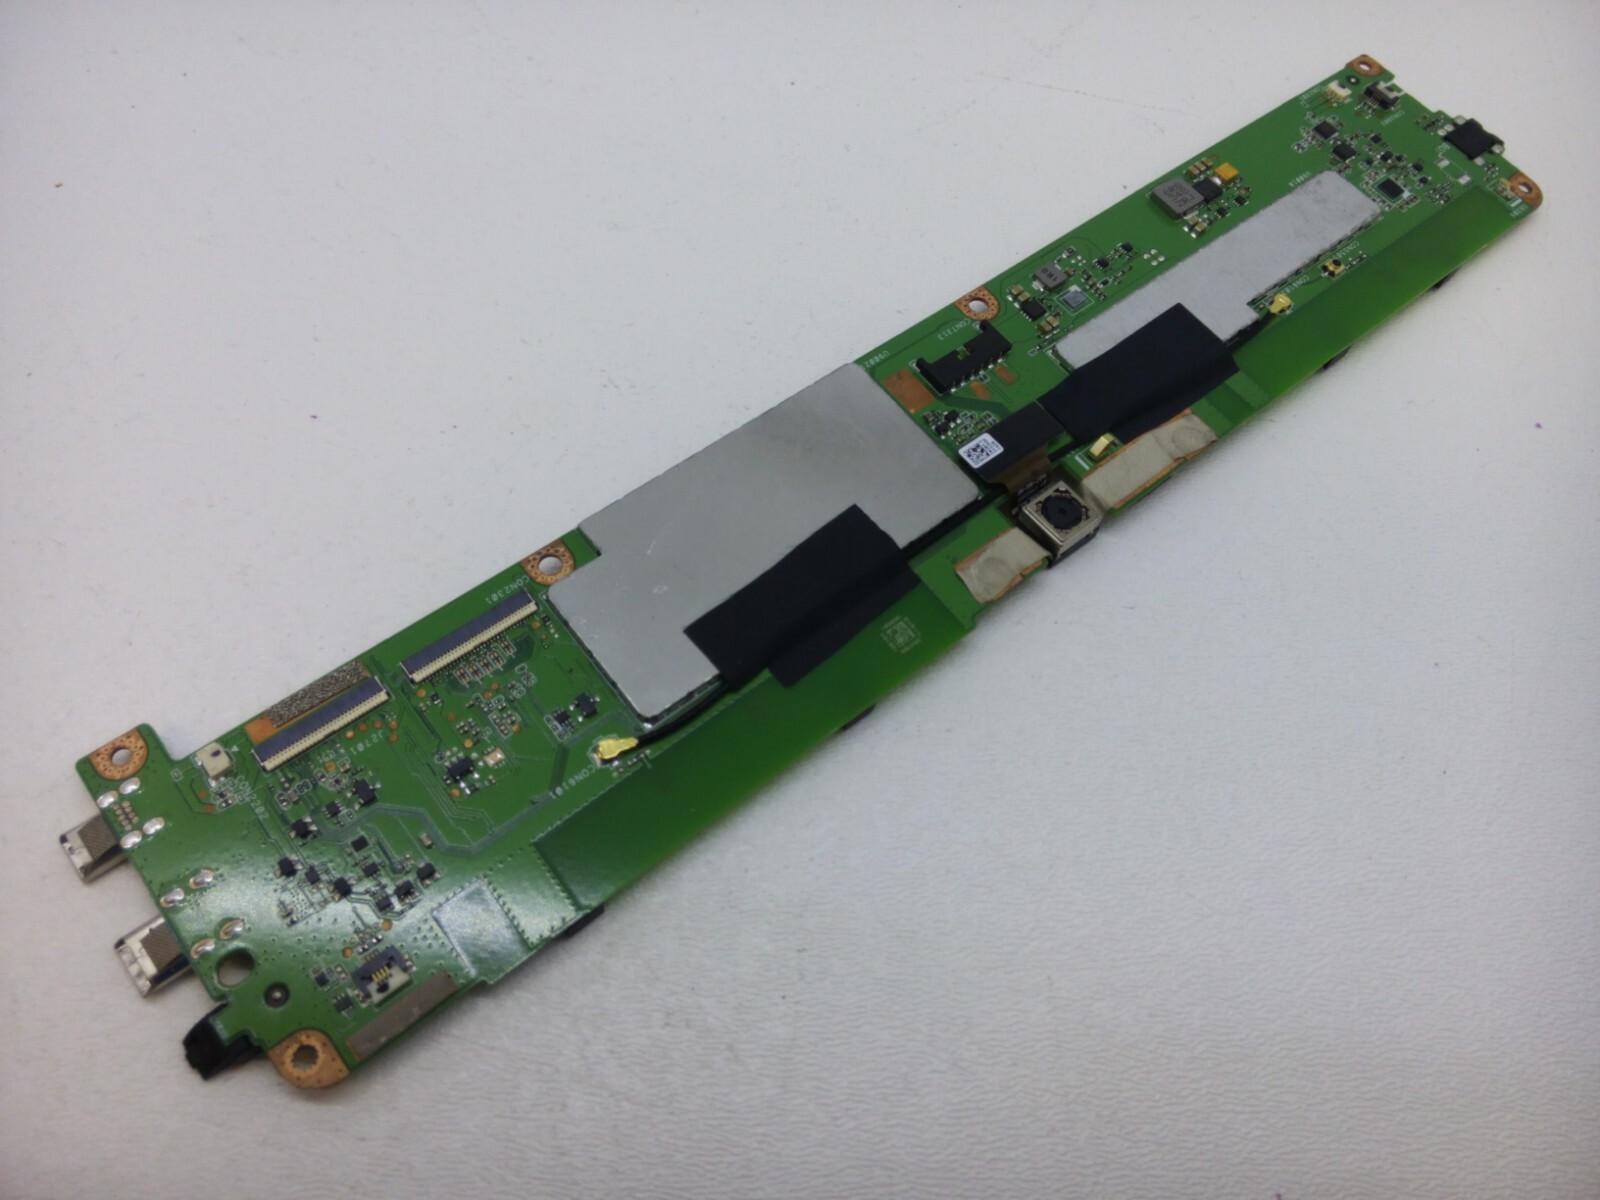
– Grab your trusty tweezers and gently pop the ribbon cable loose from its snug connections on the motherboard. Easy does it!
Tools Used

Step 3


– Let’s get started by removing the four 2 mm Phillips #00 screws that hold the battery tray in place. Take your time and make sure they’re all out before moving on to the next step.
Step 4


When you’re popping off the metal frame, grab it right in the middle—trust me, you don’t want to mess with the battery since it’s rocking two separate cells.
– Find the battery cable that’s connected to the motherboard. Use the same technique you used for the ribbons to gently disconnect the battery cable.
– Carefully remove the battery from the device. Once it’s free, grab the plastic tool and use it to gently separate the metal frame from the battery. Take your time and be patient!