Asus Tablet MeMo Pad 7 ME7000C Rear Camera Replacement
Duration: 45 minutes
Steps: 17 Steps
Ready to breathe new life into your Asus Tablet MeMo Pad 7 ME700C? Let’s replace that cracked or uncooperative rear-facing camera lens! Grab the right tools, channel your inner repair hero, and gently pop open the back panel (carefully, now—we don’t want to play bumper cars with the tablet’s delicate bits). The rear-facing camera is snugly situated on the motherboard, so double-check all prerequisite guides before diving into the replacement. If things feel more tricky than expected, you can always schedule a repair for some pro-level backup!
Step 1


– Turn your tablet over so the back side is looking up at you. Press and hold the second button on the left, just below those volume buttons, until it switches off. Easy peasy!
Step 2


Having a tough time with the blue plastic opening tools? Switch it up and give the black spudger a try. It might just do the trick!
– Let’s get started with the repair. Begin by using the blue plastic opening tool in the upper corner of the tablet. Gently run it along the seam, taking your time to avoid causing any damage to the device.
Tools Used

Step 3


– Gently separate the rear panel from the display screen—like a magician revealing the next trick. Keep steady hands, and let’s make this repair a smooth one!
Step 4


– Grab your trusty spudger and give that black button on the plug port a gentle press—think of it as giving it a polite nudge. This will pop the battery free from its cozy plug connection.
Tools Used
Step 5


– Take out the battery from your device – this is a crucial first step to get started with the repair process.
Step 6


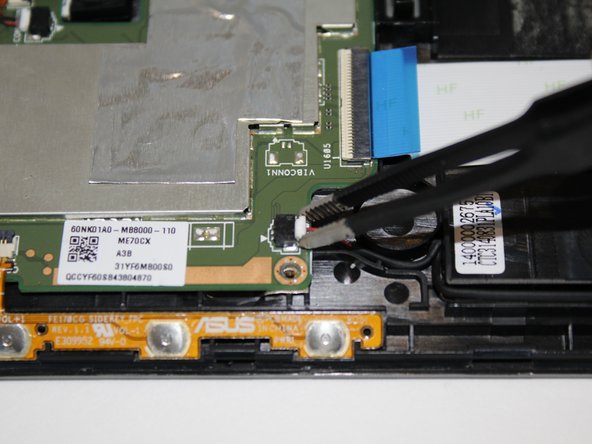
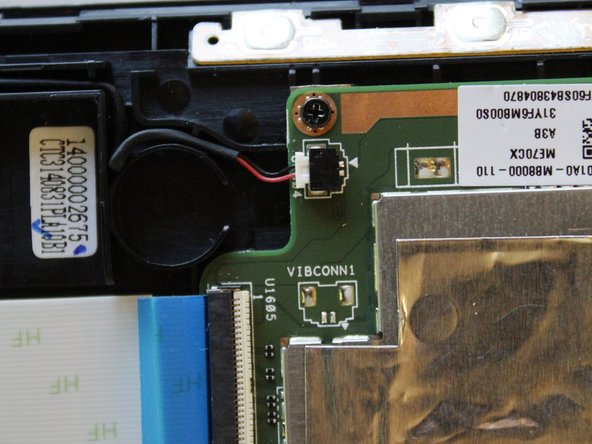
– Grab those trusty tweezers and gently pop off the black clip—easy peasy!
Tools Used

Step 7


Stay organized and keep those tiny screws in check with a magnetic pad – it’s a total lifesaver while you’re working!
– Grab your Phillips #000 Screwdriver and get ready to work some magic! Unscrew those 3mm Phillips head screws sitting in the right and left corners of the speaker like a pro.
Tools Used

Step 8

– Carefully take out the speaker from the device.
Step 9

– Carefully wiggle the microphone loose from the motherboard with a pair of blunt tweezers—steady hands win the day!
Tools Used
Step 10


– With your trusty tweezers, give that cream tab above the blue ribbon a little lift to set the ribbon free.
– Now, using the blue tab, gently coax the ribbon away from the motherboard like you’re freeing a butterfly.
Tools Used
Step 11


– Grab those tweezers and gently flip back the black tab to set the volume ribbon free. You got this!
– Once it’s free, carefully pull the ribbon away from the motherboard with your tweezers. Easy peasy!
Tools Used
Step 12


– Use your trusty tweezers to carefully pull back the silver adhesive – it’s like a little reveal.
– Now, gently grab those tweezers again and flip up the black release tabs on the gold ribbons. Easy does it.
Tools Used
Step 13


– Now it’s time to get those gold tabs to let go of the motherboard. Use your trusty spudger to gently pry them away, starting from where the black tabs were lifted. This should give you the clearance you need to move forward with the repair.
Tools Used
Step 14


Keep your screws in check with a magnetic board – it’s like having a personal assistant for your tiny, easily lost parts.
– Grab your trusty Phillips #000 screwdriver and carefully remove the four 3mm screws – you’re one step closer to reviving your device!
Tools Used
Step 15
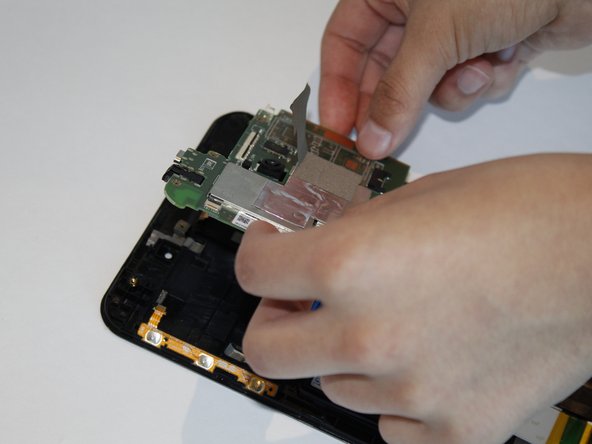

If the motherboard feels stuck or you’re sensing some resistance, double-check that every connection has been fully unplugged before trying again.
– Time to get that motherboard out. Grab both sides and gently lift it up to remove it from the device.
Step 16
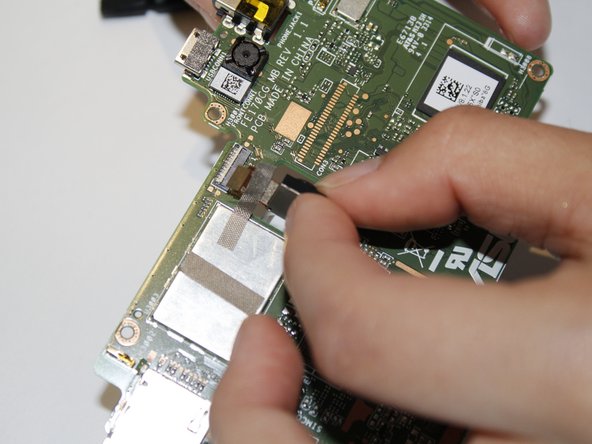

– Grab those tweezers and flip that cream tab up to set the camera ribbon free!
– Gently peel back the silver adhesive to liberate the camera ribbon from the motherboard.
– Now, pull that silver tape away from the camera with care!
Tools Used
Step 17

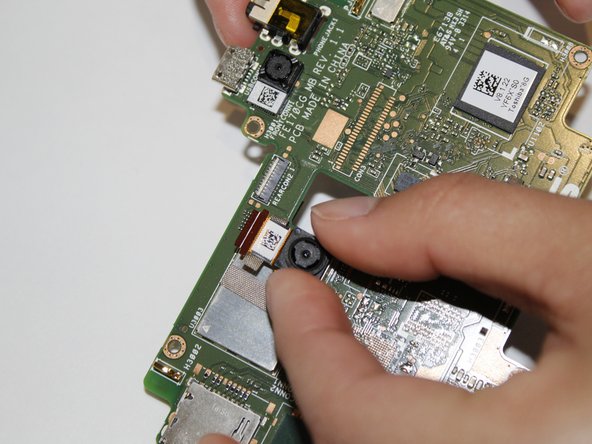
Keep that tape stuck to the motherboard! You’ll need it to secure the new camera in place later on.
– Now that you’ve tackled this repair like a pro, it’s time to put everything back together! Just follow these steps in reverse, and your device will be back in action in no time. If you run into any trouble, you can always schedule a repair.
–