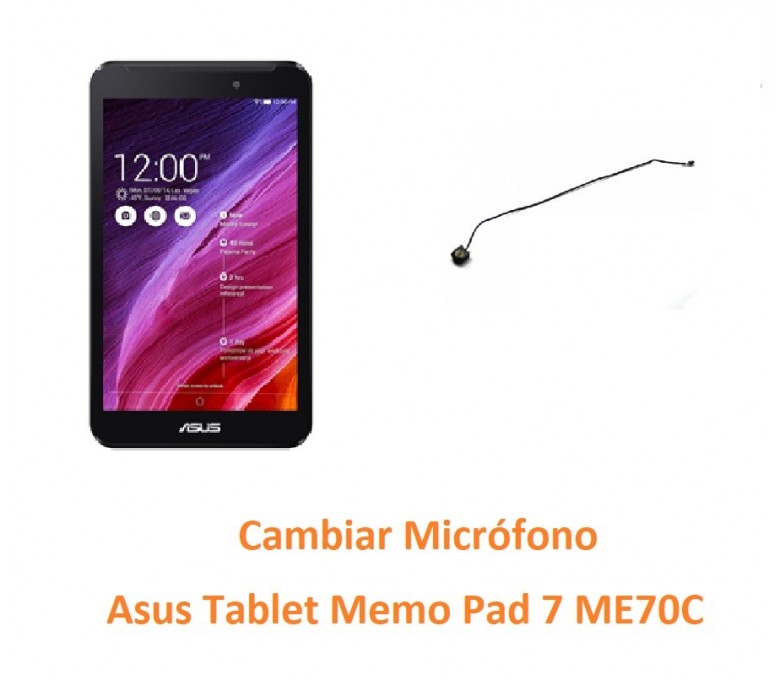
Asus Tablet MeMo Pad 7 ME7000C Motherboard Replacement
Duration: 45 minutes
Steps: 17 Steps
Ready to revive your Asus Tablet MeMo Pad 7 ME700C? This guide has your back, showing you step-by-step how to swap out that tired motherboard for a fresh one. Gear up with the right tools and take it slow when popping off the back panel—precision beats frustration, and it’ll keep your tablet safe from accidental scrapes.
Step 1


– Turn the tablet over so the back cover is facing you. Locate the second button on the left, just below the volume controls, and press and hold it until the device powers down.
Step 2


If you’re having a tough time with those blue plastic opening tools, switch it up and give the black spudger a shot instead!
– Start at the top corner of your tablet and grab that trusty blue plastic opening tool. Glide it gently along the seam—take it nice and slow to keep your device safe and sound!
Tools Used

Step 3


– Gently pry apart the rear panel and the display screen, like you’re opening a treasure chest—easy does it!
Step 4


– Take your trusty spudger and give the black button on the plug port a gentle nudge to pop the battery free from the plug.
Tools Used
Step 5


– Pop that battery out of your device like it’s nobody’s business!
Step 6


– Grab those tweezers and gently pop off the black clip—it’s like a tiny black belt, but for tech.
Tools Used

Step 7


Keep those screws in check with a magnetic pad while you work. It’ll make sure nothing goes missing, and you can focus on the task at hand without chasing down tiny pieces. Stay organized and repair like a pro!
– Grab your trusty Phillips #000 Screwdriver and let’s get to work! Unscrew those 3mm Phillips head screws hanging out on the right and left corners of the speaker. You’re doing great!
Tools Used

Step 8

– Carefully detach the speaker from the device.
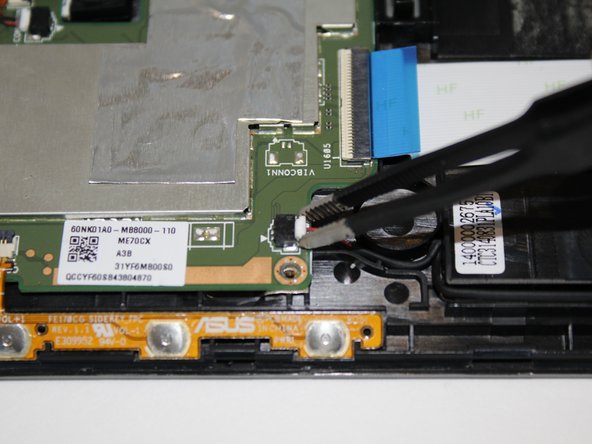
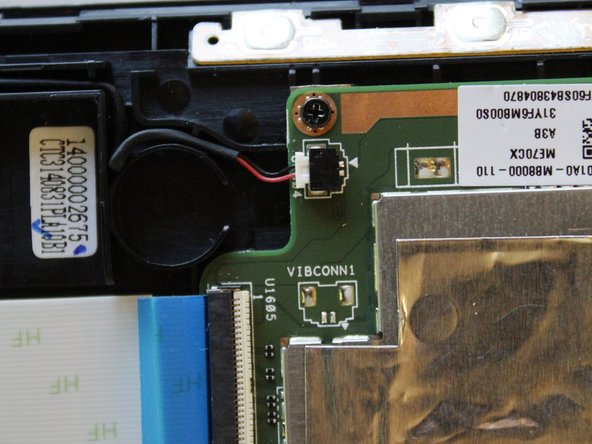
Step 9


– Unplug the microphone connection from the motherboard.
– Take those trusty tweezers and gently pull the white plug out of its spot on the motherboard.
Tools Used
Step 10


– Grab your trusty tweezers and carefully lift up the silver adhesive to reveal the microphone underneath.
– Be sure to keep the tape stuck to the device so it’s ready to go when you put everything back together.
– Using the tweezers again, gently extract the microphone like a pro.
Tools Used
Step 11

– Carefully wiggle the microphone free from the motherboard using a pair of blunt tweezers—slow and steady wins the race!
Tools Used
Step 12


– Lift the cream tab perched above the blue ribbon using tweezers—like you’re opening a tiny treasure chest. This will free up the ribbon.
– Next, grab the blue tab and gently ease the ribbon away from the motherboard. It’s like unzipping a jacket, but way cooler!
Tools Used
Step 13


– Grab those tweezers and flip back the black tab to set the volume ribbon free. It’s time for a little liberation!
– Once you’ve set it free, gently coax the ribbon away from the motherboard with your trusty tweezers. Easy peasy!
Tools Used
Step 14


– Carefully peel back that shiny silver adhesive using your trusty tweezers.
– With a gentle touch, flip up the little black release tabs on the golden ribbons using the tweezers.
Tools Used
Step 15


– Now that you’ve lifted those black tabs, grab your trusty spudger and gently nudge those gold tabs away from the motherboard. You’re doing great!
Tools Used
Step 16


Keep your screws in line with a magnetic board—it’s like a backstage pass for your hardware!
– Grab your Phillips #000 screwdriver and confidently loosen up those four 3mm screws—you’re practically a repair hero already!
Tools Used
Step 17
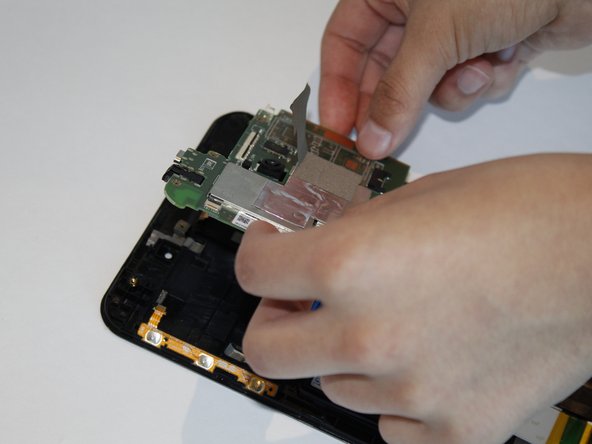

If you’re feeling a bit of resistance or the motherboard seems to be playing hard to get, double-check that all connections are fully disconnected. You’ve got this!
– Gently grasp both edges of the motherboard and lift it carefully to free it from the device. You’ve got this!