Asus MeMO Pad 7 ME176C LCD Screen Assembly Replacement
Duration: 45 minutes
Steps: 12 Steps
Get ready to dive into the adventure of disassembling your Asus MeMO Pad 7 ME176C to swap out that screen! Follow these simple steps, and soon you’ll have your device looking as good as new. And hey, if you hit a snag, no worries! Just schedule a repair for some expert help.
Step 1


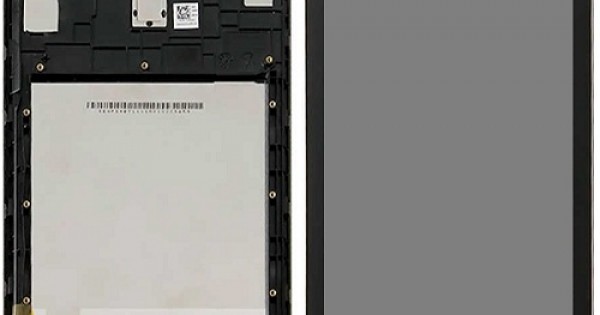
– Start by slipping a plastic opening tool between the screen and the back cover – this will help you get some separation going on between the two.
– Next, run that trusty plastic opening tool along the edge of the screen to completely release the back cover from the screen.
Step 2


– Using your trusty Phillips head screwdriver (PH000), carefully take out the two 2.6mm screws that are holding the speaker snugly against the hard frame. You’re doing great – keep it up!
Step 3

– Time to get disconnected! Use those handy metal pronged tweezers to carefully release the speaker wire from the motherboard. You got this!
Tools Used

Step 4

– Let’s get started by removing the screws (2.6mm) that connect the motherboard and battery tray to the hard frame. Grab your trusty Phillip’s head screw driver (PH000) and get to work!
Step 5


– Gently pop that black bundle battery connector off the motherboard with some trusty plastic opening tools. You’ve got this!
Step 6


– Time to get disconnected! Use that trusty plastic opener tool to carefully release the ZIF connectors, just like the pros do. Take a look at the example to make sure you’re on the right track.
Step 7


– Start by carefully removing the speaker housing to reveal the ZIF connector hiding underneath.
– Next, grab some metal tweezers and gently disconnect that ZIF connector. Easy does it!
Tools Used
Step 8

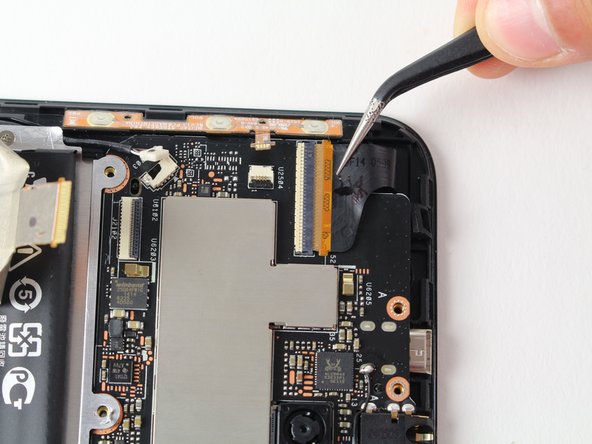
– Gently detach the display and button connections from the motherboard using metal tweezers. Take your time, stay steady, and avoid any sudden moves—your device will thank you later!
Tools Used
Step 9


– Lift out the battery tray now that those pesky screws are out of the way.
Step 10
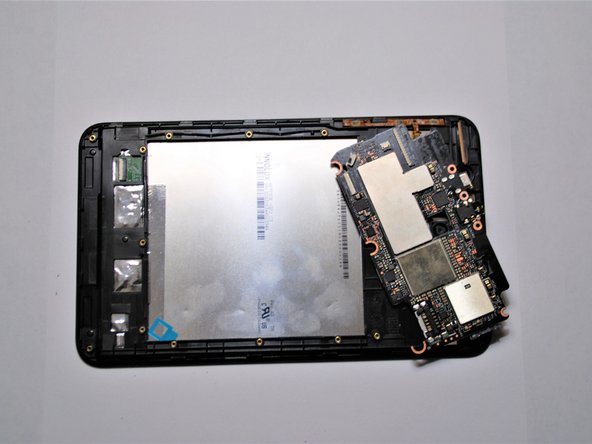

– Time to detach the motherboard from the hard frame! First, check that all screws holding it in place are gone, then release that plastic tab as shown in the image. You’re almost there!
Step 11


– Carefully remove the button sensors from the side of the hard frame.
Step 12


– You made it! To put everything back together, just reverse the steps you followed to get here.
–
