ASUS MeMO Pad 7 (ME572C) Motherboard Replacement
Duration: 45 minutes
Steps: 10 Steps
The motherboard is like the heartbeat of your device, keeping everything in sync. This guide will walk you through taking apart your Asus MeMo Pad 7 step by step to get to that motherboard. Once you’ve swapped it out, your device will be back in action like a pro!
Step 1


The panel is glued down and will need some muscle to pop it open!
– First things first—let’s get that device powered down! Now grab a plastic opening tool and gently ease off the back panel by working your way around the edges. You’ve got this!
Step 2


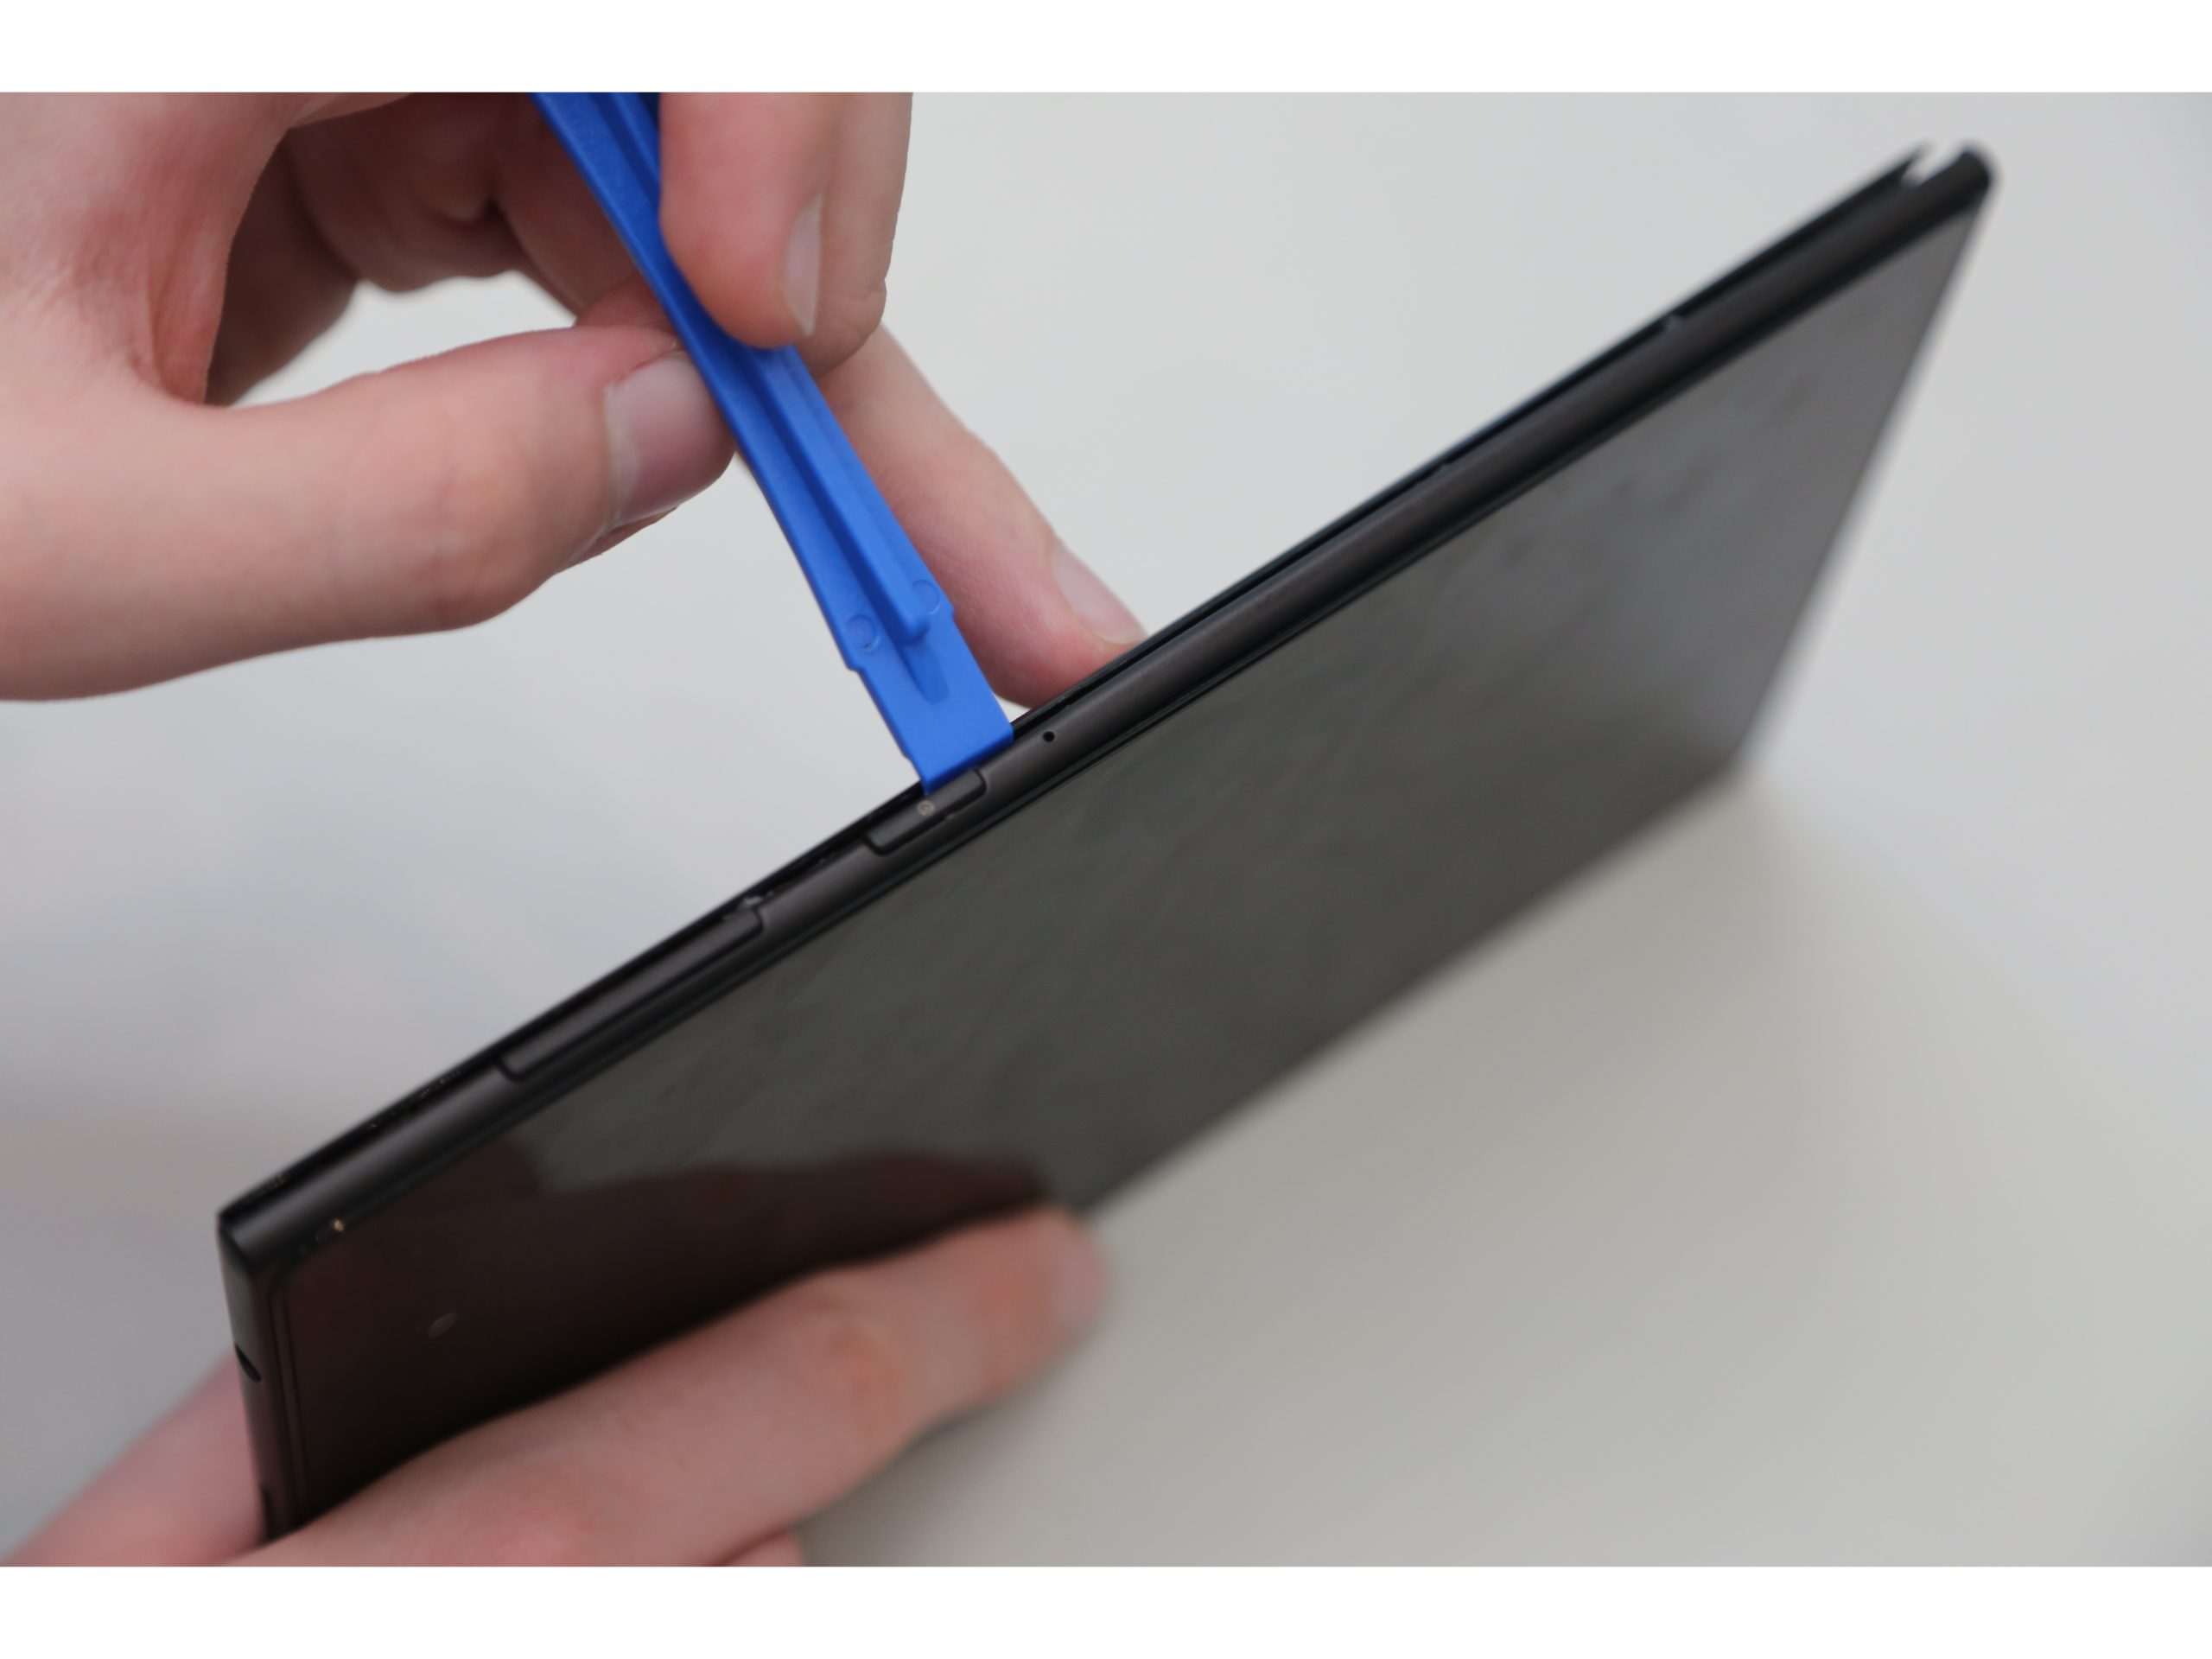
– Now that you’ve removed the rear panel, it’s time to get a little more aggressive – grab a plastic opening tool and carefully pry the frame away from the tablet.
– Start at the top and work your way around – insert the plastic opening tool between the screen and the frame, right in the middle, and gently wiggle it back and forth to loosen things up.
– Run the plastic opening tool along all the edges of the tablet, taking your time and being careful not to apply too much pressure – you got this!
Step 3

– Once you’ve successfully removed the rear panel and the frame, take a moment to put them aside, away from your device. You’re doing great!
Step 4


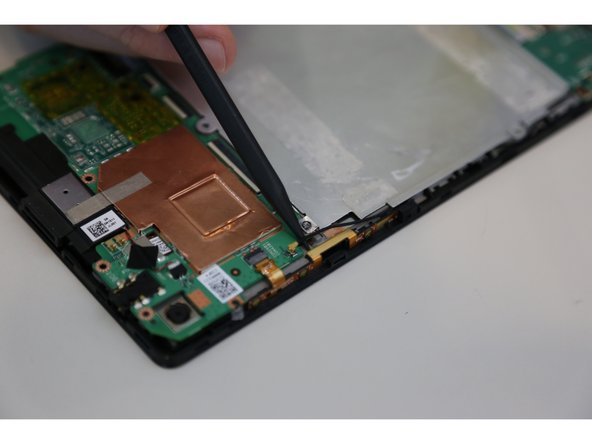
ZIF connectors are super fragile, so take it easy when you’re popping them off.
Feel free to use your hand to gently detach those ZIF connectors.
– Gently detach the ZIF connectors to free those data cables that are keeping the battery in place. A pair of tweezers will be your best buddy for this task.
Tools Used

Step 5

– Locate the battery connector area like a pro! Gently detach those battery connectors by using a spudger or a trusty plastic opening tool. You’re doing great!
Tools Used

Step 6


Be careful when handling the battery, as its soft casing can tear easily and cause the chemicals inside to leak out. Let’s take it one step at a time to get your device fixed.
– Grab a plastic opening tool and gently work your way around the battery, prying it loose bit by bit. It’s stuck down with adhesive, so don’t be shy—apply a little steady pressure to lift it free. Patience is key, but you’ve got this!
Step 7


– First, take out the battery from your device – it’s time to get started. Now, locate the volume connectors on the side, they’re waiting for you.
– Next, grab your trusty tweezers and carefully remove the volume connectors. Gently place them to the side, you’re making great progress.
Tools Used
Step 8

– First, track down the GPS antenna. Then, use a spudger to carefully pry off the GPS antenna cable.
Tools Used
Step 9


– Find the seven tiny 2mm Phillips #0 screws securing the motherboard to the pad. Grab your Phillips #000 screwdriver and carefully unscrew them.
– Keep your screws in a spot you won’t forget—like a container, or a safe little corner of your workspace.
Tools Used

Step 10

– To get your device back together, just retrace these steps in reverse—easy peasy!
– Need a hand? You can always schedule a repair.