Asus MeMo Pad 10 ME102A Speaker Replacement
Duration: 45 minutes
Steps: 10 Steps
Ready to tackle the speakers on your Asus MeMo Pad 10 ME102A? This guide will show you step by step how to get those speakers out like a pro. It’s easy to follow, so grab your tools and let’s get started!
Step 1

As you tackle the task of removing the back panel, make sure to lay the device face down on a stable, flat surface. This way, you’ll avoid any accidental drops and keep everything inside safe and sound!
– Slide the blue plastic opening tool into the gap between the back panel and the chassis. It’s like giving your device a gentle nudge to say, ‘Hey, let’s get this party started!’
Step 2

– Gently slide that trusty plastic opener around the tablet. You might hit a few stubborn spots along the way. Just give them a little pop as you glide through the seam, and you’re on your way to success!
Step 3

– Once all the clips are unlatched, the back panel should come off smoothly—no wrestling needed! Just lift it away like a magician revealing their next trick.
Step 4

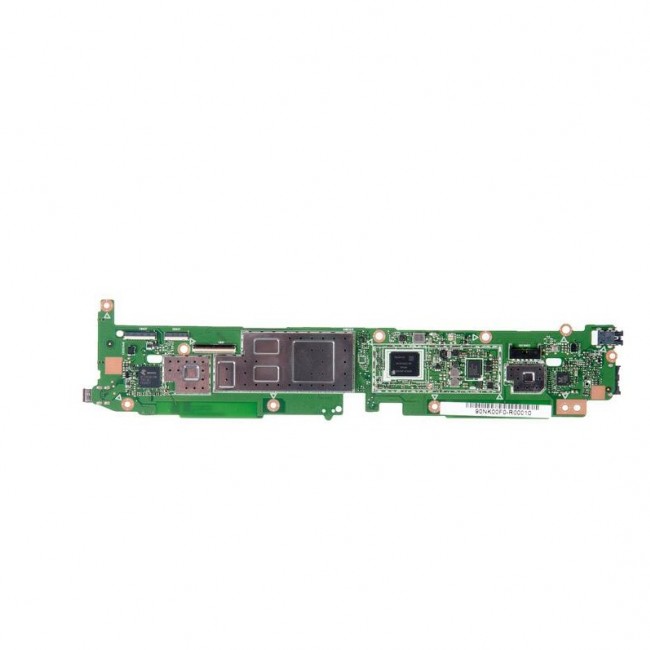
– First up, let’s find that right-hand speaker, labeled ME102A-R, nestled right by the battery plug. This is the first speaker we’re tackling, but if you’re just here for the left-hand speaker, feel free to skip down to that section—no need to stick around for the warm-up!
– To unplug the speaker cable, take the flat side of your trusty blue plastic opening tool and gently push it parallel to the motherboard. Easy does it—let’s keep that motherboard happy!
Step 5

– Grab your trusty PH00 screwdriver and unscrew that M2x4mm screw—easy-peasy!
Step 6

– Gently lift the speaker by the end that’s away from the steel latch, and slide it out from its hiding spot under there. Voilà! The speaker is now officially out of its cozy little home.
Step 7


– The left speaker, marked as ME102A-L, can be found next to the silver and blue ribbon cable that runs across the top of the battery. It’s easy to spot once you know where to look.
– Gently disconnect the ribbon cable labeled CN2 by carefully lifting the white latch on the black and white plugs with your trusty small blue plastic opening tool.
– Next, do the same for the ribbon cable labeled CN1. Gently pry up the white latch on the black and white plugs using the same small blue plastic opening tool.
Step 8

– Slide the speaker cable out by nudging it parallel to the motherboard using the flat side of the blue plastic opening tool—nice and easy!
Step 9

– Get your hands on that M2x4mm screw and let’s twist it loose with the trusty PH00 screwdriver attachment. You’ve got this!
Step 10

– Gently lift the speaker from the end opposite the steel latch and slide it out from beneath the latch. Congratulations, you’ve successfully removed the speaker!