Asus MeMo Pad 10 ME102A Motherboard Replacement
Duration: 45 minutes
Steps: 15 Steps
Ready to dive into the world of tech wizardry? This guide will walk you through swapping out the motherboard on your Asus MeMo Pad 10 ME102A. Let’s get your device back in action!
Step 1

When you’re taking off the back panel, make sure to lay the device face down on a flat surface. This little tip will help you avoid any accidental drops or mishaps with the goodies inside your gadget.
– Gently slide the blue plastic opening tool into the groove between the back panel and the chassis. You’ve got this!
Step 2

– Gently glide that plastic opener around your tablet. You might hit a few tough spots, but don’t sweat it! Just keep sliding, and those little areas will pop open like magic.
Step 3

– Once you’ve popped all those clips open, you should be able to gently lift off the back panel by hand. Easy peasy!
Step 4

– Meet the right-hand speaker, affectionately known as ME102A-R, chillin’ next to the battery plug. This is the first speaker we’re tackling in our repair adventure! But hey, if you’re just here for the left-hand speaker swap, feel free to jump straight down to its section.
– Now, let’s unplug that speaker cable! Grab your trusty blue plastic opening tool and gently push it parallel to the motherboard with the flat side. Easy peasy!
Step 5

– Grab your trusty PH00 screwdriver and smoothly remove that M2x4mm screw—like a pro!
Step 6

– Gently lift the speaker from the end opposite the steel latch and smoothly slide it out from under the latch. Voila! The speaker is now free—nice work!
Step 7


– The left speaker, marked ME102A-L, is right near the silver and blue ribbon cable that stretches across the top of the battery.
– Next, go ahead and disconnect the CN2 ribbon cable. Just gently lift the white latch on the black-and-white plugs using the small blue plastic opening tool to free it.
– Now, do the same for the CN1 ribbon cable. Carefully lift the white latch on the black-and-white plugs with your small blue plastic opening tool.
Step 8

– Gently pull out the speaker cable by pushing it alongside the motherboard with the flat side of your trusty blue plastic opening tool. You’ve got this!
Step 9

– Get ready to work your magic! Use the PH00 screwdriver attachment to unscrew that M2x4mm screw like a pro.
Step 10

– Time to set that speaker free! Carefully lift it up from the end that’s opposite the steel latch, and gently slide it out from under the latch. You’ve successfully removed the speaker!
Step 11

– Grab that nifty blue plastic opening tool and give that black latch a gentle lift – it’s holding the blue ribbon cable snugly to the motherboard. You got this!
Step 12

– Grab your trusty blue plastic opening tool and coax the battery plug out by sliding it gently and confidently parallel to the motherboard. Easy does it!
Step 13


– Grab your trusty PH00 screwdriver and get ready to work some magic! Carefully take out the 4 sleek black M2x4mm screws hanging out at the bottom of the motherboard. You’ve got this!
Step 14

– Let’s get started! Take your trusty PH00 screwdriver and carefully remove the two silver M2x2mm screws located along the top of the motherboard. Easy peasy!
Step 15

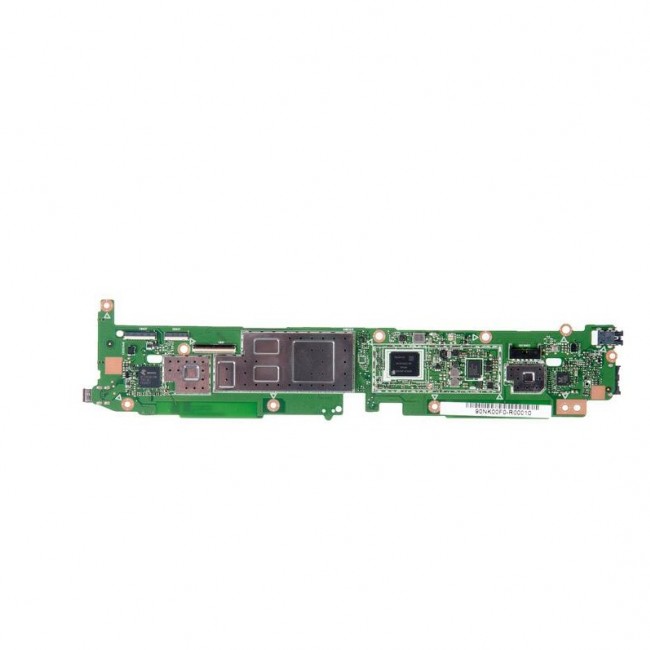
– Carefully lift the motherboard from both sides, taking your time to avoid any damage or stress on the board.