Acer Icona W510 Charging Port Disconnection Prerequisite Only
Duration: 45 minutes
Steps: 12 Steps
Before we get started, you’ll want to flip that charging port over so you can unplug the vibration motor. It’s a simple step, but crucial for making things work smoothly. Ready? Let’s do this!
Step 1


– Gently slide your trusty metal pry tool between the back cover and the frame at a cool angle like shown.
– Give that tool a little twist to the left to kick off the clip separation party.
– Make your way to the corner, keep prying and twisting to pop those clips loose as you groove along.
Step 2


– Slide an opening pick into place to keep the clips from snapping shut as you navigate the corner and move along the right side of the tablet.
– Keep going with the same technique—pry and twist to pop those catches free.
Step 3


When you reach the corner, take it easy with your tool! Avoid poking it into the space beneath the power symbol. There’s a fragile clip hiding there, and trust me, it can easily break if you’re not careful. (Speaking from experience here—let’s not repeat my mistakes!)
– Keep going along the top edge, just like you did before
Step 4


– Pop off the left side of the tablet like you’re unwrapping a gift!
Step 5

– Now, let’s head back to the bottom side and tackle this tiny part that can be a bit tricky to unclip. Just remember to follow the same steps you used for the first one, and you’ll be golden.
– You’re almost done – just one more step to go. Carefully work your way between the keyboard/power connector and the right-hand guide pin, and you’ll be back where you started in no time. If you need help, you can always schedule a repair
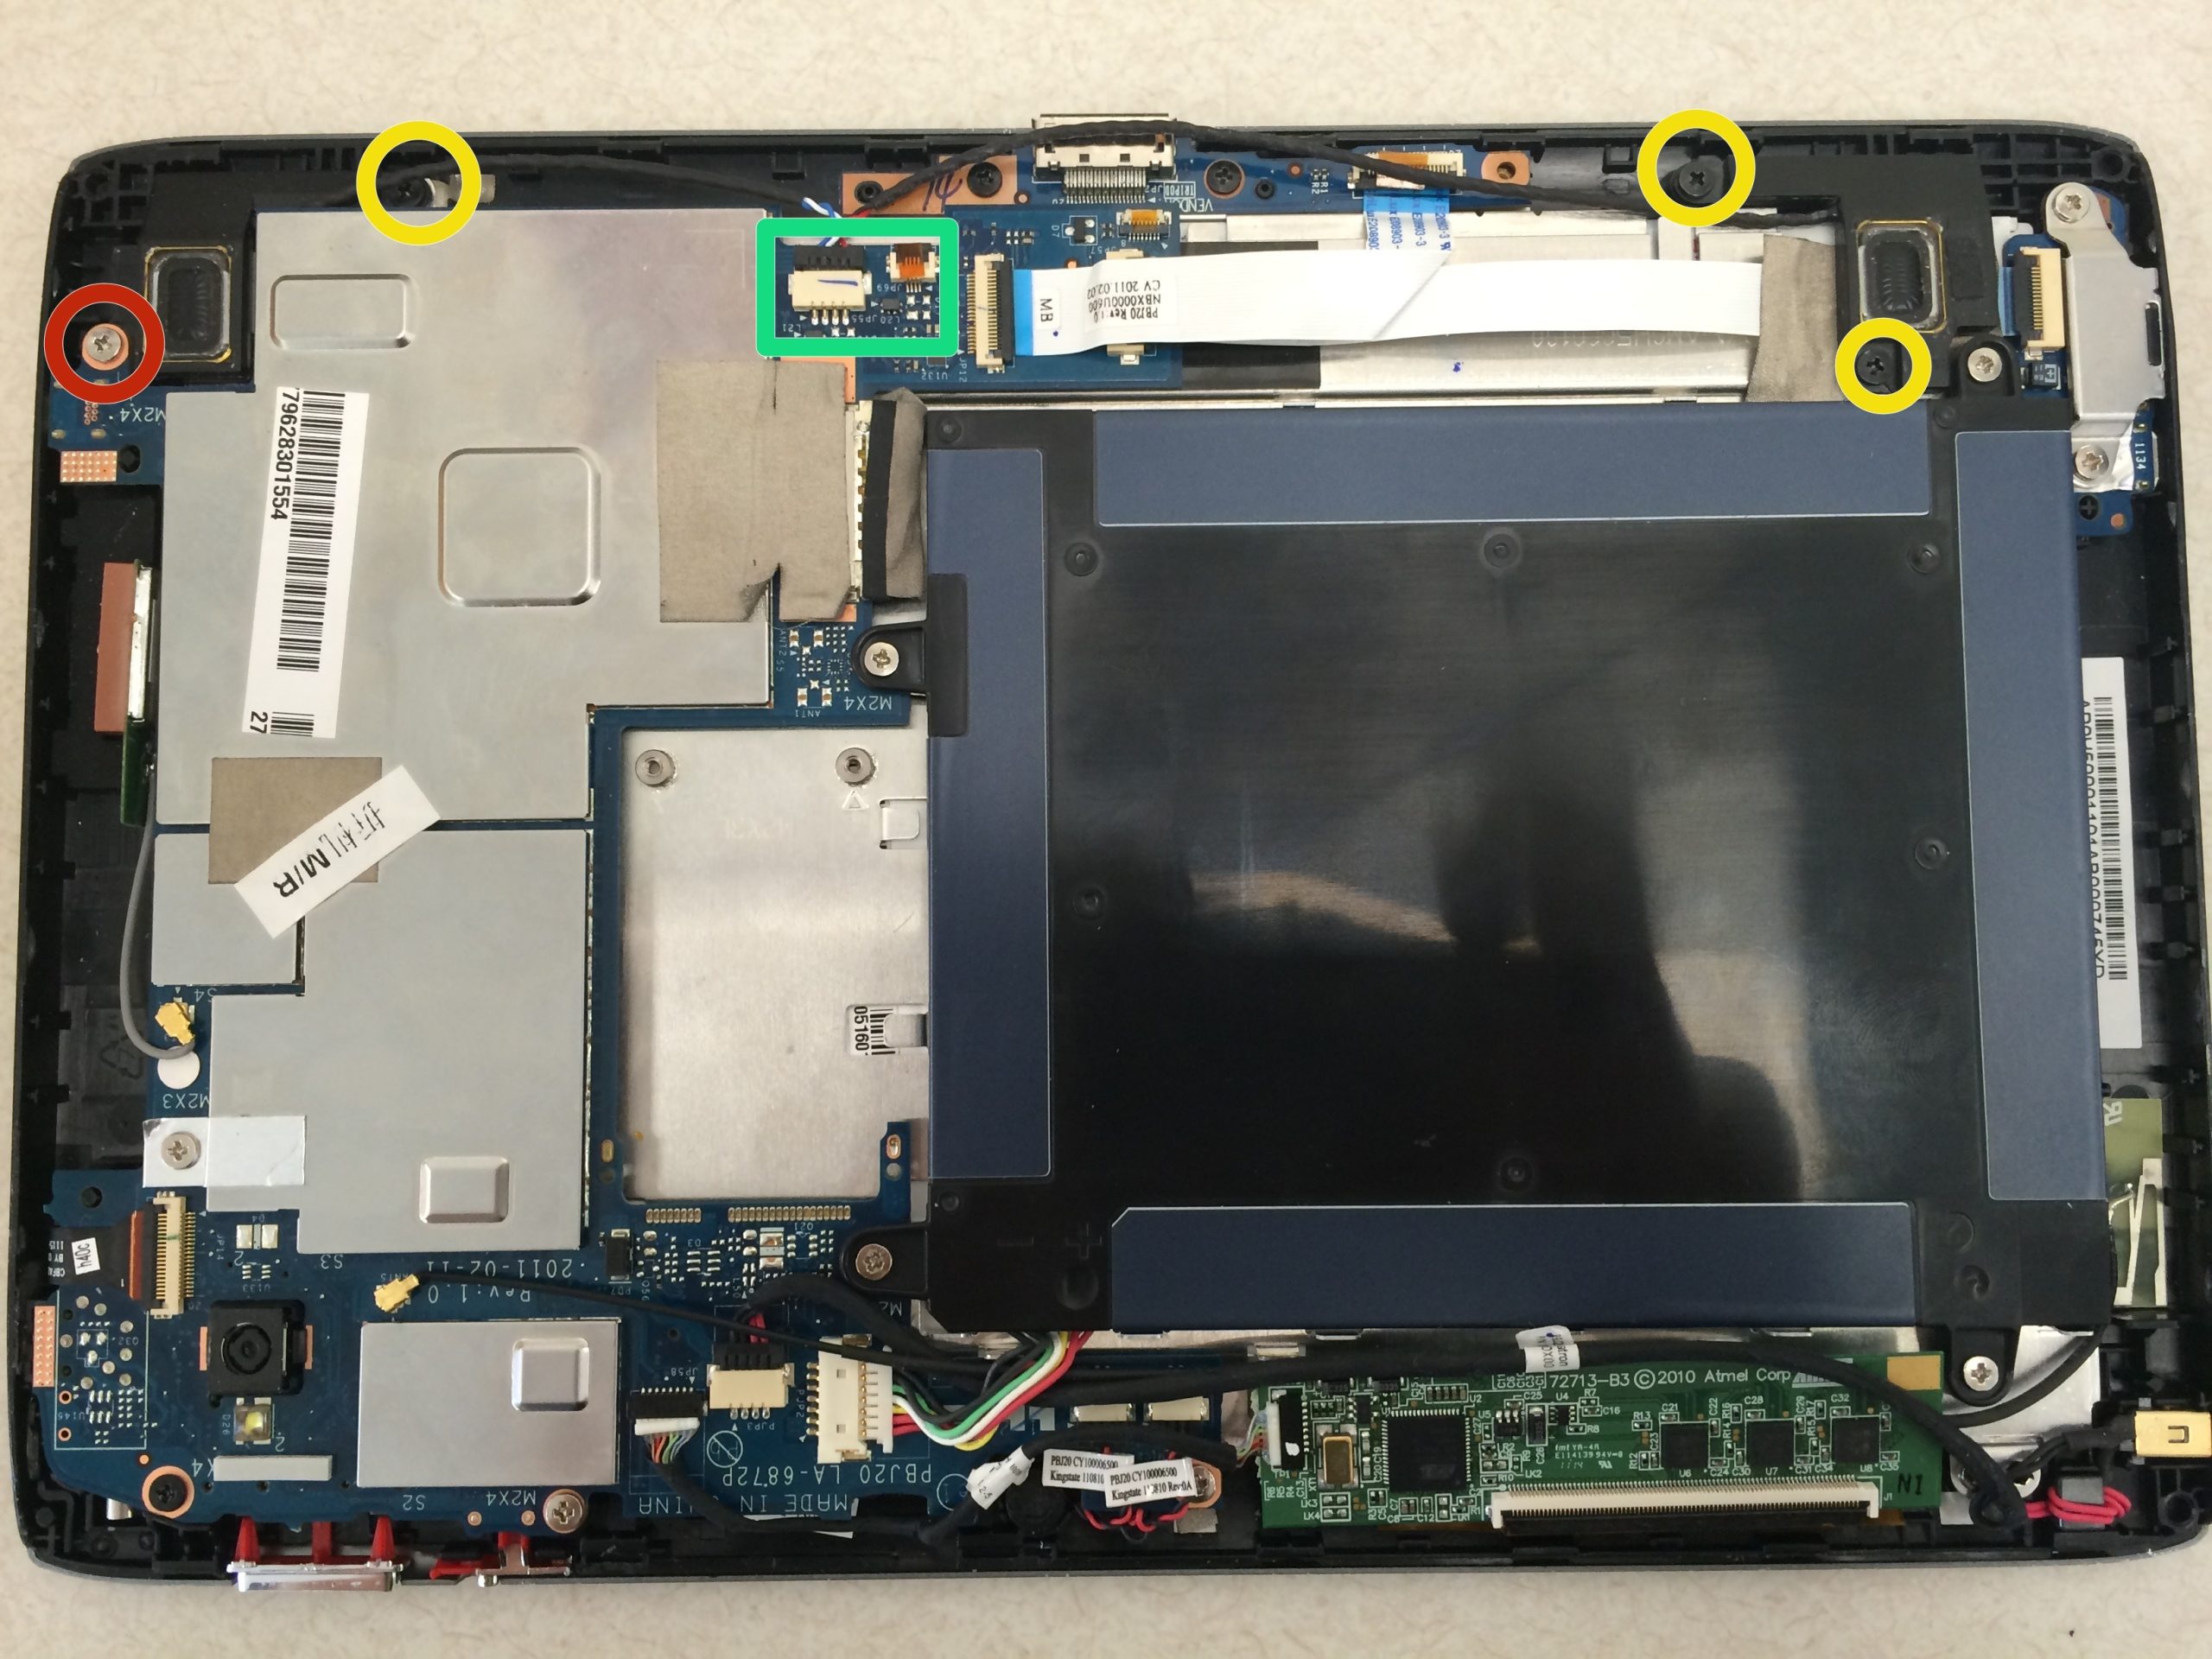
Step 6

– Pop off that rear cover—you’re officially in!
Step 7

– Gently lift the tape that’s holding down the battery connector. You’ve got this!
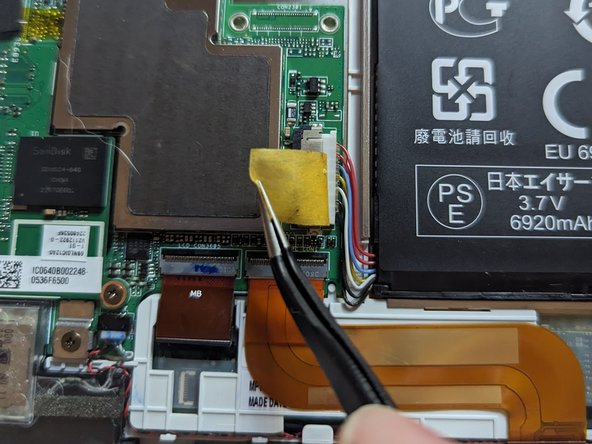
Step 8

– Hold onto the plug by the tabs on each side and gently pull it straight out from the connector. You’ve got this!
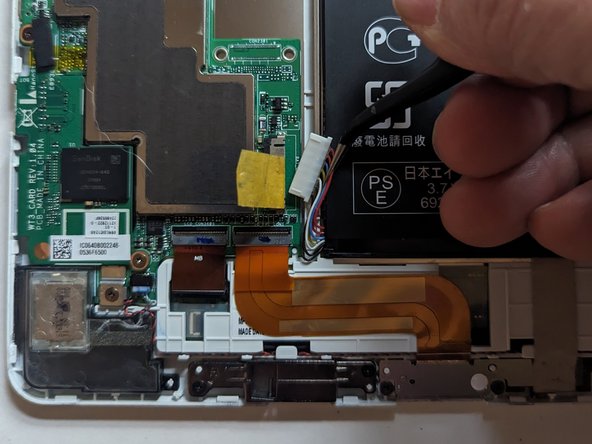
Step 9

– Let’s get that grounding tape unstuck from the charging connector. Gently pry it loose to get things moving.
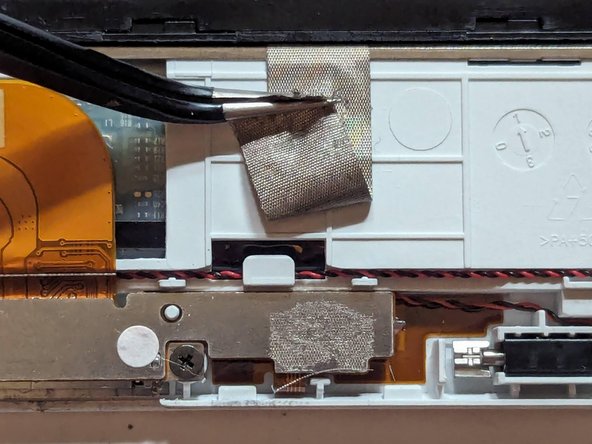
Step 10
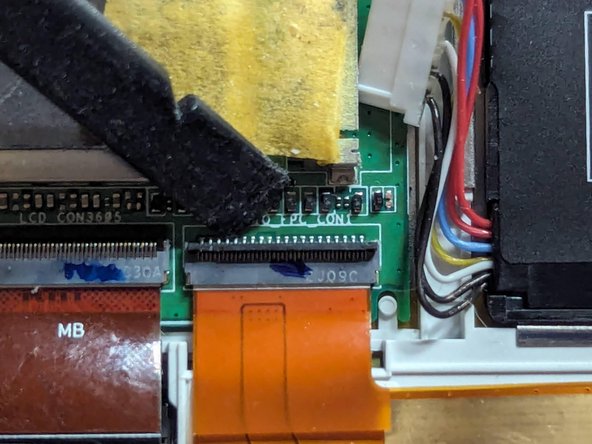

– Time to get this repair started. Using a trusty spudger, carefully flip up the latch that’s holding the charge port flex cable in place.
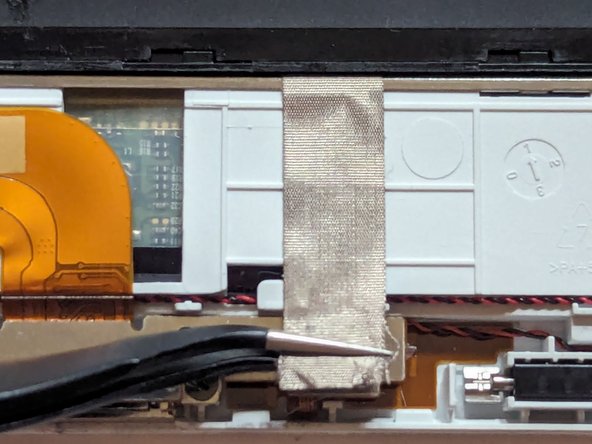
Step 11

– Grab hold of that nifty pull tab on the flex cable and gently wiggle it to slide the cable right out of the connector. You’re doing great!
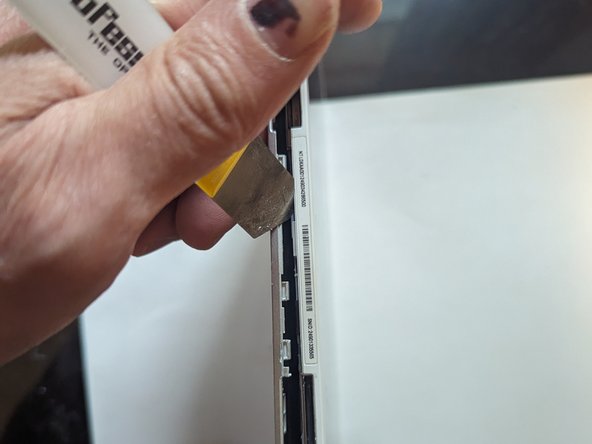
Step 12

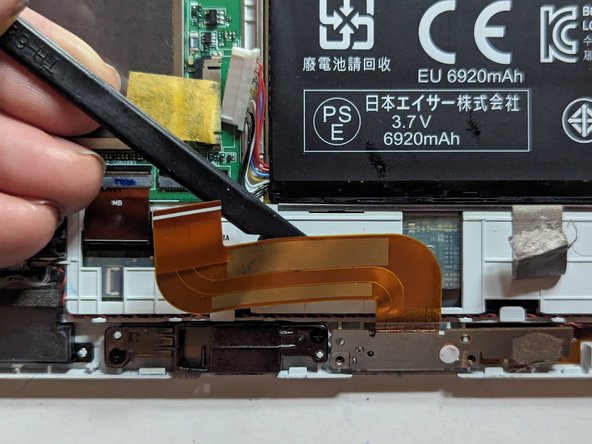
– Gently coax the flex cable away from the display frame using a spudger. It’s just a little stuck, nothing a friendly nudge can’t handle!