Acer One 10 S1003-19GY Rear/Front Camera Replacement
Duration: 45 minutes
Steps: 6 Steps
Is your tablet’s front or rear camera on the fritz? Don’t worry, we’ve got you covered! This guide will walk you through the steps to replace the damaged camera, so you can get back to snapping photos and video chats in no time. Follow along and bring your device back to life. If things get tricky, you can always schedule a repair for expert assistance.
Step 1


– First, power down your device and disconnect it from any external devices – we want to make sure it’s safe to work on.
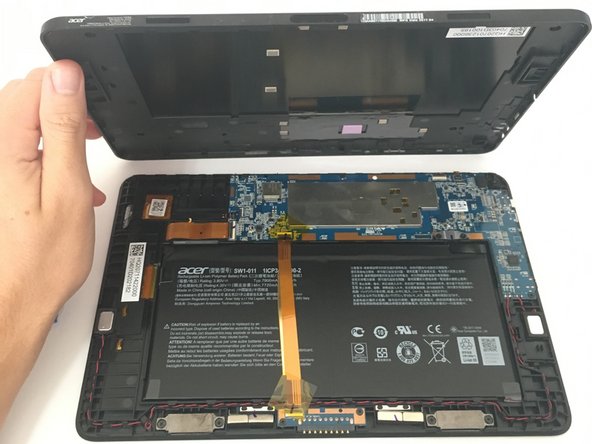
– Now, grab a plastic opening tool and carefully create a gap between the front and back casing of your device. This is where the magic happens!
– Gently work your way around the entire perimeter of the tablet with the plastic tool, slowly separating the front and back. Take your time, you’re doing great!
Step 2

– Flip that device over so the screen is face-down, then pop off the back casing like a pro.
Step 3

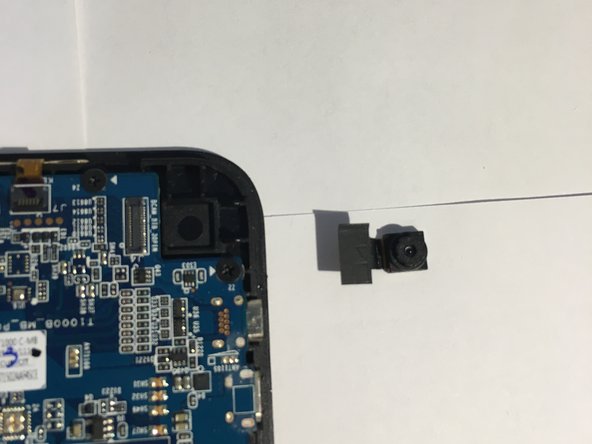
– Find the Rear Camera nestled in the upper right corner of the motherboard. It’s like a little treasure waiting to be uncovered!
Step 4
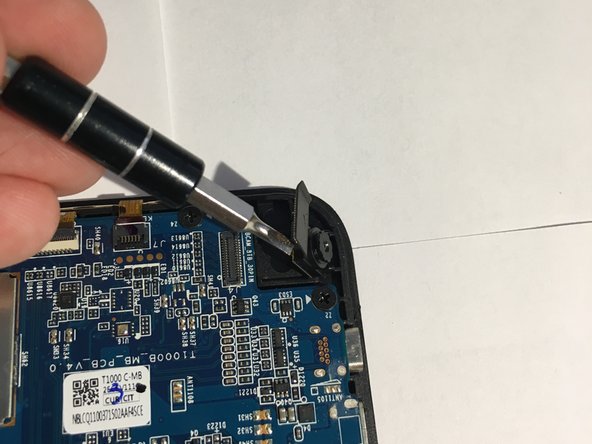

– Grab a thin flat head screwdriver and gently pry that camera connection away from the motherboard. You’ve got this!
– No need to wrestle with it; it should pop right off since it just snaps into place.
Step 5

– Grab your trusty Phillips #0 screwdriver and get ready to roll! It’s time to unscrew those five little screws hugging the outer edge of the motherboard. Just twist them out, and you’ll be one step closer to getting your device back in action!
Tools Used

Step 6
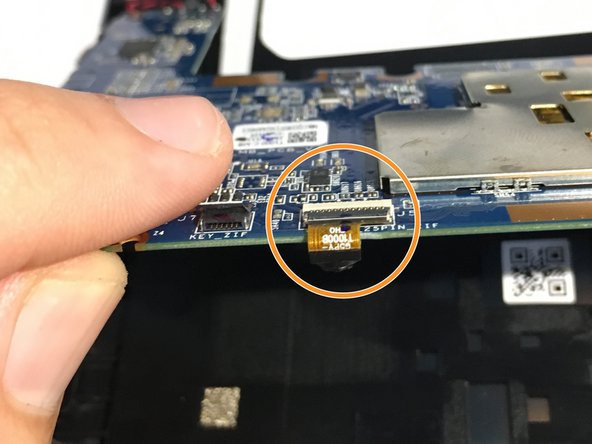

– Flip open the sleek black flap on the connection and gently wiggle that ribbon right out.
– Carefully lift the motherboard from the top side to give the camera its freedom, just like in the picture.
Success!