Acer One 10 S1003-19GY Battery Replacement
Duration: 45 minutes
Steps: 6 Steps
Get ready to breathe new life into your device by replacing that dead or damaged battery. This step-by-step guide from Salvation Repair will walk you through the process with ease.
Step 1


– Switch off the device and double-check it’s unhooked from any external gadgets or cords—total freedom mode engaged.
– Grab a plastic opening tool and gently start prying between the front and back casing—think of it as creating a tiny doorway for some elbow room.
– Carefully slide the tool all around the tablet’s edges, taking your time to separate the front and back—it’s like opening a stubborn jar, but way cooler.
Step 2

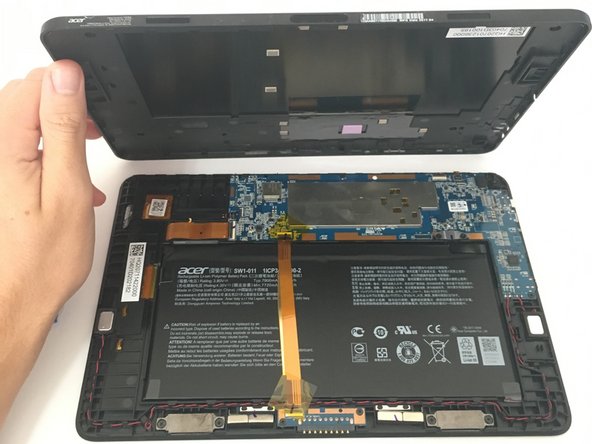
– Let’s get started by flipping the device over and removing the back casing. This is the first step in getting inside and making those necessary repairs.
Step 3

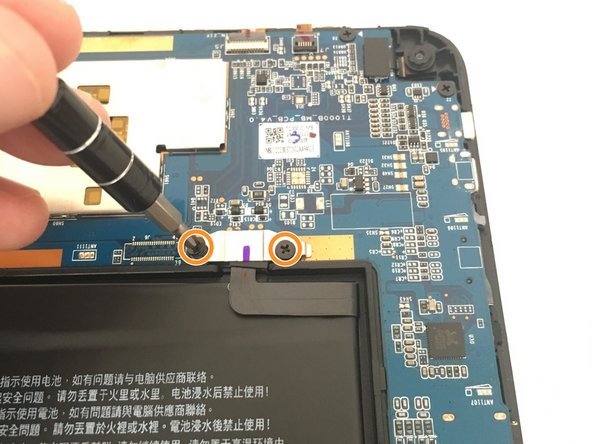
– Peel off those two pieces of bright yellow tape hanging out inside the device—it’s like they’re just begging to be set free!
– With your trusty Phillips #0 screwdriver, unscrew the pair of screws chilling on either side of the connector.
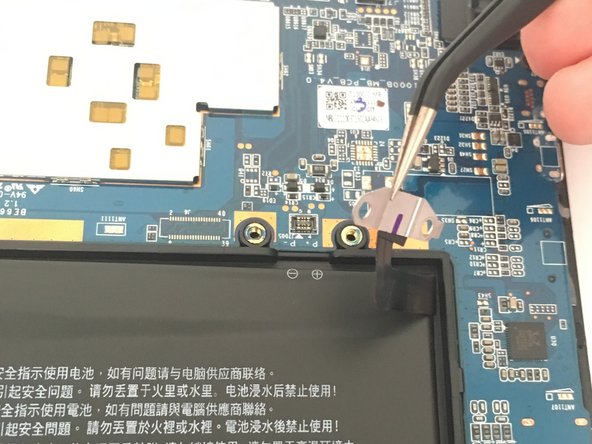
– Using tweezers, gently grab the connector and ease it away from the motherboard, like you’re coaxing it out for a coffee date.
Tools Used


Step 4
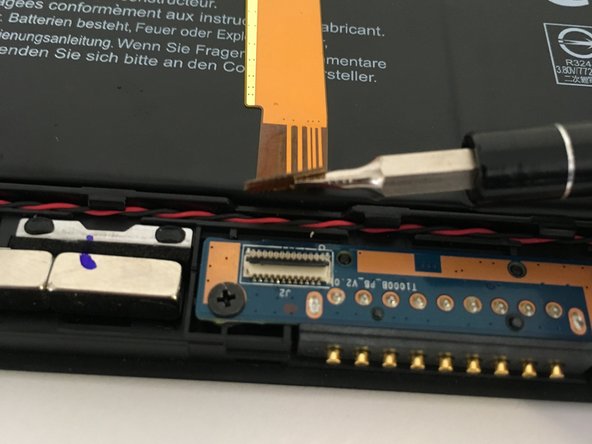

– First, locate the small black latch on the connector where the ribbon inserts – it’s time to set that ribbon free. Flip the latch up to start the process.
– Gently grasp the ribbon and pull it out of the connection. Easy does it, you’re making great progress.
– Now, let’s repeat this process on the upper orange ribbon connection. Just like the first one, flip the latch and gently pull the ribbon out. You’re doing fantastic.
Step 5


– Gently peel away the black tape that’s keeping the battery snug in its three corners. You’ve got this!
Step 6


Hey there! Just a heads up: using a metal spudger in this guide is a big no-no. It can easily poke through lithium-ion batteries, which could lead to some serious troubles for you and your device. Stay safe and stick to the right tools!
– Gently work the plastic spudger under one edge of the battery to detach it from the sticky adhesive. You’re doing great!
– Once you’ve loosened it up, lift the battery out of the device with care. You’ve got this!

