Acer Iconia W510 Dock Battery Replacement
Duration: 45 minutes
Steps: 10 Steps
The tablet and dock share the same battery, so we’ll walk you through the steps to carefully remove it from the dock/keyboard. It’s a simple process, but if you find yourself in need of a hand, feel free to schedule a repair.
Step 1

– Time to get those screws out! Start by removing the two 6.6mm T6 Torx screws near the hinge. Easy does it!
– Next up, unscrew the four 3.6mm T6 Torx screws on either side. Shouldn’t take long, you’re doing great!
Step 2


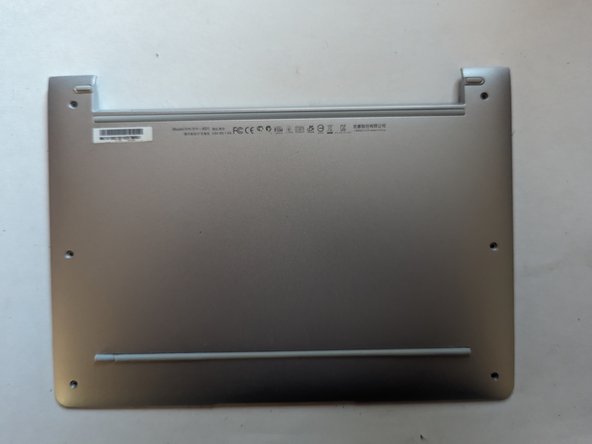
– Grab your trusty Xacto knife and gently ease the rubber strip back on both ends—just enough to uncover the hidden screws underneath. You’re doing great!
– Next up, take out those two 4.5mm Phillips screws. A little twist and turn, and you’re one step closer to victory!
Step 3


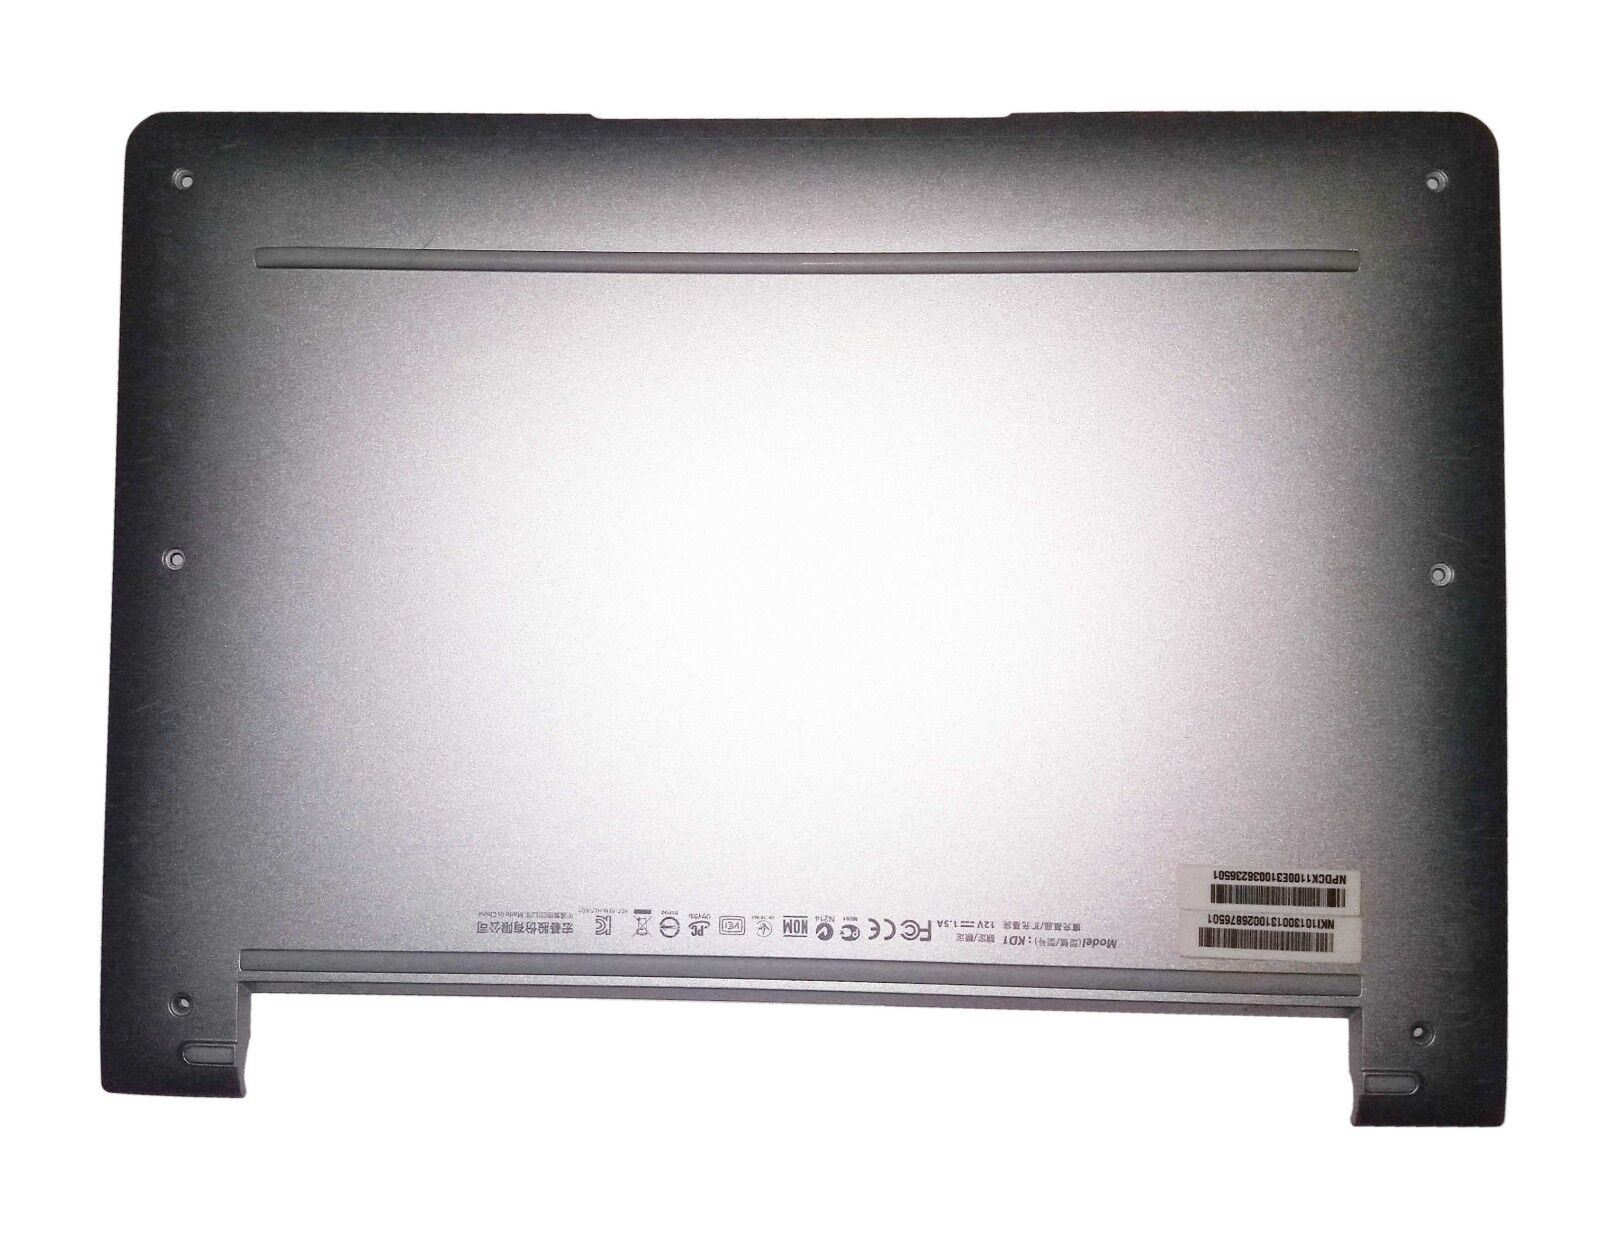
– Pop off the back cover like a pro!
Step 4
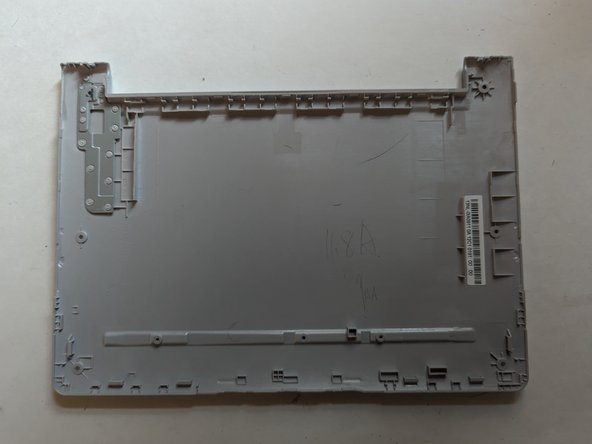

– Pop off that bottom cover like a pro!
Step 5
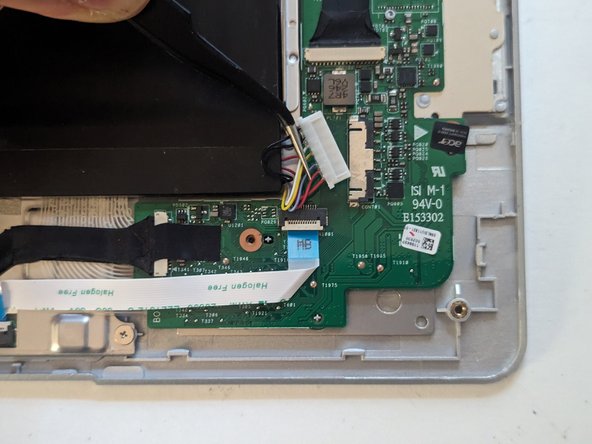

– Let’s get started by disconnecting the battery – simply use the two tabs on either side of the connector to carefully unplug it.
Step 6

– Two strips of adhesive hang tight on either side to keep the battery snug in place.
Step 7
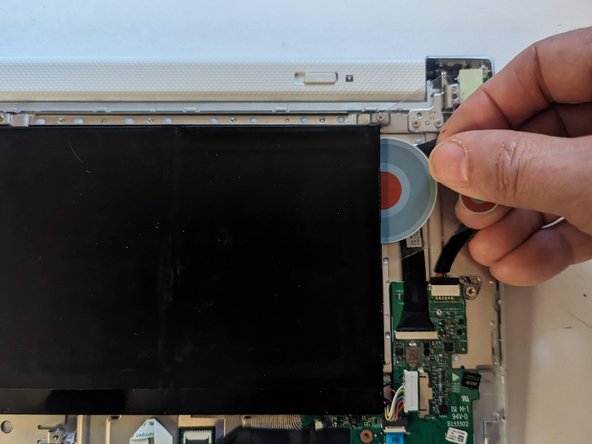

– Grab a flexible piece of plastic and gently slice through the adhesive strip on one side. You’ve got this!
– Keep that plastic in place while you tackle the other side. It’s like a buddy system for your repair!
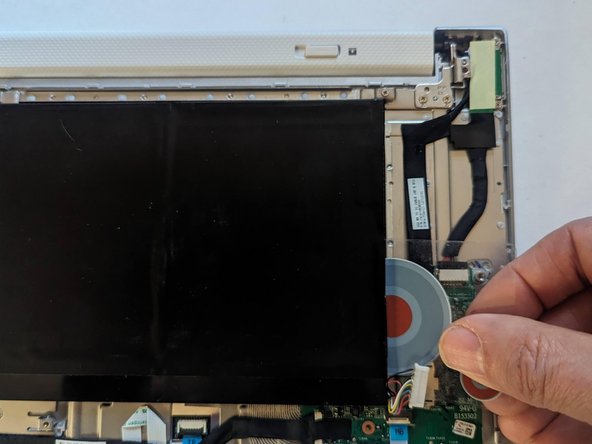
Step 8


– They will slice the strip of adhesive on the opposite side.
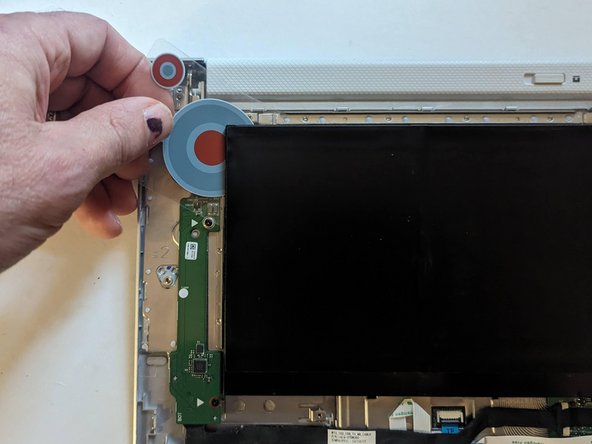
Step 9

– Gently pop the battery out of its cozy little dock.
Step 10

– To get your device back in action, simply reverse the steps you followed to take it apart.
– If you need help or have any questions, you can always schedule a repair