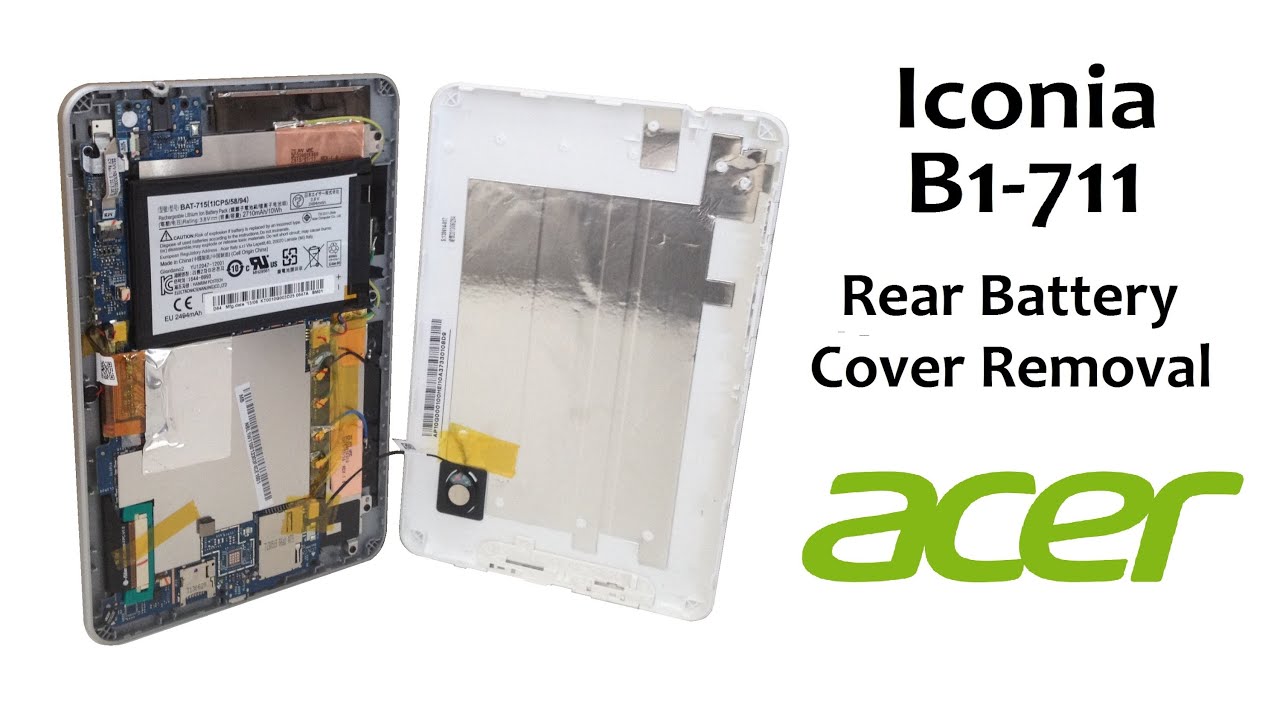
Acer Iconia B1-711 Rear Battery Cover Removal
Duration: 45 minutes
Steps: 4 Steps
Don’t forget to hit that subscribe button and join the fun! ツ
Acer Iconia B1-711 – Let’s take a peek inside! Ready to pop off that back or battery cover? It’s easier than you think! And hey, if you run into any trouble, feel free to schedule a repair. Don’t forget to hit that subscribe button for more handy tips! ツ
Step 1


– Let’s get started by opening up your device from the micro USB connector. This is where the magic begins!
Step 2


– Get ready to dive in! We’re here to guide you through the process step by step. Keep your tools handy, and let’s tackle this together. If things get tricky, don’t hesitate to schedule a repair for some expert help. You’ve got this!
Step 3

– Let’s kick things off with the Audio Jack Connector module! It’s the gateway to your sonic vibes, so let’s make sure it’s snug and secure.
– Next up, we have the Microphone. This little champ is responsible for picking up your voice, so let’s ensure it’s working like a pro!
– Lastly, don’t forget about the Battery Connector. This is where the magic happens, powering your device and keeping you connected. Make sure it’s fully clicked in and ready to go!
Step 4

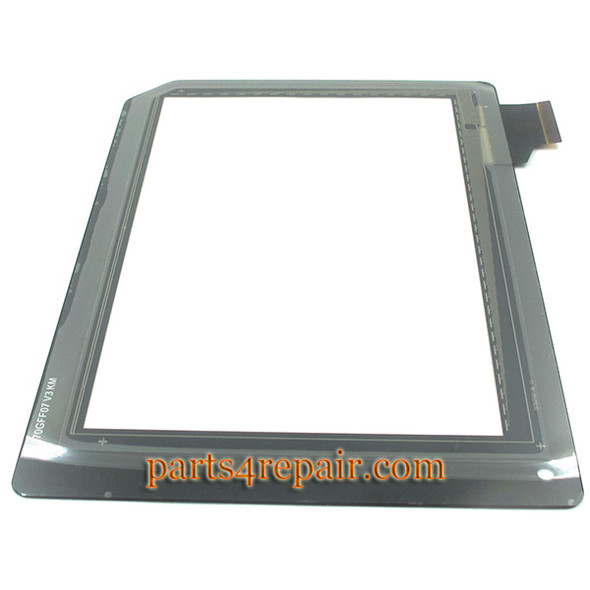
– First, gently disconnect the LCD display cable connector from its slot. Be careful, it’s a little sensitive!
– Next up, detach the touchscreen cable connector. Take your time and handle with care – we want that screen working smoothly!
– Now, it’s time to pop out the micro SD card slot. You might need a little wiggle, but it should come out just fine.
– The SIM card slot is up next. Carefully lift it out, making sure nothing else gets caught in the process.
– Almost there! Next, remove the loudspeaker. It should slide out with a bit of coaxing, so no worries.
– That’s all for this step – keep going, you’re doing awesome!
– And hey, don’t forget to hit that subscribe button for more tips and tricks! ツ