Acer Iconia One 7 Rear-Facing Camera Replacement
Duration: 45 minutes
Steps: 5 Steps
The rear-facing camera is what you’ll be using when snapping photos with the front of your device. It’s a separate entity from the front-facing camera and does its own thing. Keep your eyes peeled for those tiny pieces related to this camera—they’re small enough to play hide and seek, so make sure you don’t misplace any of them!
Step 1

Opening the lid might pose a bit of a challenge, so just take your time and be careful as you ease it off.
Make sure your device is powered down before diving into this step. A switched-off device is a happy device!
– Start from any side of the tablet—it’s all fair game!
– Grab a plastic opening tool and gently work your way along the edges to pop the back cover off. Easy does it!
Step 2

– Grab your trusty plastic opening tool and gently pry the back cover away from the main device. You’ve got this!
– Keep that momentum going and work around each side, ensuring everything is fully separated. You’re almost there!
Step 3

Be careful not to disturb other sensitive components inside the device while you’re working on it – we want to keep everything safe and sound!
– Flip the tablet over and keep an eye out for the camera—it’ll be chillin’ up in the top left corner.
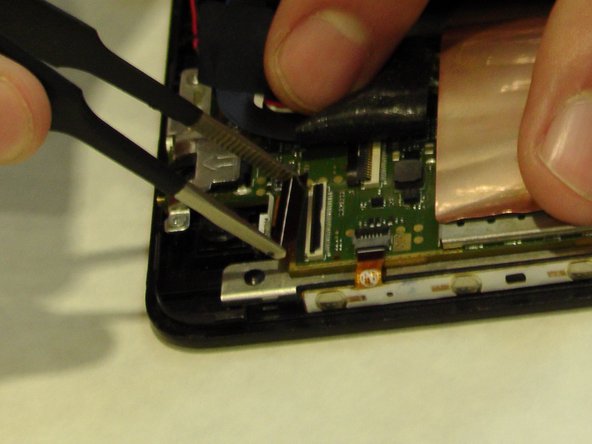
Step 4

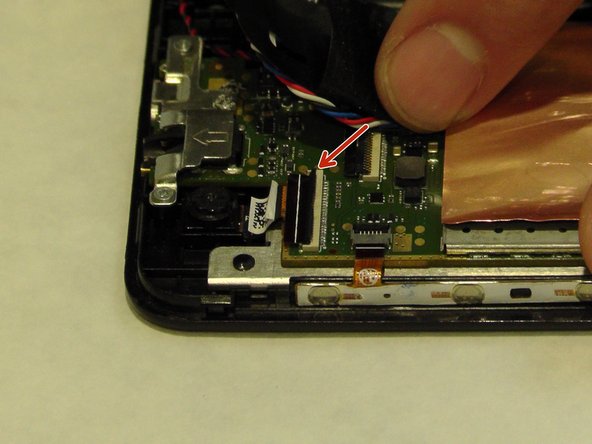
– Time to get started – carefully peel off that black tape.
– Next, gently detach the clip from the motherboard – you’re making great progress!
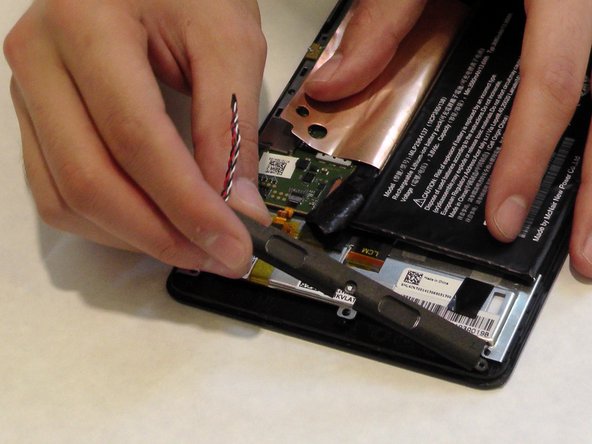
Step 5

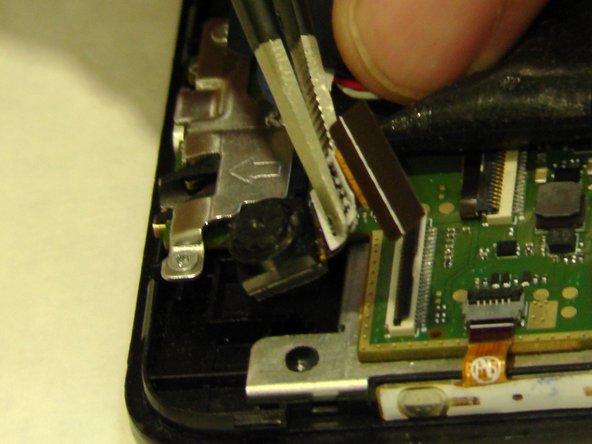
– Gently grab that pesky film object with your tweezers and give it a little tug.
– Now, with those tweezers still in hand, carefully extract the camera.