Acer Iconia One 10 B3-A30 Repair Screen Replacement
Duration: 45 minutes
Steps: 13 Steps
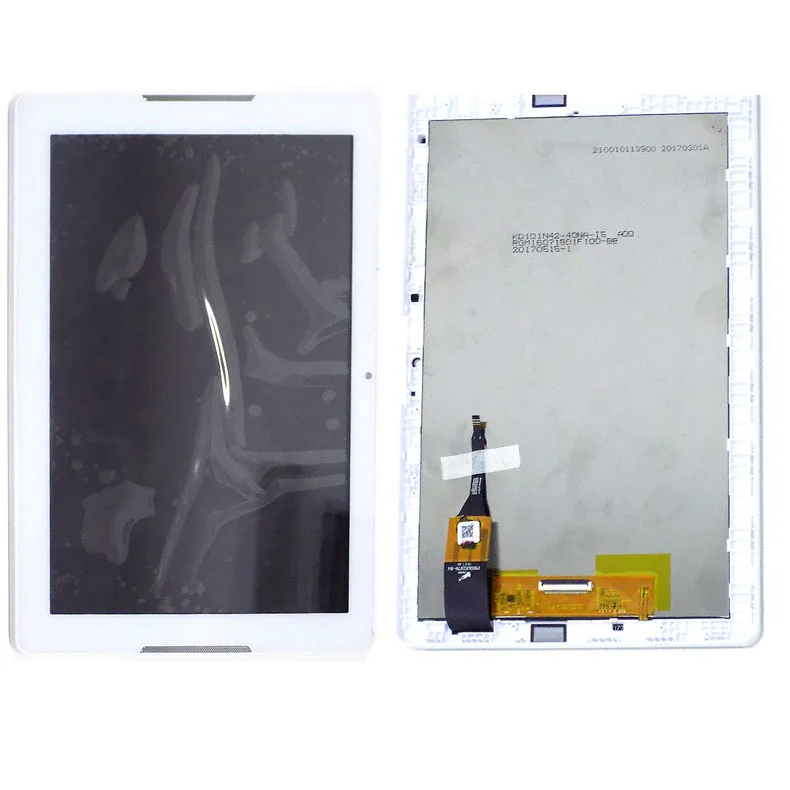
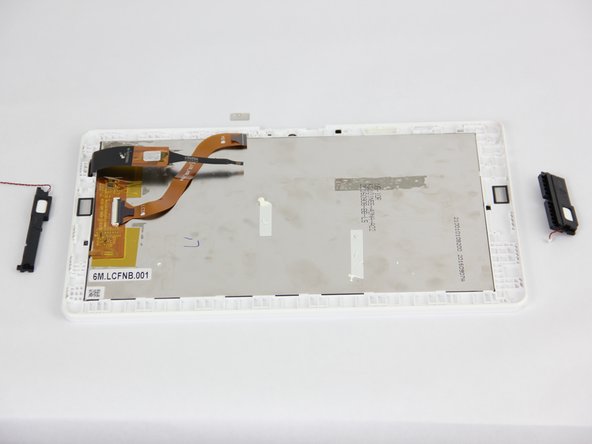
Now that you’ve removed the battery, motherboard, and speakers, it’s time to get to the good stuff – the screen! Using a trusty Phillips #00 bit and a black plastic spudger, we’ll walk you through the process of removing the screen. Don’t worry, it’s easier than you think!
Step 1


Be absolutely sure the device is totally powered down.
– Pop open the media port cover at the top of the tablet. A little tug goes a long way!
– Grab your trusty Phillips #00 screwdriver and carefully remove the 1 mm screw. It’s a small one, but you’ve got this!
Tools Used

Step 2


– Grab your trusty metal spudger and gently work your way around the back cover. It’s like giving your device a little spa treatment—careful and precise. Once it’s popped open, you’re one step closer to getting things back in shape!
Tools Used


Step 3

– Peel off a tiny bit of that grey tape, and you’re one step closer to your goal!
Step 4


– Disconnect the connection cord from the motherboard.
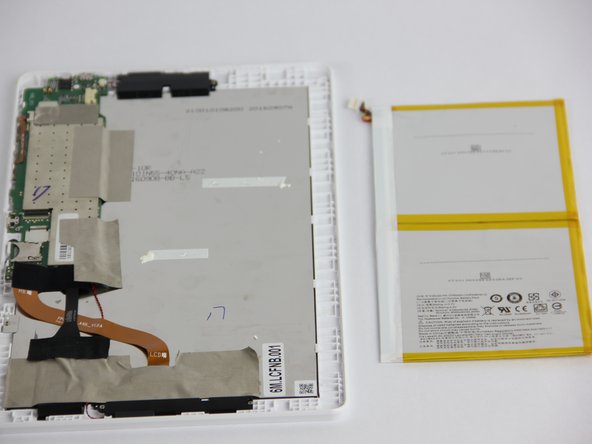
Step 5


Handle the battery with care—no bending or poking allowed!
– First, let’s try to remove the battery by gently pulling on those handy blue tabs.
– If that doesn’t work out, it’s time to bring in the big guns – use the black plastic spudger to carefully break the glue bonds underneath, then pull up to remove the battery. Don’t worry if it takes a little extra effort, you’ve got this!
Tools Used
Step 6
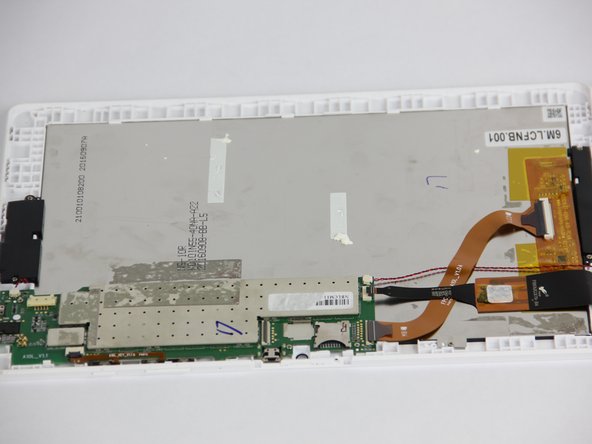
– Let’s carefully get rid of the tape around the motherboard. It’s a breeze and you’re doing great!
Step 7

– First things first! Grab that trusty plastic opening tool and gently pry at the two large connections. Give them a little pop and watch them come free like magic!
– Next up, let’s tackle those two smaller cords—one is black and the other is red. Simply disconnect them from the motherboard, and you’re making progress!
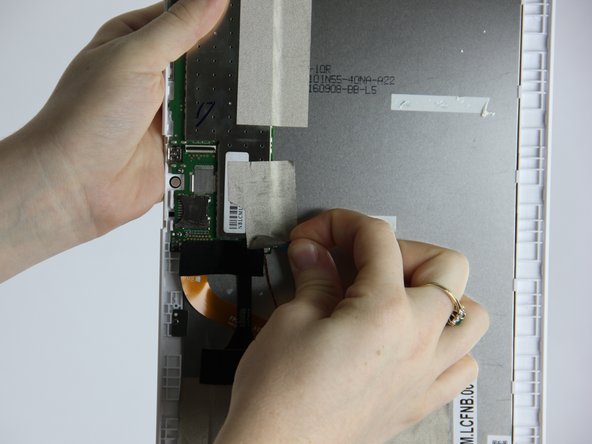
Step 8

– Gently peel off that little square sticker to uncover a sneaky screw hiding underneath. Grab your Phillips #00 screwdriver and let’s twist that screw out!
– Now, with the same trusty screwdriver, let’s tackle the other three screws on the motherboard. You’ve got this!
Tools Used
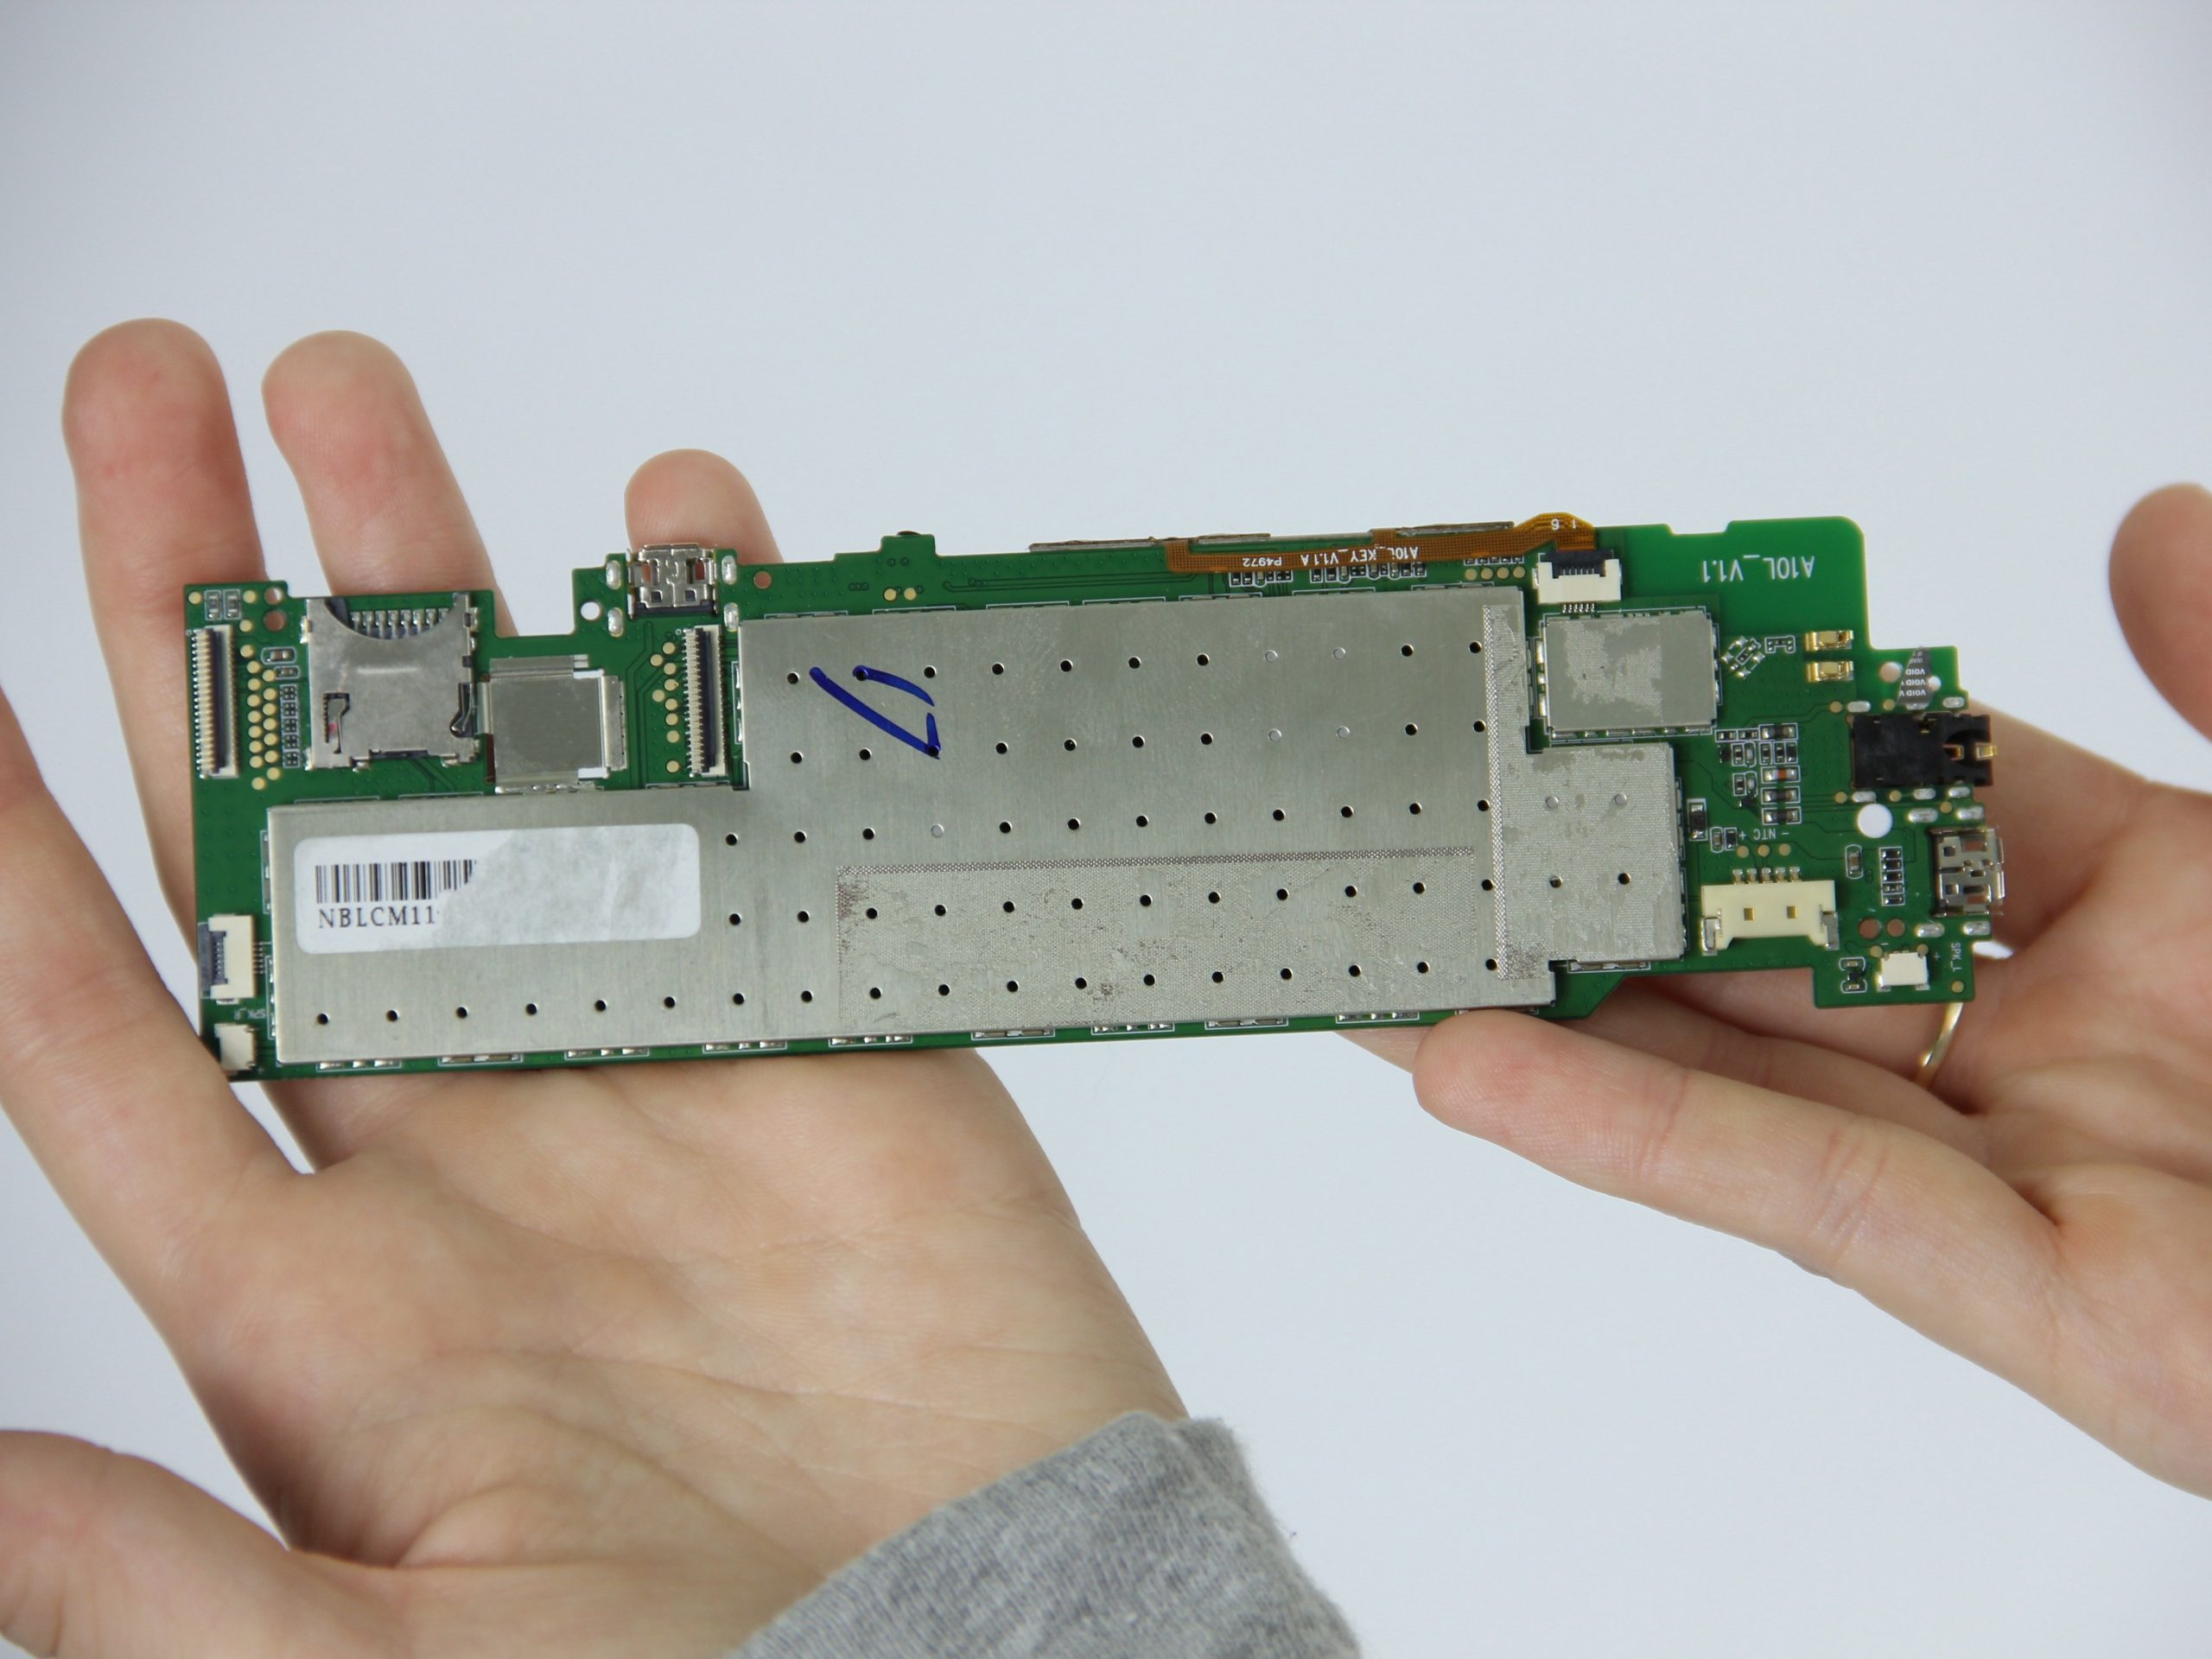
Step 9


– With a gentle touch, use your handy little plastic tool to nudge the motherboard out of its cozy home inside the device.
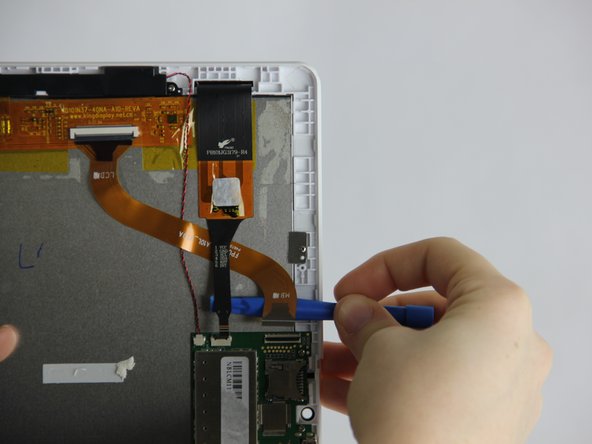
Step 10


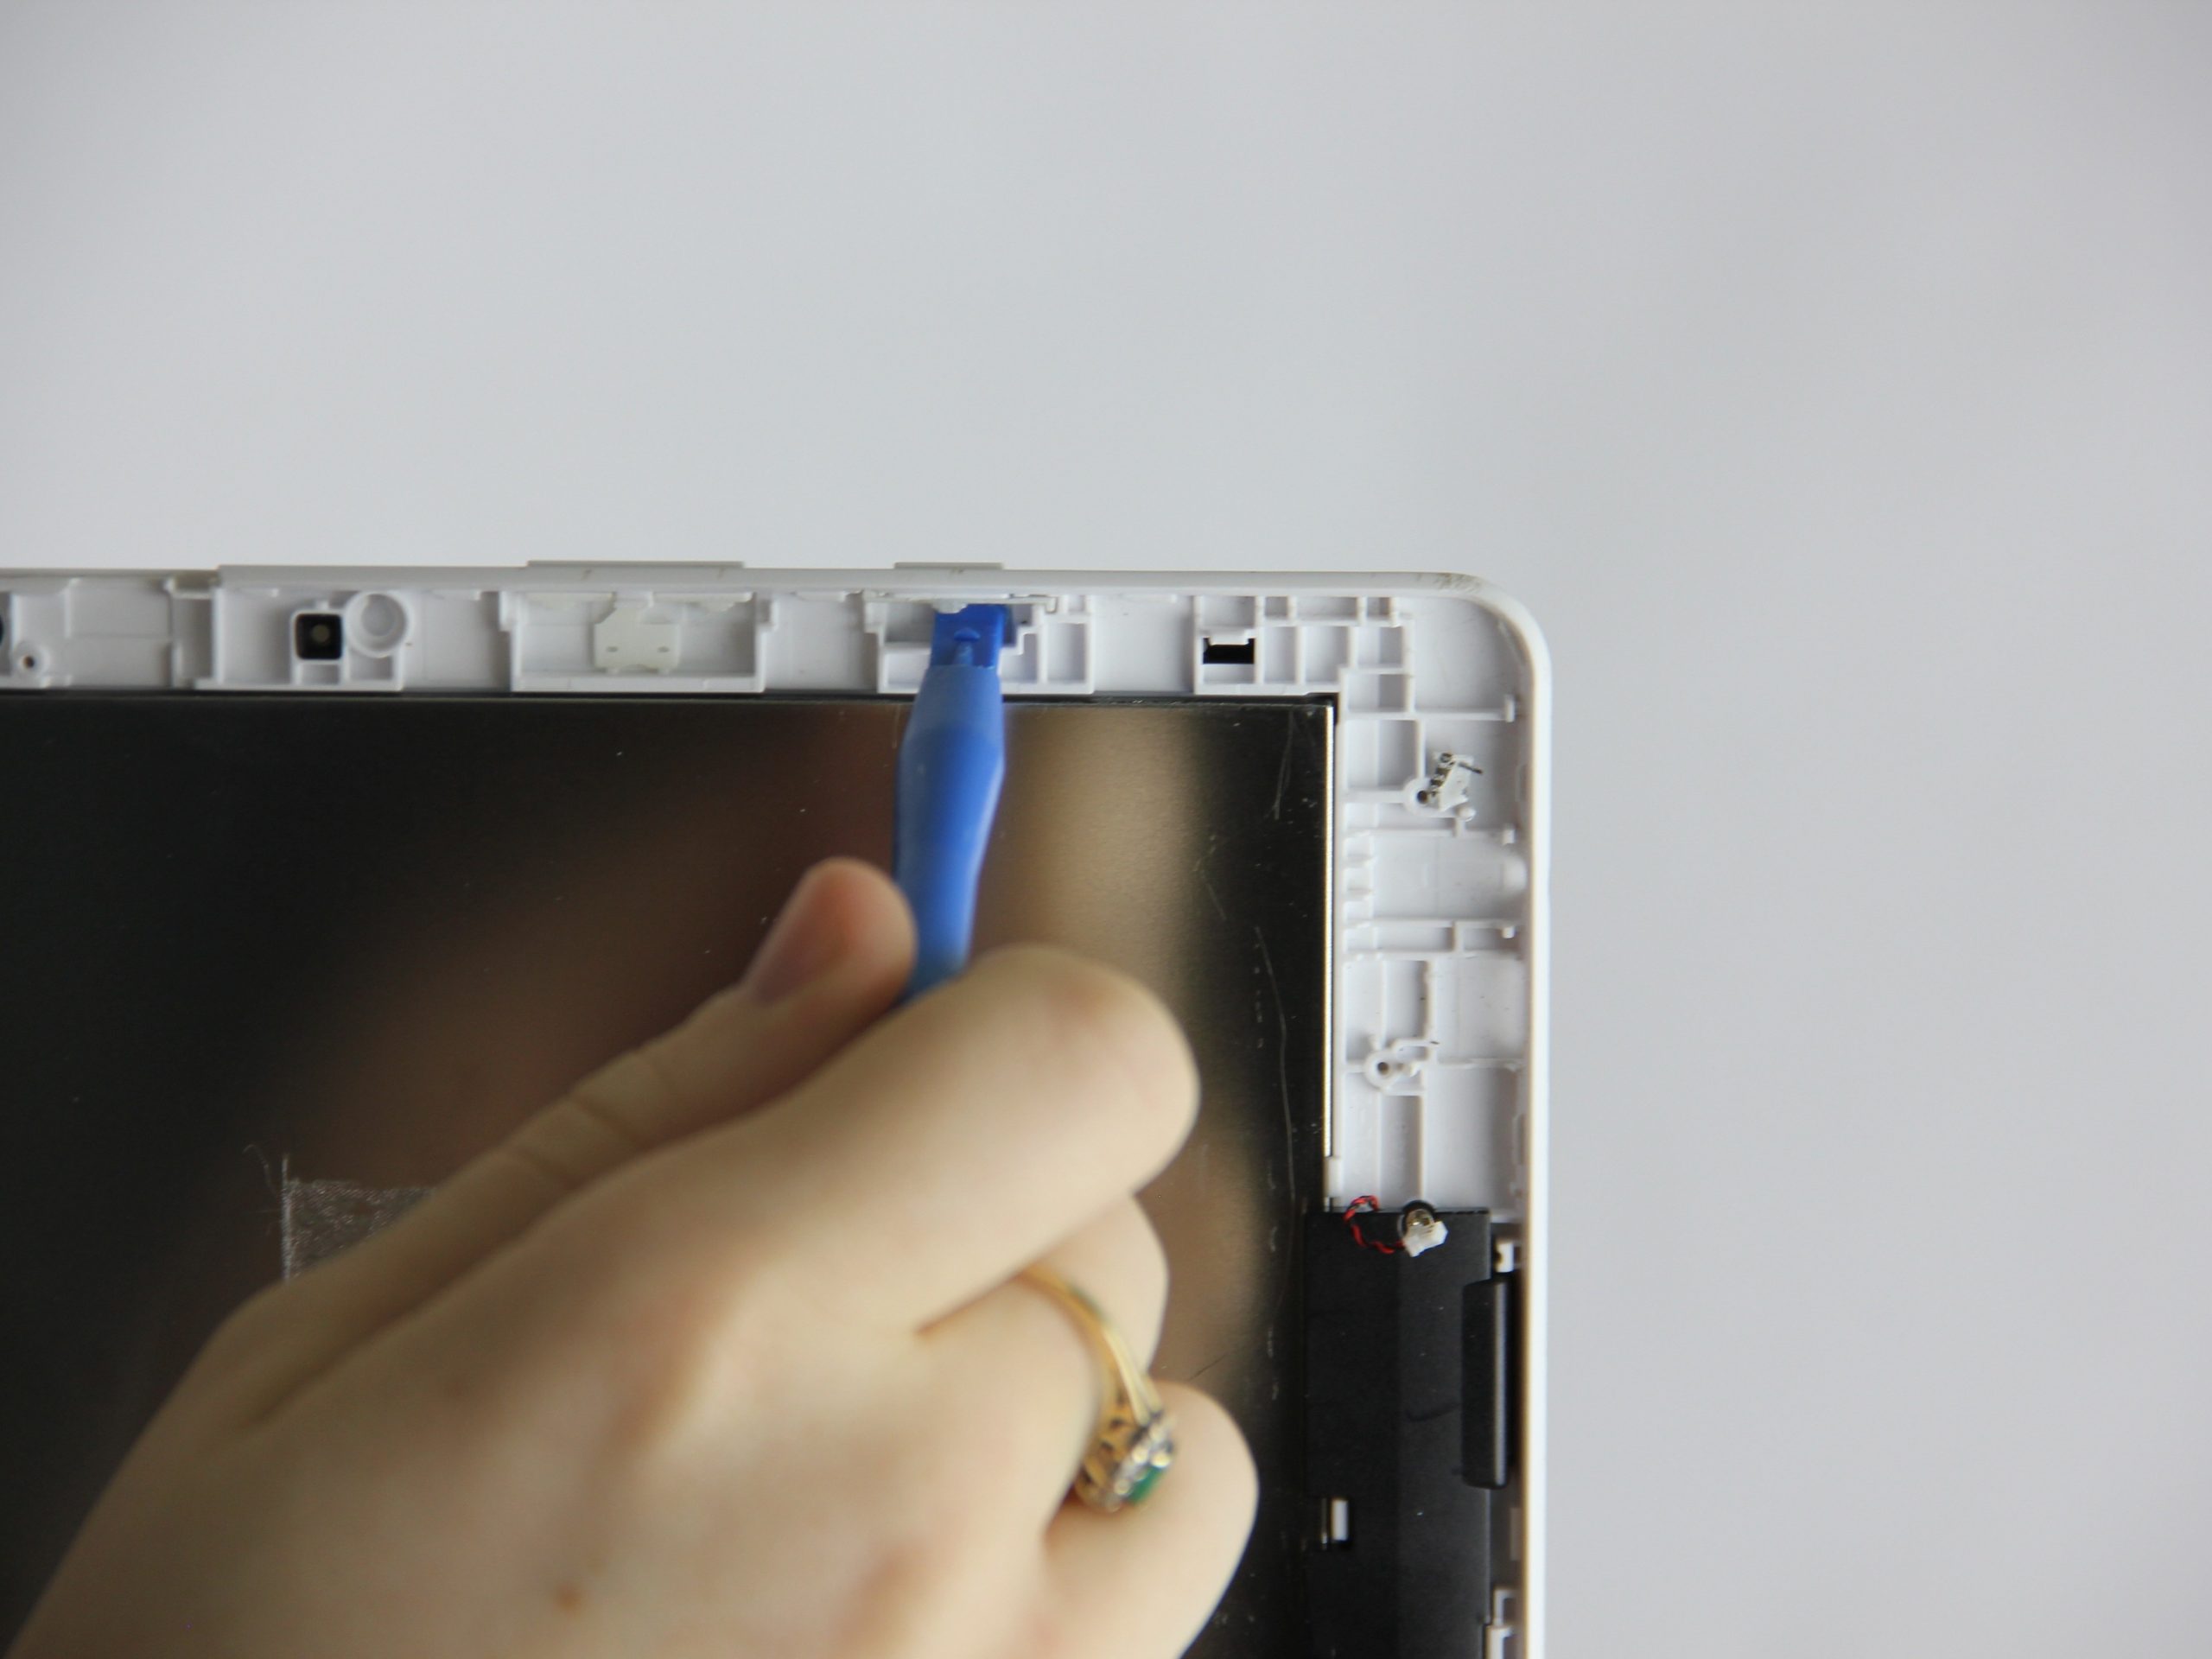
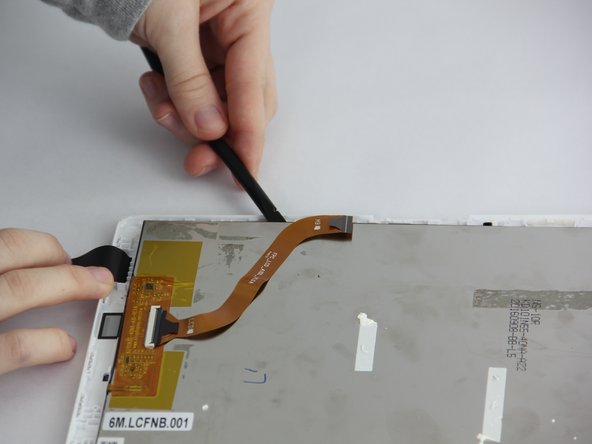
– Time to get this repair started! Use a plastic spudger to gently pry the square connection away from the screen. Take your time and be careful not to damage anything.
Tools Used
Step 11

– Grab your trusty Philips #00 screwdriver and carefully unscrew the little plate that’s holding everything together. You’ve got this!
Step 12

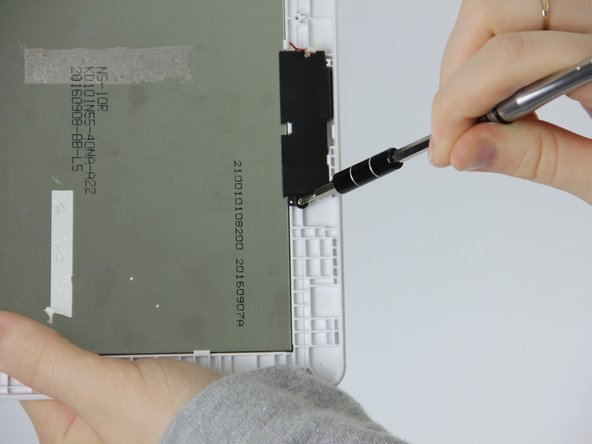
– Grab your trusty Philips #00 screwdriver and carefully remove the last 4 screws nestled along the two speakers. You’re almost there!
Step 13

– To get your device up and running again, just work your way through these steps in reverse – easy peasy!
– If you need help or have any questions, you can always schedule a repair with the experts at Salvation Repair.