Acer Iconia B1-720 Front Facing Camera Replacement
Duration: 45 minutes
Steps: 13 Steps
Step 1


– Time to get this repair started! Insert a plastic opening tool into the gap near the charging port at the top of your device. Gently slide the tool along the device in either direction – it’s like a little dance move for your device’s outer casing.
Step 2


– Gently slide the tool along the edge until the rear cover is fully separated. You’re doing great!
– If you need a little extra help, slide the first tool into the gap to keep it open, then grab a second tool and carefully pry off the rest of the rear cover. You’ve got this!
Step 3


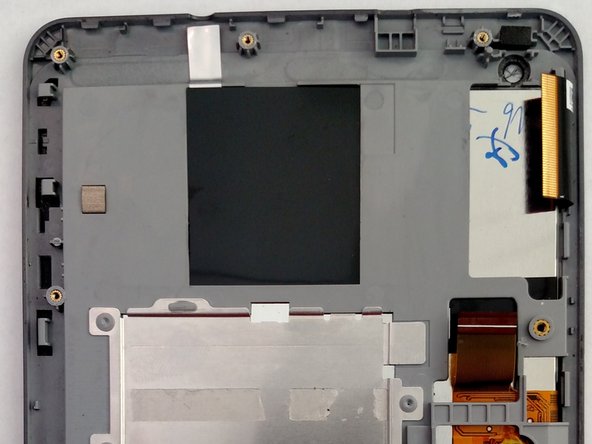
– After you’ve loosened up all the sides, it’s time to lift that cover off the device—smooth and easy, like peeling back the lid of your favorite snack. No sweat!
Step 4
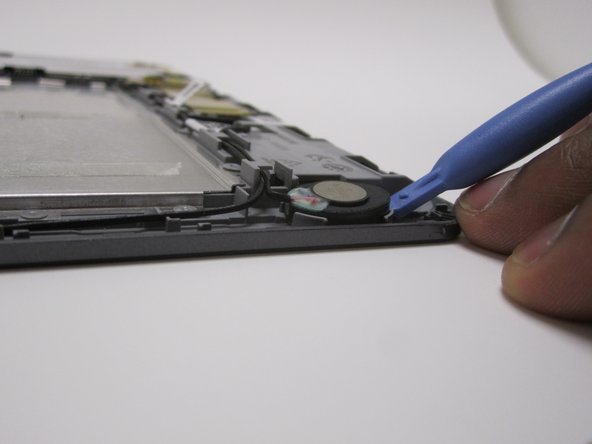

– Gently coax the speaker away from your device using the trusty plastic opening tool. It might take a bit of a nudge because of the adhesive holding it snugly in place. (Just a reminder, the battery is not shown in this picture, so keep that in mind!)
– Give the microphone a gentle tug to liberate it from its slot.
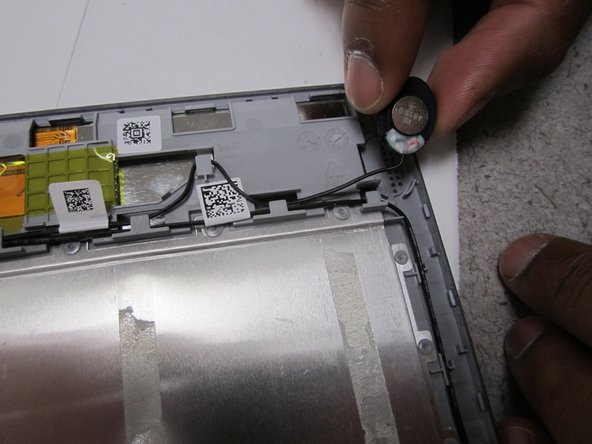
Step 5

– Unwind the wire from the running channel.
– To remove microphone, follow same steps.
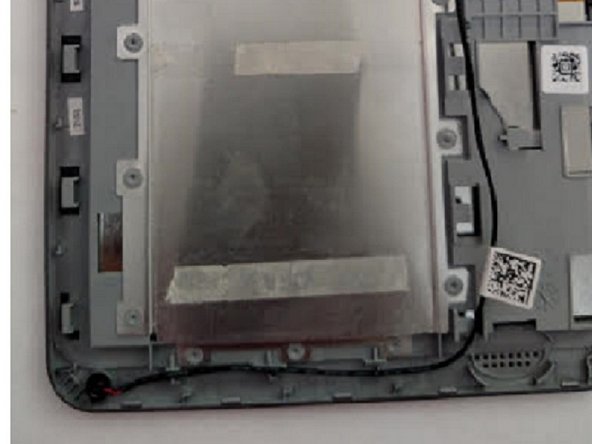
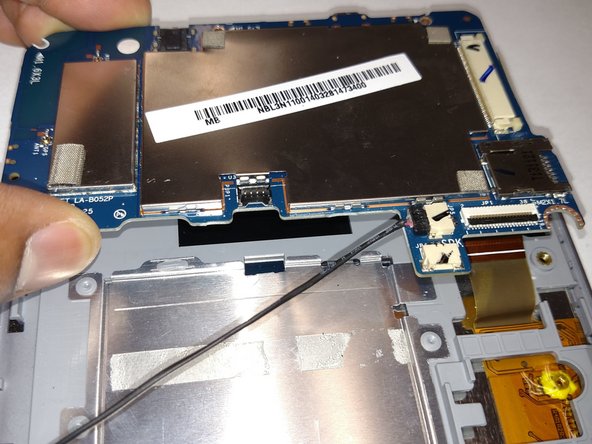
Step 6
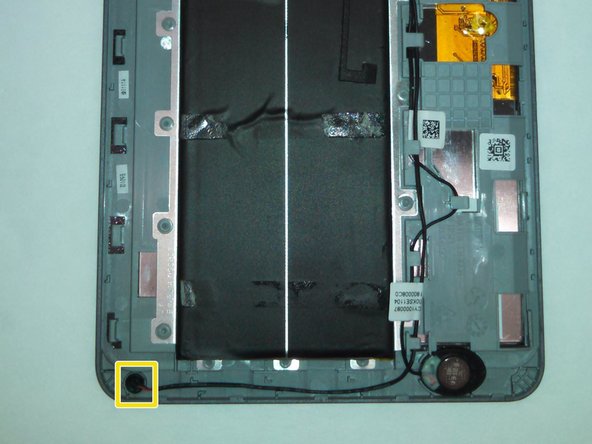

– Gently detach the connector from the motherboard and set it aside for safekeeping!
– Now, let’s keep the momentum going and use the same approach to remove the microphone.
– Carefully unplug the microphone just like you did with the speaker – you’ve got this!
Step 7


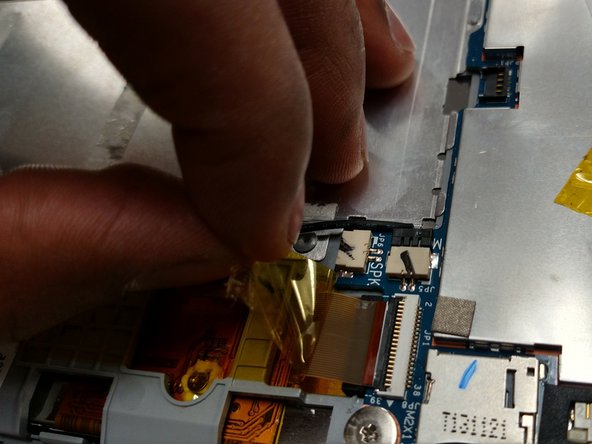
– Let’s get started by removing the yellow tape that’s covering the ribbons in the photos – it’s time to set them free!
Step 8
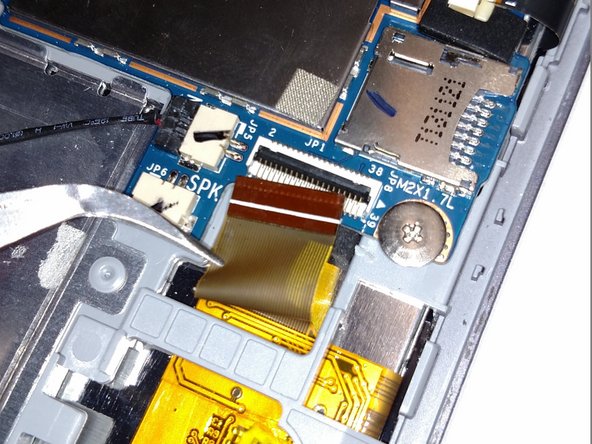

– Gently lift the tiny black tab that holds the orange ribbon in place with your tweezers. It’s a little finicky, but you’ve got this!
– Carefully free the orange ribbon from its lock using the tweezers. Take it slow, and you’ll be all set!
Step 9
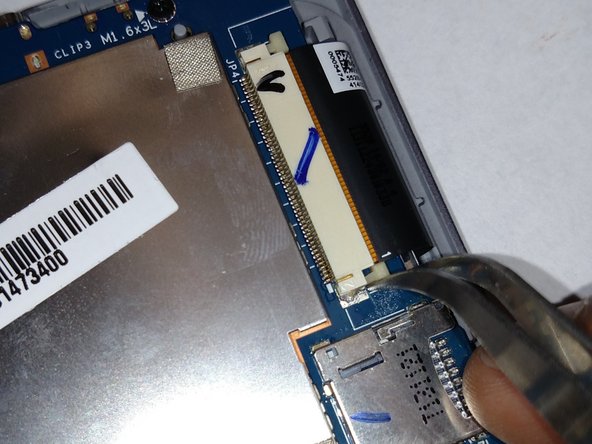


– Grab your trusty tweezers and gently peel away the rubber black wrap that’s cozying up to the lock.
– With those same tweezers, give a little tug on the plastic tabs located on each side of the black ribbon.
Step 10
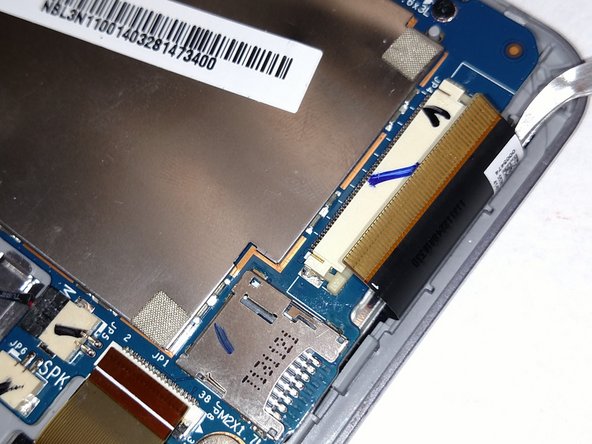

– Grab your trusty tweezers and carefully coax that black ribbon out of its locking mechanism. Think of it as persuading a stubborn noodle—gentle but firm!
Step 11

– First, let’s get started by removing the 5 screws shown in the photograph – this will help you gain access to the internal components.
– Now, carefully lift the motherboard from the front panel of the device. Take your time and make sure it’s completely free from any obstructions.
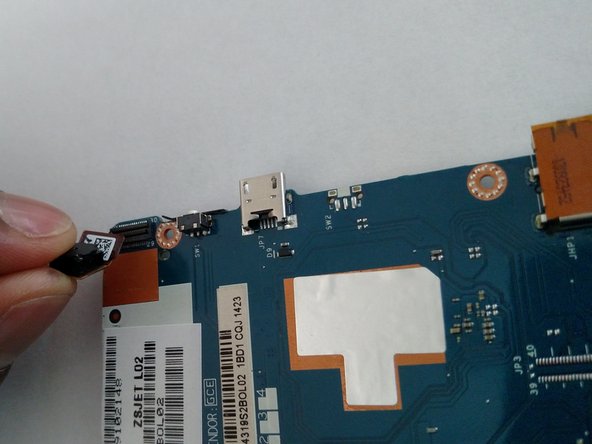
Step 12

The camera is the object highlighted in red.
– Time to get a little upside down! Flip that motherboard over so you can see the camera, micro USB port, and headphone jack. It’s like a little treasure hunt, and you’re one step closer to fixing your device!
Step 13

– To put your device back together, just work your way through these steps in reverse—it’s like time-travel, but cooler.
– If you need help, you can always schedule a repair.