Acer Iconia B1-711 Camera Replacement
Duration: 45 minutes
Steps: 4 Steps
Don’t forget to hit that subscribe button! ツ
Get ready to dive into this fun little project! In this guide, we’ll walk you through the steps to open up your tablet and take out or swap in the camera. It’s easier than you think! And remember, if you ever feel stuck, just give us a shout and you can always schedule a repair for expert help. Let’s do this!
Step 1


Be careful when lifting the cover – don’t accidentally tear that pesky Loudspeaker cable hiding at the bottom right side!
– First things first, turn off your tablet. Safety first, right?
– Next, take out any SIM and/or Memory Card – let’s lighten the load!
– Now, let’s get rolling! Start prying open the device near the Volume Up/Down buttons. A plastic opening tool is your best buddy here to keep that cover squeaky clean.
– Lastly, gently disconnect the Loudspeaker cable from the Logic board. You’re doing great!
Step 2


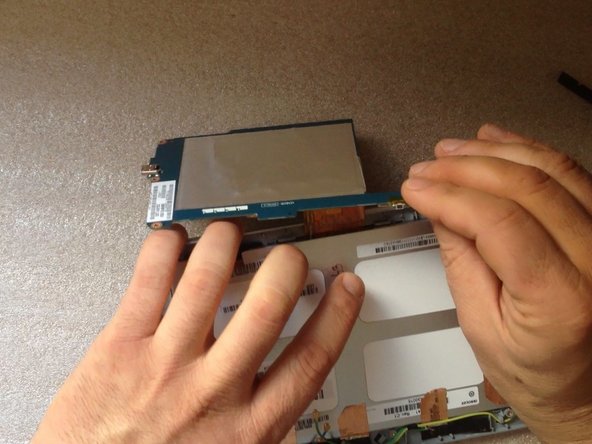
– First, let’s get started by disconnecting the battery to ensure your safety while working on the device.
Step 3
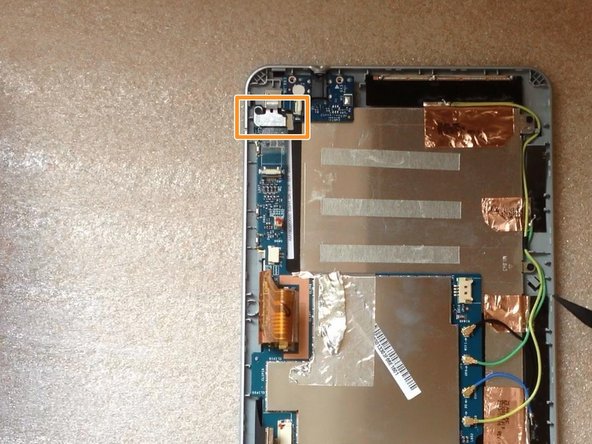

– First up, let’s get that audio jack flex cable out of the way.
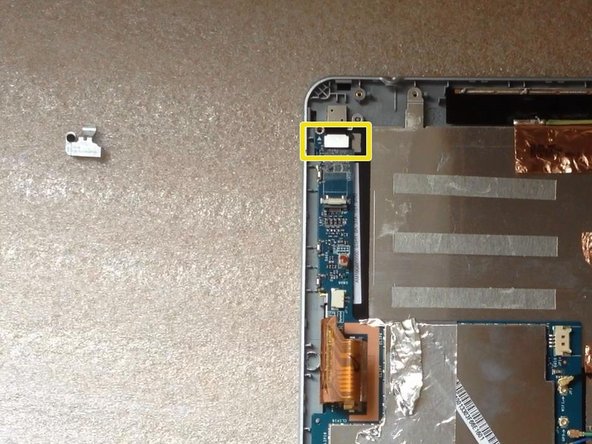
– Next, we’ll be removing the metal plate that’s cozying up to the camera connector.
– And finally, it’s time to disconnect that camera flex cable. You’re doing great!
Step 4

– Take out the camera with care.