Acer Iconia B1-710 Screen Replacement
Duration: 45 minutes
Steps: 14 Steps
If the screen on your Acer Iconia B1-710 tablet isn’t working or has taken a hit, this guide will walk you through replacing it. Be careful if the screen is cracked—there might be glass shards ready to make an unexpected appearance. Before diving in, double-check that the device is powered off and unplugged from any charging cables.
Step 1


Take it easy when pulling the pieces apart. There’s a wire in there that might not appreciate too much tugging.
– Gently pop off the back cover using an opening tool – it’s like giving your device a little hug to help it breathe!
Step 2


– Disconnect the battery from the motherboard.
Step 3

The battery is snugly secured with a bit of adhesive, so it might take a little finesse to pop it out.
– Pop out the battery like a pro!
Step 4
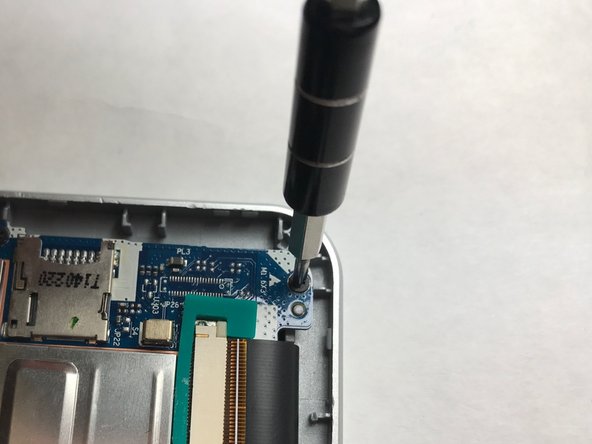

– Remove all five 3 mm #000 Phillips screws with care.
Step 5

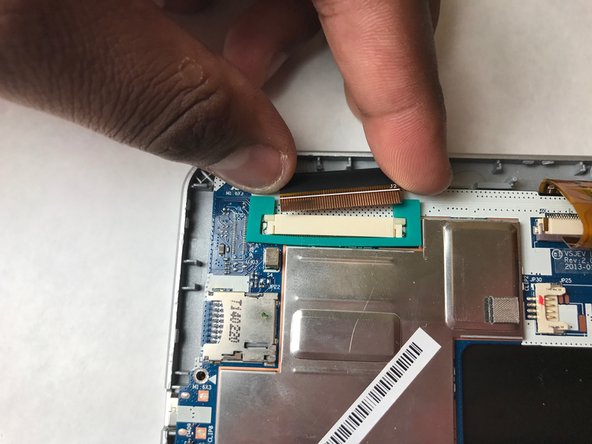
– Let’s get started by carefully unplugging the LCD ribbon.
Step 6
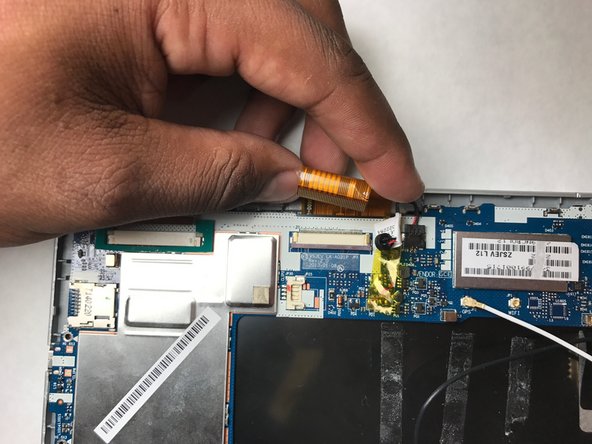

– Disconnect the orange ribbon with care.
Step 7
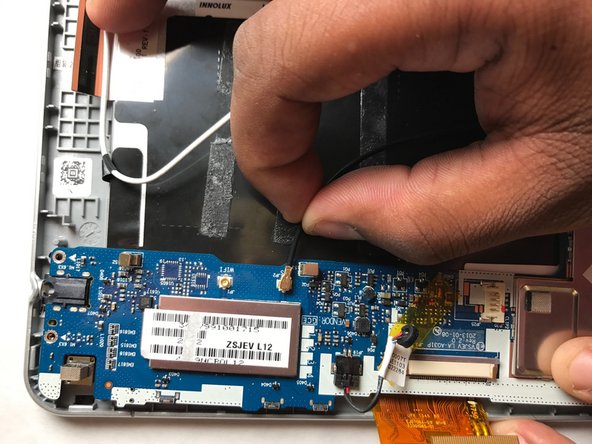
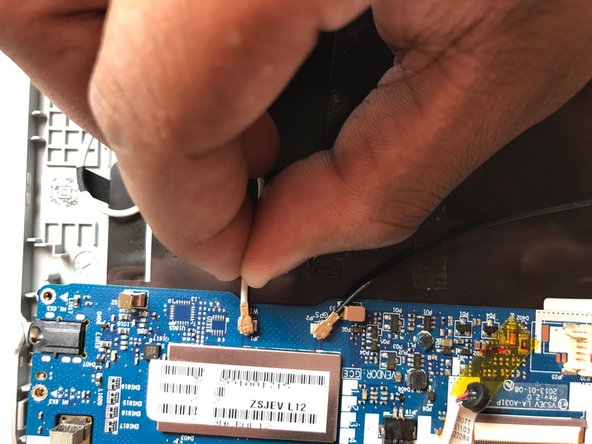

– Let’s start by disconnecting the white wire from the motherboard – easy peasy!
– Next, gently unplug the black wire from the motherboard.
Step 8

– Carefully pop the motherboard out of the tablet.
Step 9

Take a deep breath and get comfy – this step might take a few minutes, but don’t worry, the glue will melt soon. If you need help, you can always schedule a repair
– Grab your trusty blow dryer and give that glue a little heat to loosen its grip on the LCD display. You’ll have it off in no time!
Step 10
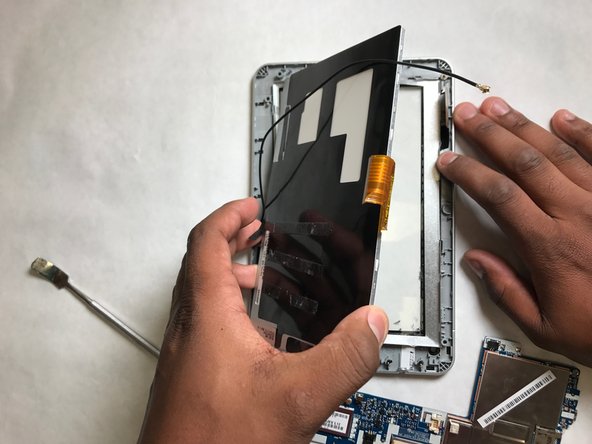

Be gentle when peeling this piece – it’s fragile and needs some TLC!
Heads up: some parts might be hot, so handle with care!
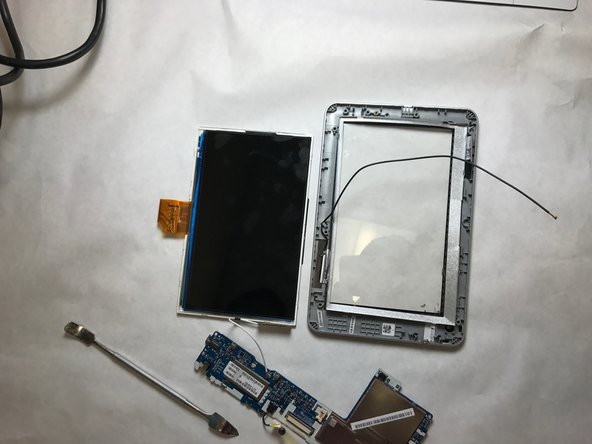
– Gently peel away the LCD display like you’re unveiling a surprise gift!
Step 11

Caution: This metal part is going to be heated up during this process, so watch your fingers!
– Grab your trusty blow dryer and crank it up to melt the glue holding that delicate metal frame. Keep it moving—you’re aiming for warm and gooey, not scorching!
Step 12

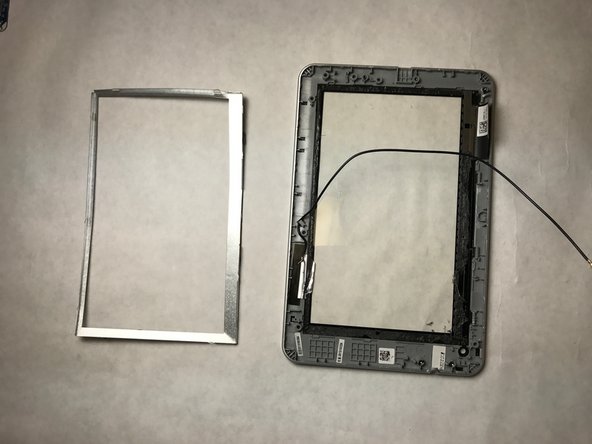
Handle with care: the frame is super thin and can bend easily, so be gentle!
– Carefully pop off that slim metal frame—you’re doing great!
Step 13

The frame might get a little toasty!
– Grab a blow dryer and heat things up! Warm up the glue between the metal frame and the screen until it’s ready to let go—smooth and easy.
Step 14
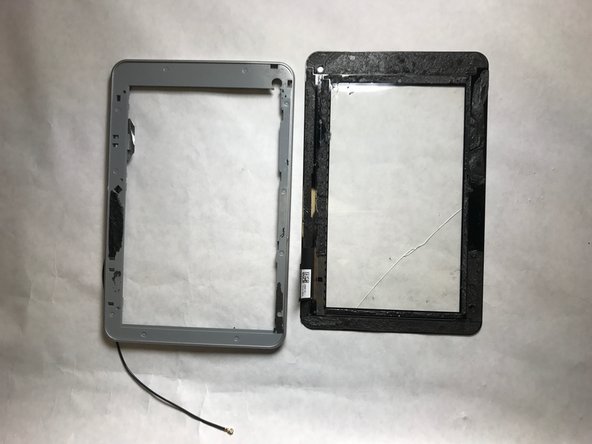

Handle with care when removing the screen to avoid causing more damage.
– To put your device back together, just follow these steps backwards—easy peasy!
– If things get tricky or you need a hand, you can always schedule a repair.