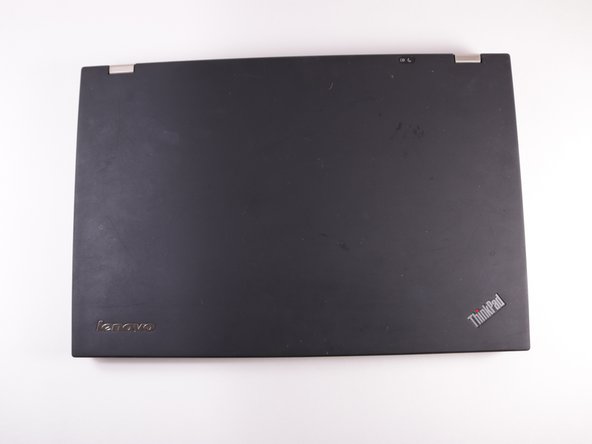
Lenovo ThinkPad T420s Palm Rest Replacement
Duration: 45 minutes
Steps: 11 Steps
Having trouble with your laptop’s speakers or touchpad? No sweat—you can swap out the entire palm rest component to bring your device back to life and working like a charm.
Step 1
– Let’s get started by flipping your laptop over, so the bottom is facing up – don’t worry, it’s easier than it sounds!
– Next, remove the memory panel by taking out the two black 5mm screws using a Phillips #0 screwdriver – you got this!
– Now, carefully remove the memory panel – you’re making great progress!
Step 2
– Grab your Phillips #0 screwdriver and take out those two 5mm screws. Nice and easy.
– Now, flip the laptop back over and open it up. Time to see what’s inside!
Tools Used
Step 3
When you lift the keyboard, remember not to take it all the way off—there’s a sneaky cable still hanging on to your laptop!
The prime spot to apply some gentle pressure is right on the keyboard’s frame near the power button.
– With a gentle touch, press down on the keyboard and glide it toward the screen. This should help release the bottom of the keyboard from its cozy casing.
– Now, grab your trusty metal spudger and carefully lift and slide the keyboard out. You’re doing great!
Tools Used
Step 4
– Let’s get started by carefully lifting the tab on the end of the ribbon connection to release the orange cable.
Step 5
Those 2.5 X 5 mm screws are just a tad bigger than the 5 mm ones. Keep an eye out!
– Grab your Phillips #0 screwdriver and carefully unscrew the thirteen 5 mm screws—you’re almost there!
– Next, take out the two 2.5 X 5 mm screws at the back of your laptop. A couple of twists and you’ll be good to go.
– Finally, use the same screwdriver to remove the 3 mm screw from the back. Just a quick turn, and you’re done!
Tools Used
Step 6
– Carefully unplug the black and gray antenna cable connectors located in the memory panel on the back of the laptop—think of it like untangling a tiny tech puzzle.
– Strip away any plastic wraps covering the blue, white, and tan wires—time to let those wires breathe a little!
Step 7
– Now it’s time to flip your laptop back over and carefully thread all those wires from the previous step through to the top side. Easy does it!
Step 8
– Grab your trusty Phillips #0 and take out the three 5mm screws keeping the palm rest casing snug. Time to let that casing breathe!
Step 9
– Gently pull out the bunch of wires—red, white, and blue. You’re doing awesome, keep going!
Step 10
– Gently lift the black retaining flap that’s keeping the purple ribbon cable snug, and with a little finesse, slide that ribbon out like a pro.
Step 11
Take it slow when sliding the casing out—some parts are still snug under the screen. A little wiggle action might do the trick, but no hero moves! Easy does it.
– Gently lift the top casing and slide it out like you’re unveiling a surprise gift!


