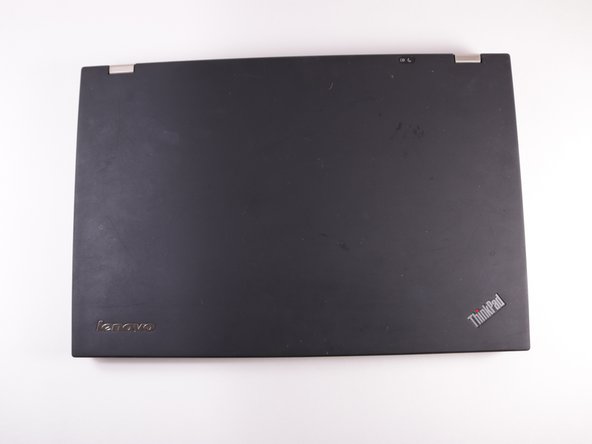
Lenovo ThinkPad T420s LCD Replacement
Duration: 45 minutes
Steps: 14 Steps
Got a screen that’s seen better days? No worries! This guide is your go-to for swapping out that LCD unit on your laptop like a pro. Let’s get your device back to its glorious self!
Step 1
– Turn your laptop over so the bottom is facing up. Yep, just like flipping a pancake, but less messy!
– Use a Phillips #0 screwdriver to take out the two black 5mm screws and free up the memory panel.
– Lift off the memory panel carefully—like opening a tiny treasure chest!
Step 2
– Grab your trusty Phillips #0 screwdriver and take out those two 5mm screws with confidence!
– Now, give your laptop a little flip and open it up to see the magic inside!
Tools Used
Step 3
When you lift the keyboard, don’t pull it completely off—there’s still a sneaky little cable holding it to the laptop.
The sweetest spot to give a gentle nudge is on the keyboard frame right by the power button.
– With a gentle push, press down on the keyboard and slide it toward the screen. You’ll see the bottom of the keyboard pop right out of the casing—like magic!
– Now, grab your trusty metal spudger and carefully lift and slide the keyboard out. Easy peasy!
Tools Used
Step 4
– Gently lift the tab at the end of the orange ribbon cable to disconnect it. Easy as that!
Step 5
Those 2.5 X 5 mm screws are just a tad bigger than the 5 mm ones. Keep an eye out!
– Remove the additional thirteen 5 mm screws with your Phillips #0 screwdriver.
– Remove the two 2.5 X 5 mm screws from the back of your laptop.
– Remove the 3 mm screw from the back of the laptop using the same screwdriver.
Tools Used
Step 6
– Let’s make some connections! Unplug the black and gray antenna cable connectors from the memory panel on the back of your laptop.
– Time to shed some plastic! Carefully remove any plastic wraps from those blue, white, and tan wires.
Step 7
– Turn your laptop right side up again and gently guide all the wires from the previous step to the top side. You’ve got this!
Step 8
– Grab your Phillips #0 screwdriver and take out the three 5mm screws securing the palm rest casing. They’ve had their time—let’s set them free!
Step 9
– Gently unplug the trio of colorful wires: red, white, and blue. You’ve got this!
Step 10
– Gently lift the black retaining flap that’s keeping the purple ribbon cable snug, and with a bit of care, slide that ribbon out like a pro.
Step 11
Take it easy when sliding out the casing! Some of it is still tucked underneath the screen, so you might need to do a little wiggling. But don’t go forcing it — gentle moves are the way to go!
– Gently lift the top casing and slide it out—like unlocking a secret compartment!
Step 12
– Gently unplug the two black cables that hook the screen up to the motherboard—you’re the boss here, show those cables who’s in charge.
Step 13
– Turn your laptop around so the backside is facing you – show it some love!
– Gently peel away any black stickers hiding those sneaky screws using your trusty nylon or metal spudger.
– Grab your Phillips #0 screwdriver and let’s tackle those two 7mm screws like a pro!
Tools Used
Step 14
– Gently grab the edges of the LCD screen unit and lift it straight up—it’s like giving it a careful high-five from the sides.


